Ah, these wonderful summer tomatoes, these zucchini, these peaches… because the season always seems too short to us, why not put them in jars? We’ll give you the instructions to follow.
The art of “bocautering” as grandmothers did has become furiously fashionable again, as have other hobbies that are both creative and useful. Today, the historic container brand Le Perfect sells more than 25 million jars per year and has more than 35,000 followers on Instagram.
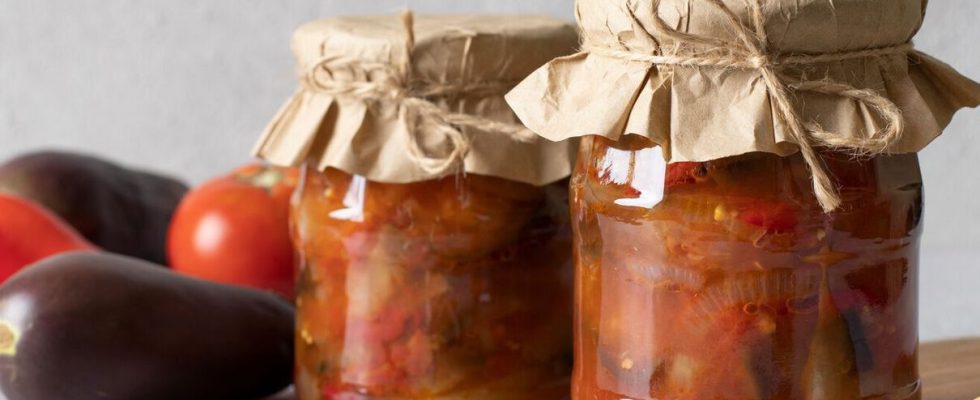
Whether you make simple tomato sauces or compotes during the summer, or get involved with cakes, fruits in syrup, ready meals and soups, the principle remains the same: stock up for winter, or evenings when you lack time and desire to cook, while enjoying the products all year round.
A useful… and healthy DIY!
The interest is multiple. “We keep products during their peak seasonwhen they are the best in terms of taste and nutrition, and the least expensive: bought at the market or from a local producer, from their vegetable garden, offered by a neighbor, picked up during a picking… This not only allows to make substantial savings and buy less ready-made products, but also to waste less and reduce waste, especially since the jars can be reused many times”,explains Sophie Janvier, dietitian-nutritionist.
Another advantage, “we have perfect control over what we cook: in our homemade jars, no additives, flavorings or colorings, thickeners or endocrine disruptors as in certain industrial dishes, but also less salt and sugar, since you define the dose yourself. »
Finally, on the pleasure side, it’s a double blow: doing it yourself is very comforting and satisfying (and will be more and more so with experience), provides pride in the work accomplished… not to mention the pleasure of tasting your small dishes and find, in the heart of winter, sunny flavors!
The recipe for enjoying homemade jams
All you need is ripe fruit, sugar (ideally cane sugar), a copper basin (a must) or a pot for cooking, glass jars (you can recycle those for store-bought jams) and new lids (from the supermarket) which must be boiled for 3 minutes.
Once the jam is cooked, pour it hot into the jars, close them immediately… and that’s it, because the sugar allows it to be stored (about a year).
The advantage? While a store-bought jam must contain at least 35 g of fruit per 100 g of finished product (45 g for an “extra”), at home, with perfectly ripe fruit, you can reduce the dose of sugar to 500 g per kilo of fruit (or even 400 g, but the jam will be a little more liquid).
How to make your jars according to the rules of the art
Making your own jars requires care and hygiene, a little material – which pays off over time – and… time. But nothing stops you from getting help with peeling chores!
The products must undergo heat treatment. It is necessary to glass jars dedicated to conservation reusable (Le Perfect, Weck) and rubber seals (change each time you use it). It is possible to recycle commercial canning jars, but by purchasing sterilizable screw caps with flip (identifiable by the central ring which retracts during sterilization, guaranteeing sealing).
- Fill the jars (clean and air-dried, turned over on a cloth) with the preparation very hot (cooked products) or cold (raw fruits and vegetables, such as cherries, peaches, green beans) leaving an empty space of 2 cm at the top of the pot.
- Clean the rim carefully jars with a clean cloth soaked in hot water, as leaks could compromise sterilization.
- Install the gasket and close immediately.
- Place the jars in an electric sterilizer (more practical, because it manages the temperature alone and is equipped with a timer) or a closed pot by completely immersing them in cold water (cold jars) or hot water (if the contents of the jars are hot), then start sterilization by raising the temperature to 100°C. The sterilization time varies depending on the product (from 45 minutes for fruit to 3 hours for raw meat), and the capacity of the jar: it is better to use a guide.
- Take out the jars upon completion of sterilization.
- Check the tightness (by opening the metal part or removing the retaining clips), write the date, and store in a cool, dark room. All food can thus be stored for a year, sometimes longer.
Our expert: Sophie Janvier, dietician-nutritionist, author of The gentle method to eat better, ed. The Duke