
Want to change the dimensions of an image to fit a document, device, website, or social network? With a PowerToys tool, you can do it directly in Windows, without specialized software!
It is sometimes useful – even essential – to resize an image in order to give it a precise height and width in pixels, whether to send it by email, to integrate it into a calibrated document, to display it on a device, use it with an online service or publish it on social networks, for example. In addition to graphics applications such as Photoshop, Gimp, PhotoFiltre, Paint.net and other XnView, there are many free or paid tools for this such as FastStone, PixResizer or LightImageResizer as well as online services like SimpleImageResizer Where ResizeImage, to only cite a few.
However, on a PC, there is no need to equip yourself with complex graphics software or to use an online tool – and therefore to stay connected to the Internet – for such a simple operation. If you don’t need to touch up your images, we recommend using Image Resizer, a specialized module built into the free toolkit. PowerToys from Microsoft. Once these small utilities are installed, Image Resizer nests directly in Windows, in the context menu. A few clicks are then enough to change the dimensions of an image from Explorer and make a copy of it, without even opening the file to be modified. Best of all, you can even process multiple images at once to save time. So practical that you can’t do without it once you’ve tasted it!
Let us recall in passing that PowerToys bring together several specialized – and quite clever – tools offered to users initiated by Microsoft. Originally intended for Windows 95, they reappeared a few years ago for Windows 10, along with other functions. It is not a commercial product, but a collection in constant evolution, which explains its lack of finishes with sometimes incomplete translations. A detail that in no way detracts from their quality and efficiency.
Image Resizer allows you to change the size of your images by choosing from several standard ready-to-use formats.
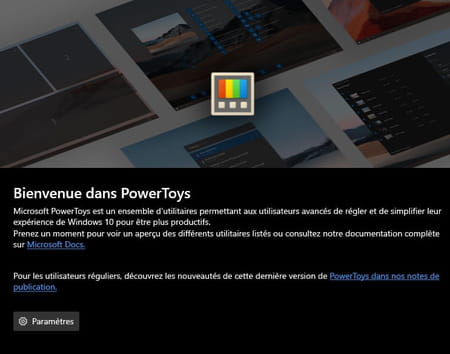
- Download and install Microsoft’s suite of free PowerToys tools, including Image Resizer. Follow the installation steps, although there are times when you need to install a missing component in Windows.
Download PowerToys for Windows
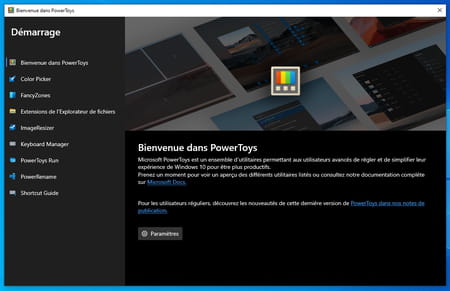
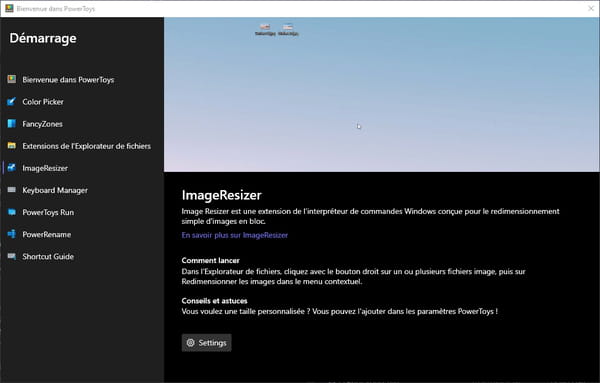
- At the end of the installation, the PowerToys window is displayed. In the left pane are all the tools you just recovered. You can close this window for the moment.
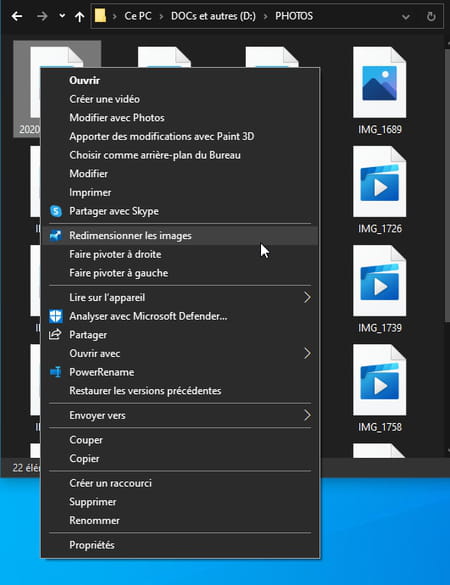
- From File Explorer, open the folder containing the images you want to resize. Right-click on the icon of the desired image file and, in the context menu, choose the option Resize images.
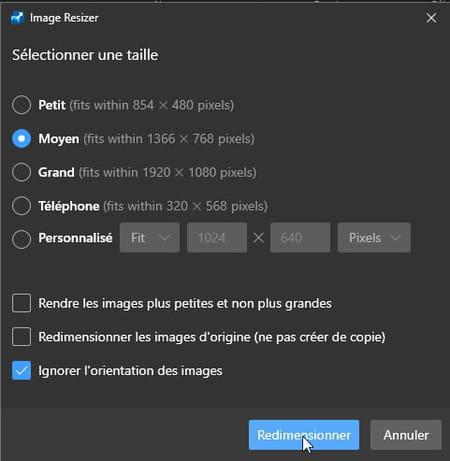
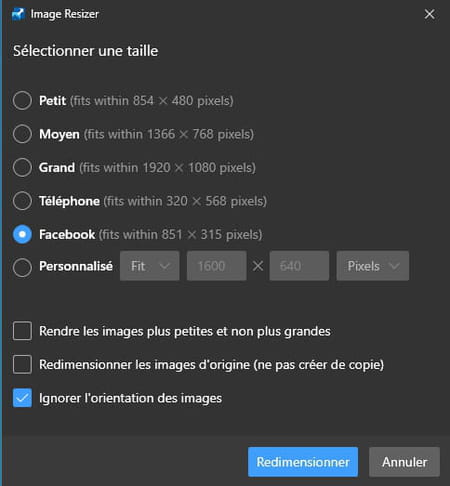
- Immediately a floating window appears. It offers several options to resize your image quickly. Small to obtain an image of 854 x 480 pixels, Average for an HD shot of 1366 x 768 pixels, Big for a Full HD format of 1920 x 1080 pixels. You can also choose Telephone so that your shot adopts a size of 320 x 568 pixels adapted to the screen format of old mobile phones. Check the box that suits you, then click the button Resize.
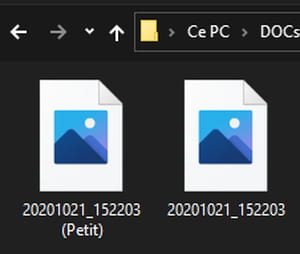
- Image Resizer automatically creates a second file in the folder containing the original image, but at the dimensions you defined. Its name bears, in brackets, the format chosen.
- If you want to edit multiple images simultaneously, select them from the file explorer and repeat the above operation. All the images selected will be duplicated in the chosen format.
If none of the formats offered by Image Resizer meet your needs, you can freely define dimensions to suit your needs.
- Repeat the above steps to choose the snapshot to resize and access Image Resizer. In the tool window, check the box Custom.
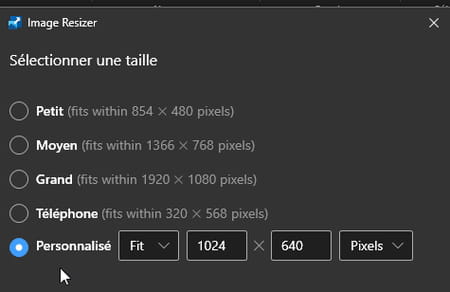
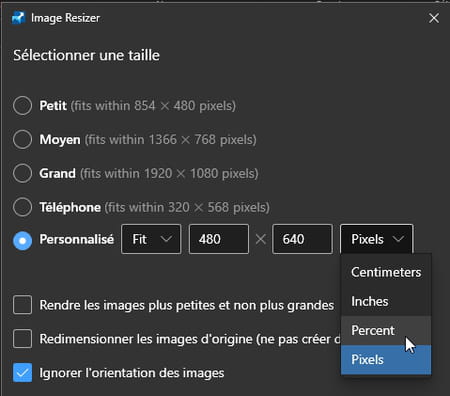
- Indicate the desired size (by default 1024 x 640 pixels). You can change the unit of measurement by clicking on the drop-down menu Pixels to choose Centimeters, Inches (thumbs up in French) or Percent (percentage).
- Now click on the first drop-down menu Fit in order to choose how the image will be resized. Depending on the option chosen and the format adopted, the rendering of the image may vary greatly. Demonstration with our example file whose original size is 4032 x 2268 pixels.

- With the Fit option : The image is best adjusted to the dimensions you specified. It is neither cropped nor distorted, but suddenly, its dimensions may vary to respect the original ratio.

- With the Fill option : the image fills the frame according to the dimensions indicated. It is not distorted but can be cropped automatically – and therefore cropped.
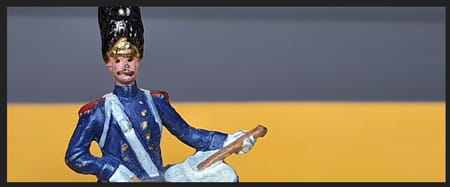
With the Stretch option: the image adopts the dimensions indicated without being cropped even if it is distorted.

- Choose the size that suits you and click on the button Resize.
- If you regularly use an image size, you can ask Image Resizer to remember it. Open the PowerToys again, then click the button Settings.
- Click on Image Resizer in the left pane. The different image sizes proposed by default by the software (Small, Medium, Large and Telephone) are displayed. You can modify these formats using the various drop-down menus.

- You can also add a new format. Click on the button + Add size.

- Give your image format a name, then enter the desired values (eg 851 x 315 pixels for the Facebook cover photo).
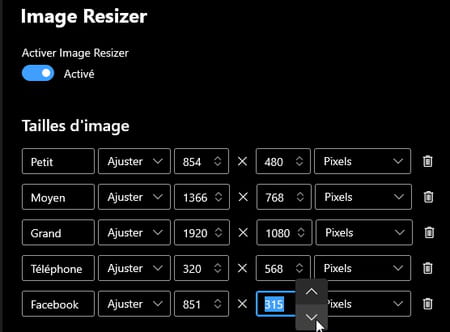
- No need to validate anything. This new format is immediately available in Image Resizer.
- You can repeat the operation to add other custom sizes. And even delete those you think are unnecessary by clicking on the trash can icon to the right of their row.
If you want to adjust other settings, open PowerToys from the Windows taskbar – or from the desktop shortcut, if you created one during installation. In the window that opens, click on Image Resizer, in the left column.
- In the right part, in the ImageResizer section, click on the button Settings. The Image Resizer settings window opens. You can adjust the formats there, of course, but also parameters related to the encoding of the images or the way in which the resized file is renamed. Note that the titles are better translated than in the floating window of ‘Explorer. As we have said, the PowerToys are still under construction, and the paint is not completely dry …
