To edit videos in Windows, we could rely until then on the Photos application delivered with the system. Microsoft has just added a specific and much more practical tool: Clipchamp.
Everyone fondly remembers Windows Movie Maker, the free video editing software that came with older versions of Windows. It made it easy to edit videos with a wide variety of transitions. Alas, the tool did not survive the evolutions of the system and Microsoft did not replace it. The publisher has simply made video editing functions available in its Photos app included in Windows 10 and 11. A significant gesture but which does not replace real video editing software. For more demanding users, all that remained was to turn to tools like DaVinci Resolve, free but as complex as Final Cut Pro on macOS or even Adobe Premiere, simple, powerful, but paying. Microsoft has finally corrected the situation. The latest Windows update has indeed brought, on the sly, a new program: Clipchamp. This is not Microsoft software. The publisher bought it back in September 2021. Previously paid for, the app is now available in Windows in a fully functional free version with much more advanced and up-to-date functions than those offered by the Photos app. . Its interface is clear and allows users, even beginners, to find their way around easily in order to create short or long videos, slideshows, etc. It is possible to develop videos specially cut for YouTube, Instagram, TikTok or even advertisements to be broadcast on social networks. The tool embeds many royalty-free elements (music, animated backgrounds, stickers or even Gifs) to integrate into the montages. What to produce quality videos and without paying a penny. And for those who want more, there are paid subscription plans that cost $9, $19, or $39 per month to enjoy unlimited online storage and more royalty-free items.
Clipchamp is normally part of the pack of items installed with the latest Windows update. However, as we have seen, the app may not be present. No need to struggle to restart Windows Update. It is also available for download.
How to edit a video with Clipchamp in Windows?
Simple to handle, Clipchamp allows you to edit a small video with transitions, titles and music in a few minutes.
► Check that Clipchamp is installed in Windows by typing its name in the menu search box To start up. If not, download the free app and install it.
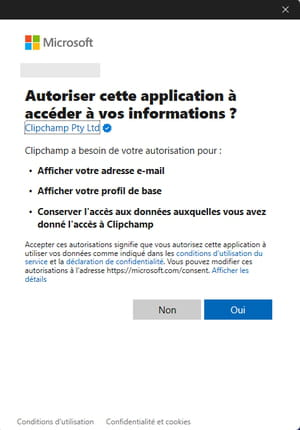
► Launch the app. Since it is now a Microsoft software, you need to authorize it to use your Microsoft account linked to the system. Identify yourself.
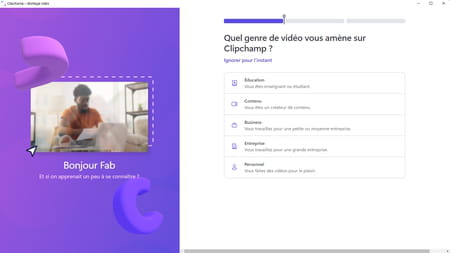
► When starting, Clipchamp asks you in which context you want to use the app. Select a domain: Education, Content Creator, Business, Enterprise, or Personal.
► The application window immediately offers several choices. The section Start from a template allows to use pre-made templates to build a slideshow, identifiers for social networks (banners), content for YouTube, Instagram, gaming (for Twitch for example), etc.
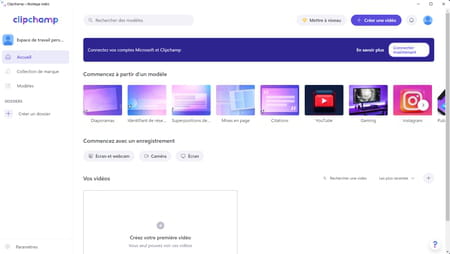
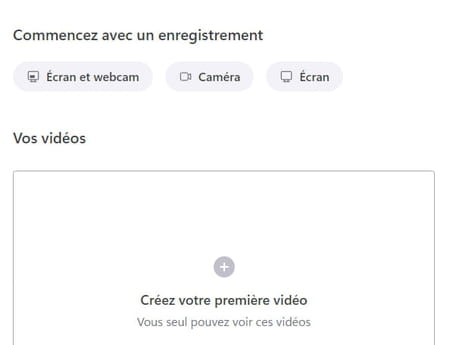
► From the section Start with a recording, the app also allows you to record content directly from the PC using the webcam and the screen, the webcam only or the screen only. Convenient for developing a video tutorial, for example.
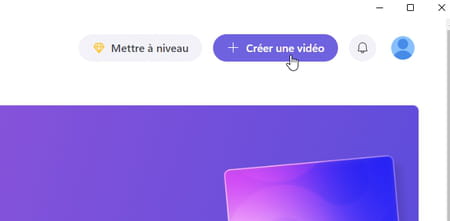
► If you don’t know what to choose, click on the button + Create video at the top right of the window.
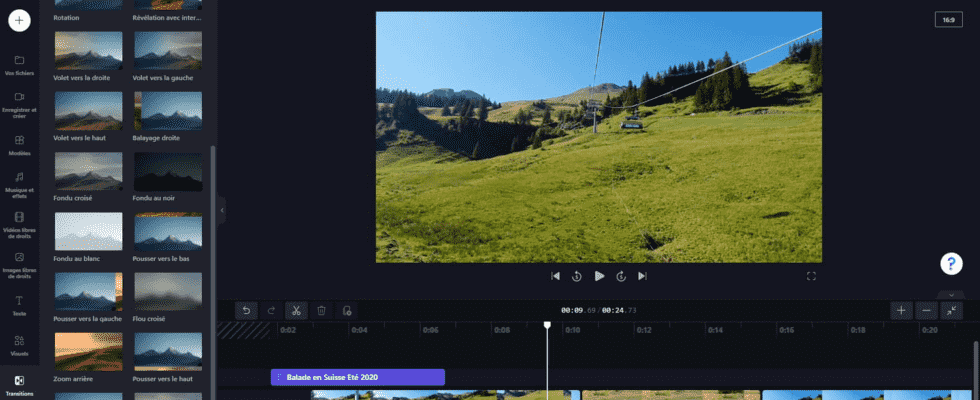
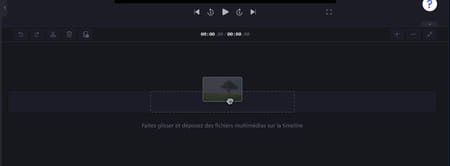
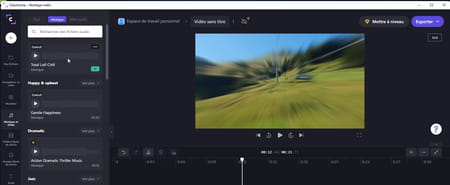
► The editing interface is displayed. In the upper frame, it presents a video preview window. Note the presence of the button 16:9 to the right of the frame that allows you to adjust the image ratio according to the format used by your videos. If it is for example images captured vertically with a smartphone, opt for the 9:16.
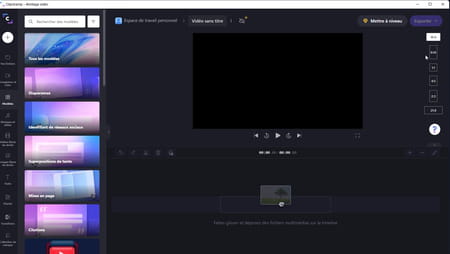
► Just below is the timeline that allows editing. The left column brings together all the tools necessary for editing as well as access to copyright-free content. Finally, you have the list of predefined templates.
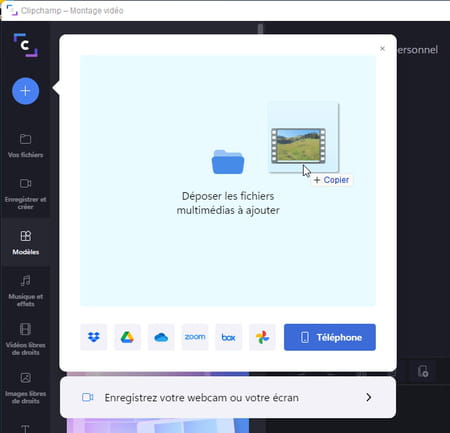
► Click the button + at the top of the left column. A small window opens. It allows you to select your video files from the storage space of your PC of course, but also from Dropbox, Google Drive, OneDrive, Zoom, Google photos or even your smartphone. For the example, we are going to draw files present on the hard disk of the PC. Just drag them from the file explorer into the window.
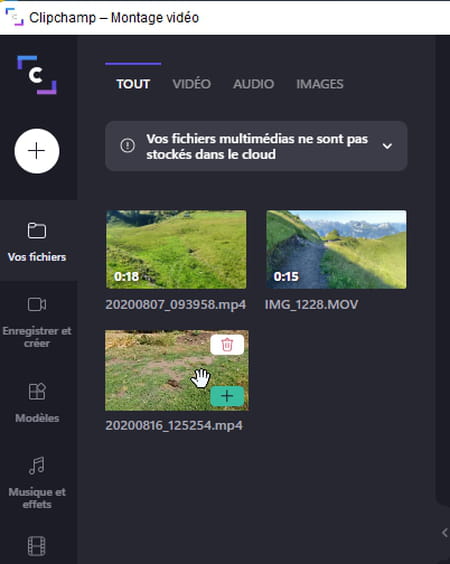
► Your video clips now appear in the Bin. You can hover the mouse pointer over it to get an animated preview.
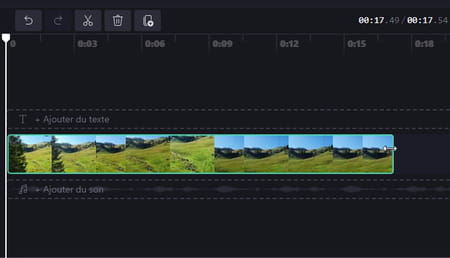
► Drag the first clip, the one you want to start your video with on the timeline.
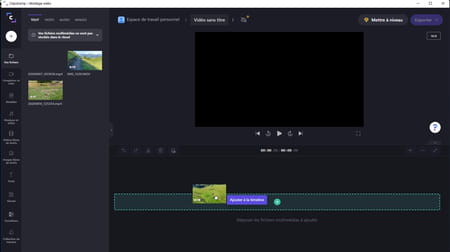
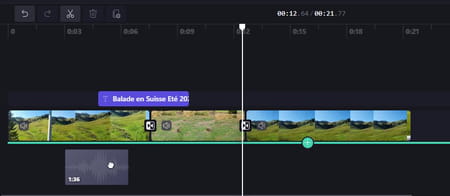
► It takes place on the timeline. You can now modify it in order, for example, to shorten it. To do this, use one handles at the start and end of the clip and drag it to eliminate the unnecessary piece of footage.
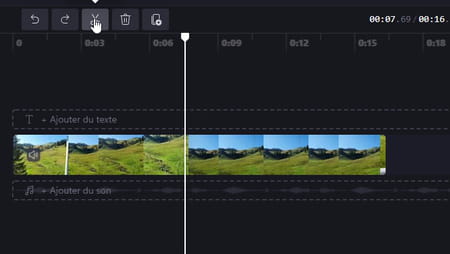
► To split a clip in two, move the playhead to the desired location and click scissors icon or press the key S of the keyboard.
► To place a transition, click on Transitions at the bottom of the left column. The list of effects is displayed. Hover the mouse pointer over the thumbnails to preview the rendered effect.
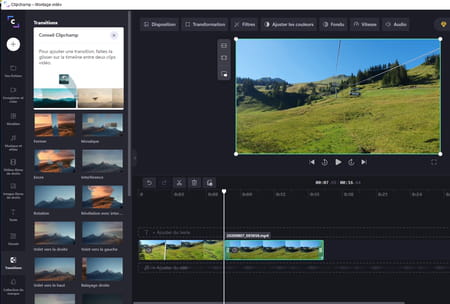
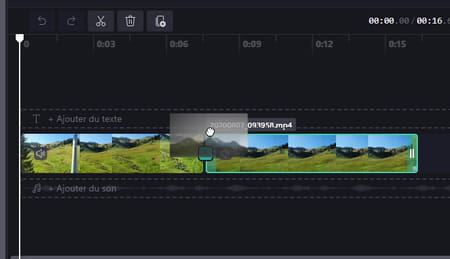
► When you have chosen your transition, drag the effect between the two desired clips on the timeline.
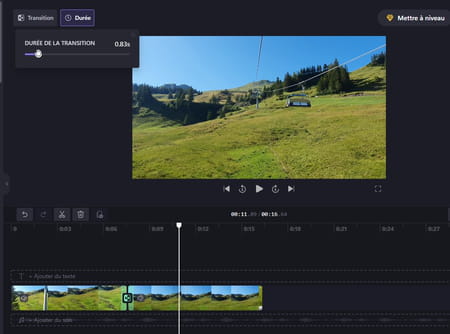
► You can of course control the effect and in particular its duration. Click on its icon in the timeline and then on the button Duration at the top left of the preview window. Then set the duration of the effect. Click the play button to see what happens.
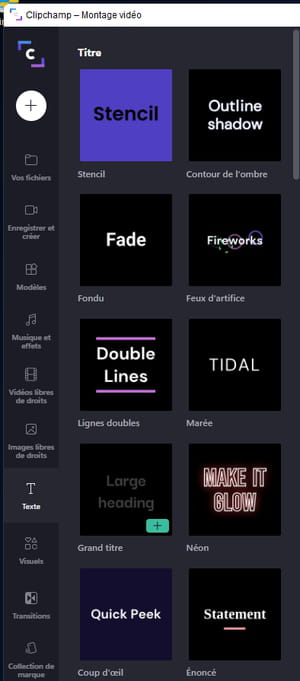
► To add a title or subtitle, click on the button Text in the left column. A wide variety of titles are offered. You can hover the mouse pointer over them to get an idea of the animation they enjoy.
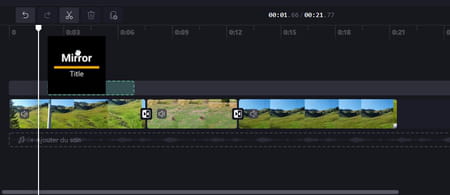
► Once you have chosen your title, drag its thumbnail on the timeline to where you want it to appear (you can move it later).
► At the top of the preview window are all the options to change the title. Click on Text to enter the desired text.
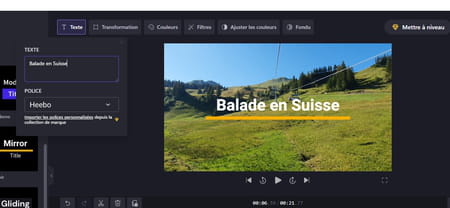
► Use the other tools to adjust the location of the title, change its color, apply filters, etc.

► To add music, click on the button Music and effects in the left column. Two tabs are then available: Music which allows you to use music tracks delivered with the app and Audio effects, to select sound effects or fun sounds. Click on the play button to listen to the proposed sounds. Caution: the elements flanked by a diamond shaped icon are chargeable.
► You can also choose a music file you own. To do this, simply add it to the bin the same way you added your video files. You must then drag it onto the timeline at the desired location.
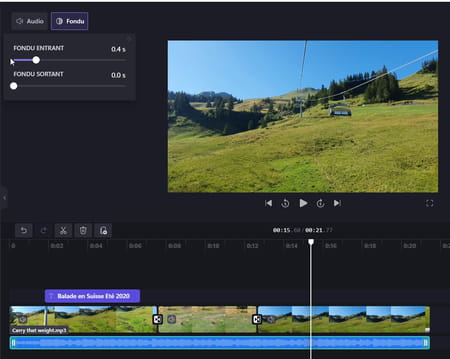
► Once the music is in place, like for transitions or video files, you can adjust its length (by dragging handles at its ends) and add a fade in and fade out.
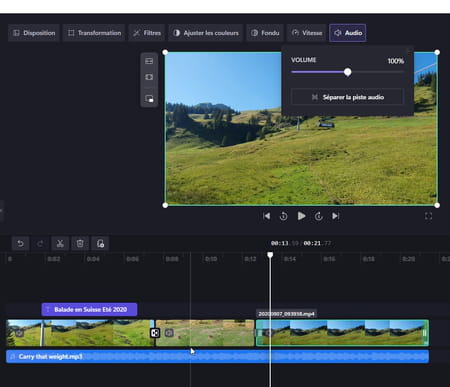
► Note that you can keep or not the sound included in the video file or adjust its volume. To cut it, just click speaker icon placed in the clip’s thumbnail on the timeline. To modify the volume, click on the concerned video clip in the timeline then on the button Audio above the preview window.
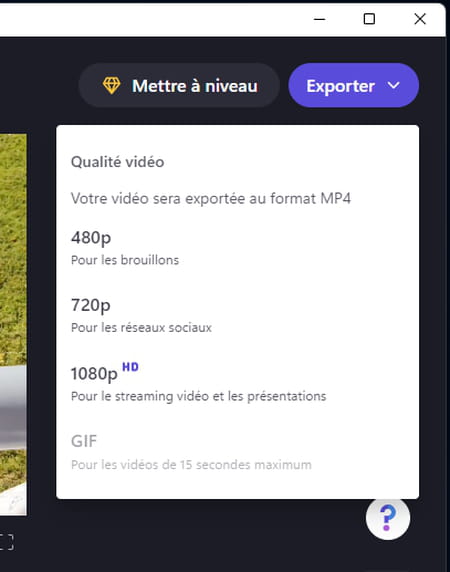
► Are you satisfied with the result? All that remains is to save your work. Click on the button Export at the top right of the window. Choose the desired quality (480p, 720p or 1080p). Note that videos of up to 15 seconds can be transformed into GIFs.