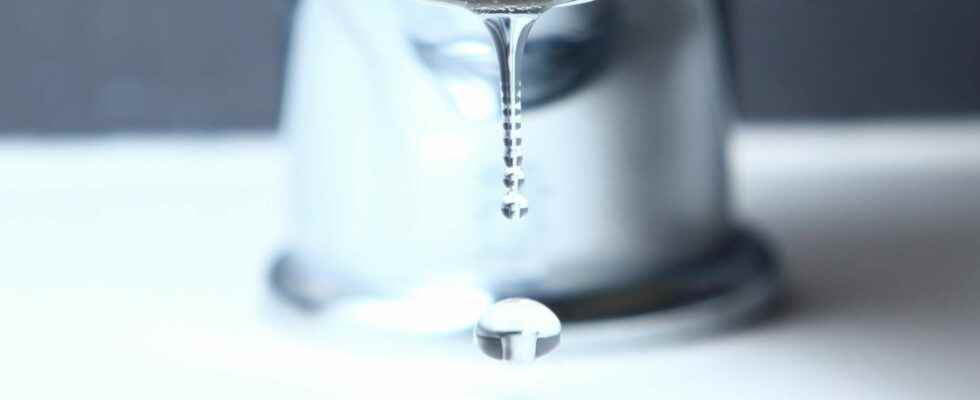
In addition to this irritating little regular lapping suggesting that it is leaking, a dripping tap can have significant consequences on your water bill and a direct impact on the environment. Don’t hesitate to roll up your sleeves to repair it with simple gestures and put an end to this noise and costly damage!
You will also be interested
Leaving a faucet dripping without intervening can be fatal for your water bill. Indeed, according to theAdeme, a leaky faucet can waste up to 120 liters of water a day. An alarming figure which corresponds, to within ten litres, to the daily water consumption of a French person. Nor should we ignore the preciousness of this resource, at a time when a quarter of the world’s population is facing a water stress disturbing.
Why is a faucet dripping?
A dripping faucet often finds its origin in a failure related to a problem of gasket. Handled daily, the handles tighten these joints which deteriorate, become less solid and no longer play their role.
A water limestone can also be one of the causes that causes a dripping faucet. the tartar builds up in his head and this eventually leads to a water leak.
How to change the seal of a faucet?
Before repairing a dripping faucet, be aware that, depending on the type of system, the repair is not carried out in the same way. So, start by identifying if you need to restore a mixer tap or a mixer tap.
1- Repair a dripping mixer tap
- The first step is to cut the water from the main inlet, then bleed the water circuit by opening the tap for a few seconds.
- Remove the cap from the tap (be careful, there are some with and without screws) and unscrew the tip protected with a cloth so as not to scratch it with the help of multiple pliers. Also unscrew the faucet mechanism, you will see: the faucet opening and closing seal and the O-ring which ensures its sealing. If you notice that the seals are damaged, it is essential to replace them with new ones.
- The final step is to reassemble the tap system: screw the nozzle back on and replace the cap. Repeat the operation for the second handle.
- Check that the leak has been corrected by turning on the water supply and activating the handles.
Tip: To ensure you don’t get the wrong gasket patterns, take the old ones with you when you go to a DIY store or invest in a plumber’s gasket box containing several kinds of washers.
2- Repair a dripping mixer tap
- In the same way as to repair a dripping mixer tap, close the inlet water main and bleed the mixer tap.
- First, remove the screw cover in the center of the faucet (blue and red pad) and unscrew the fixing screw using an Allen key or a flat screwdriver. Remove the control handle, unscrew the nut that holds the head and remove the cartridge.
- Equip yourself with a cartridge identical to that of your mixer tap and replace it.
- Replace the faucet parts by carrying out the same steps in the opposite direction.
- Finally, turn on the water supply to see that your mixer is working properly.
Tip: faucet cartridges are not all the same, do not hesitate to contact a professional in a do-it-yourself to purchase the cartridge that is right for your system.
How to descale a faucet?
Repairing a dripping faucet also involves its descaling. To remove scale, disassemble the different parts of the tap and let them soak in a basin of White vinegar hot for a few hours.
The head faucet filter must also be dismantled, scale can accumulate there and cause the faucet to drip. Use multiple pliers to unscrew it.
When the white vinegar has acted on limestone of the different parts of the faucet, do not hesitate to brush them to eliminate the remaining scale residues.
Interested in what you just read?