
Your OneDrive folder, which allows file synchronization with the Microsoft cloud, is starting to take up a little too much space on your PC? You can move it to another location on a second storage space.
OneDrive, Microsoft’s cloud storage and synchronization service is very practical. It allows you to keep a copy of the desired files safe from false manipulations, well protected on the Microsoft servers provided that the PC is connected to the Internet (read our practical sheet). Synchronization takes place continuously and transparently. The tool is also very practical for finding, from any device, elements saved online. However, OneDrive also keeps a copy of the files in the synced PC storage space in a OneDrive folder. This folder is even the one retained by default by Windows for a large number of uses. And it’s in the user folder, in other words, on the C drive. So if space is running out on that partition which also hosts the system, you might be tempted to do a bit of cleaning up your OneDrive folder to eliminate some bulky files. If you have a second hard drive or SSD in your PC, this maneuver is not necessary. OneDrive, like the other libraries of the user account (Pictures, Documents, Music, etc.) can be moved elsewhere in order to regain some space. Nevertheless, as it is a folder synchronized online, some precautions must be taken at the risk of losing synchronization. Also, the manipulations take place in three stages: first the “disconnection” of OneDrive, then the movement of the folder and finally, the reconnection of OneDrive for synchronization. The operations are the same for Windows 10 and 11, however, Windows 11 requires a few extra steps due to the disappearance of the Move to option from File Explorer. Here’s how.
Before you can move OneDrive to another hard drive or SSD? it must be “disconnected” from the cloud, that is to say, cut off the online synchronization.
► Open the notification area of the taskbar and click on OneDrive. In the panel that appears, click the toothed wheel top right. From the pop-up menu, choose Settings.
► A new window opens. Click on Account in the left column. Then click on the link Unlink this PC placed under the account name.

► A dialog pops up asking you to confirm the removal of the account link. Validate your choice.

► The OneDrive folder on your PC is now no longer connected to the cloud (online Microsoft servers). It is also not impossible that a window will appear on the screen inviting you to configure OneDrive. But don’t be afraid. Everything that was in that folder is still there and in the online storage.

Now that the OneDrive folder on your PC is disconnected from online syncing, you can move it to another hard drive or SSD. Warning: with Windows 11, some additional operations are necessary.
With Windows 10
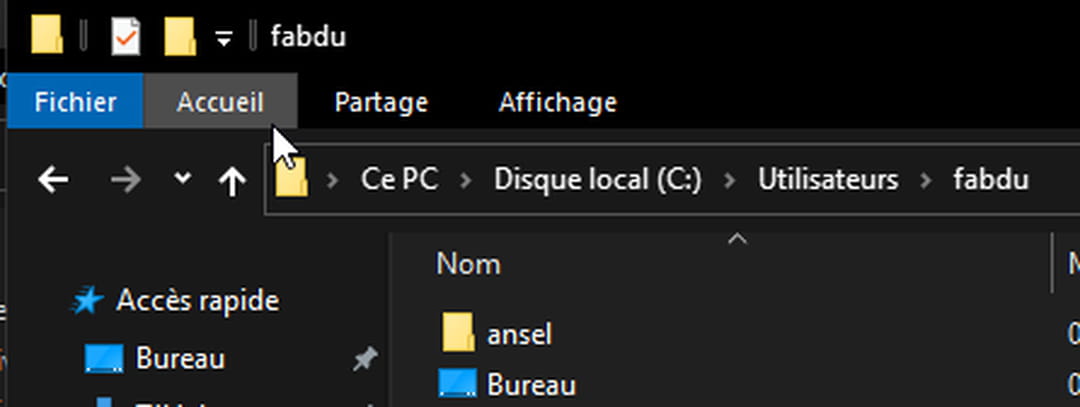
► Open File Explorer (with the shortcut Win + E) and then navigate to your OneDrive folder. By default, it is in your user folder (VS: > Users > name of user). Click on the button Welcome File Explorer to display the Tool Ribbon.
► Select folder OneDrive in the middle part of the window and then, in the Explorer tools ribbon, click Move towards.

► In the pop-up menu, choose Choose a location at the bottom of the list.

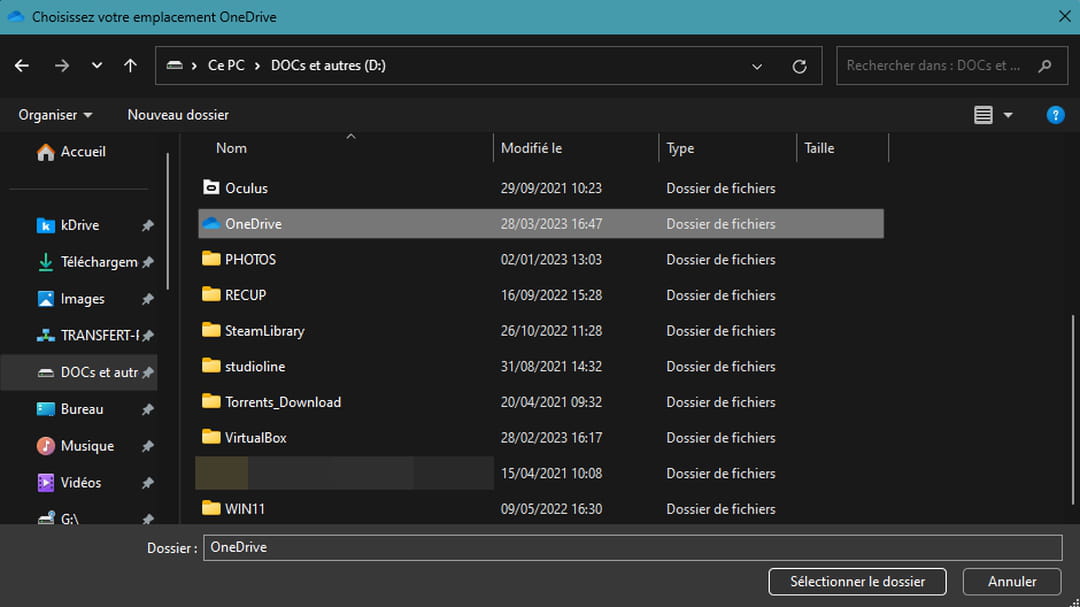
► In the window that appears, choose the new location for your OneDrive folder, on a second hard drive or SSD for example, and confirm with a click on the button Move. The copying of the OneDrive folder (and the files it contains) starts immediately.

With Windows 11
► The option Moving File Explorer is no longer present in Windows 11. However, you can reintegrate it by modifying the registry. It will then be accessible to move your OneDrive folder to a new location. To do this, open the registry editor by typing the shortcut Win+ R and entering Regedit in the window that appears.

► Now access the following key:
HKEY_CLASSES_ROOTAllFilesystemObjectsshellexContextMenuHandlers
► Right-click on this key and choose New > Key.

► Give the following name to this new key (copy and paste this name to avoid typing errors):
C2FBB631-2971-11D1-A18C-00C04FD75D13

► The function Moving is now integrated into the Windows context menu. Open File Explorer (with the shortcut Win + E) and then navigate to your OneDrive folder. By default, it is in your user folder (VS: > Users > name of user). Right click on it and choose Move to Folder.

► In the window that appears, choose the new location for your OneDrive folder and confirm with a click on the button Move. The operation starts immediately.

The OneDrive folder hosting your synchronized files in the cloud is now stored on another hard drive, all you have to do is reconnect it to Microsoft’s servers.
► Open the notification area of the taskbar and click on OneDrive. In the panel that appears, click Se connect.

► A new window opens. Enter your Microsoft account and confirm with To log in.

► After authentication, Windows wants to create a new OneDrive folder in your user account as before. Click on the link instead Change location.

► Then navigate to your folder OneDrive you just moved to another hard drive or SSD and select it.
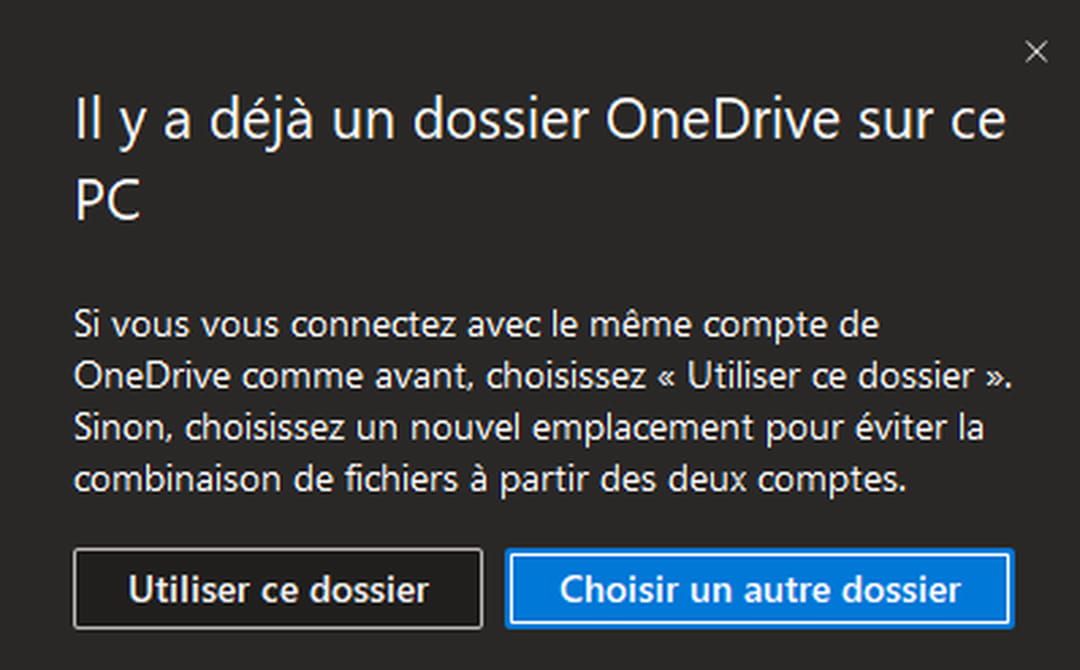
► An alert window pops up and informs you that there is already a OneDrive folder on this PC. Click on Use this folder. Then validate with a click on Following.
► Finally, all you have to do is define the items you want to save in OneDrive as before and validate by Start backup. Your OneDrive folder is now saved elsewhere but still operational.
