You want to retrieve photos taken with your mobile on your computer. It only takes a few clicks to transfer them to your PC or Mac. And it’s also a good way to save space on your smartphone too!
If you have an Android phone, you are definitely using it for taking photos or videos. But regardless of its storage capacity, there comes a time when your smartphone’s internal memory becomes full, usually due to accumulated images. And even without space problems, you certainly want to put your personal photos in a safe place on your computer, just to organize them or display them on a big screen.
However, if the transfer of images – and files in general – from an Android mobile is no problem with a PC, it is quite different with a Mac, the relationship between Apple and Google being somewhat “complicated”. … Connect an Android smartphone to a Mac with its USB cable and… absolutely nothing will happen, except recharging the battery of the mobile. Thus, without the little help of a utility specific to the brand of the phone (such as HiSuite Huawei and Honor devices, Kies for Samsung, Motorola Device Manager for Motorola or even XPeria Companion for Sony models marketed before 2019) or a general tool such as Android File Transfer (free), you will have to rely on the automatic backup set up by Google through its Photos application.
Note that the operations detailed in this practical sheet work as well with photos as with videos.
Whatever the make or model of your Android device, recovering your multimedia files by connecting the mobile to the PC with its USB cable presents no difficulty.
- Wake up the mobile then unlock it otherwise Windows will not be able to access its content.
- Then connect the smartphone to the PC using its USB cable.
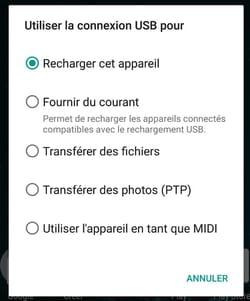
- On the smartphone screen, a notification is displayed. Then press Upload photos.
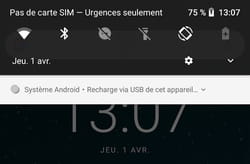
- If the notification doesn’t appear immediately, unfold the notifications panel with a swipe down from the top of the screen. A notification indicates that the device is being recharged via its USB socket. Tap on it.
- Then choose Upload photos (PTP).
- Windows immediately reacts with an audible alert and takes care of configuring your device. When ready, Microsoft’s Photos app may open automatically. If not, start it yourself.

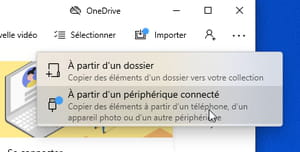
- Then click on the button Import at the top right of the window. Choose From a connected device.
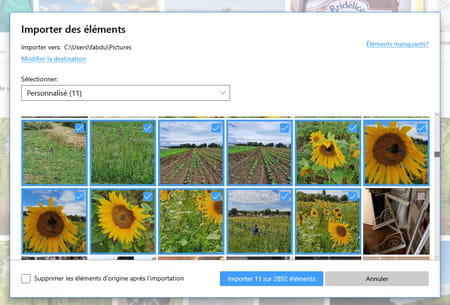
- After a few seconds, the app identified your smartphone and the folder containing the photos. Select the photos you want to transfer to the PC by checking the box at the top right of each thumbnail. When everything is ready click on the blue button Import XX photos out of XXXX items (where X corresponds to the number of items selected out of the total number of pictures saved in the phone).
- Once the pictures have been imported, you can quickly find them by clicking on the link Show recent items placed at the top center of the window.

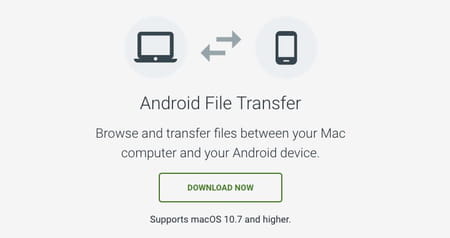
macOS is less flexible than Windows when it comes to communicating with an Android device. Fortunately, a small free utility allows the two systems to get along: Android File Transfer.
- First, bring the free Android File Transfer tool back to the Mac.
Download Android File Transfer for macOS
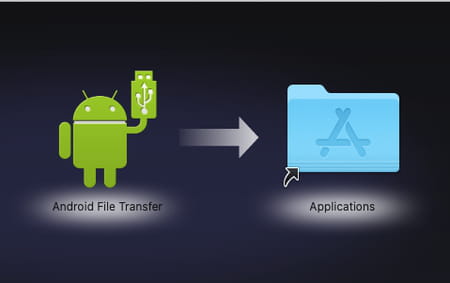
- Drag the Android File Transfer application icon into the folder Applications macOS, then launch the program.
- A dialog box is displayed when the software is launched.
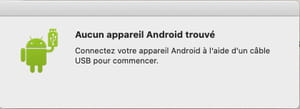
- Wake up your mobile, unlock it and connect it to the Mac with its USB cable. An error message is displayed on the screen.
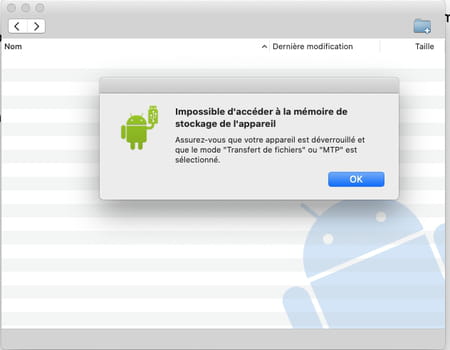
- Click on OK. This error is normal since you have not yet indicated to the mobile which connection mode to use. On the smartphone screen, a notification is displayed. Then press Upload photos.
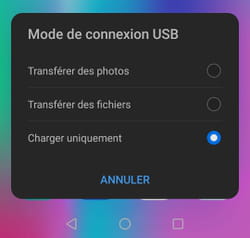
- If the notification doesn’t appear immediately, unfold the notifications panel with a swipe down from the top of the screen. A notification indicates that the device is being recharged via its USB socket. Tap on it.
- Then choose Upload photos (PTP).
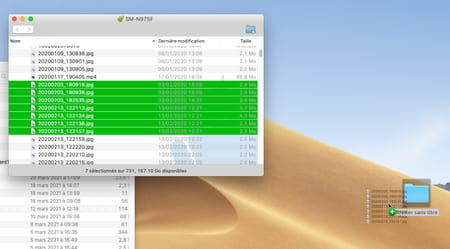
- Android File Transfer is restarted immediately. It displays in a small window the different folders on the smartphone that the Mac can access.
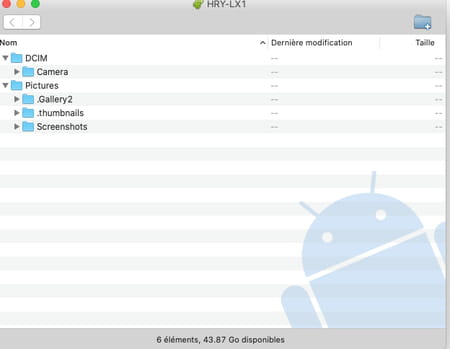
- Photos taken with the smartphone camera are in the folder DCIM > Camera. All that remains is to select the desired items and copy them to a folder on the Mac.
As long as your smartphone is connected to the Internet via Wi-Fi and you use the Google Photos app (installed by default on Android) then your photos go to the cloud (online storage space) of Google for there be saved automatically. There is nothing to prevent you from retrieving your photos by signing in to your Google Photos account from your computer’s web browser.
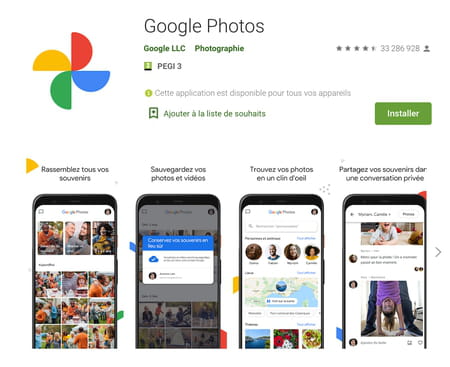
- Launch Google Photos on your mobile. If you don’t have the app, bring it back from Google’s online store. It is of course free.
Download Google Photos from the Play Store
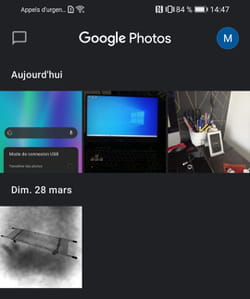
- Press the round button at the top right of the screen.
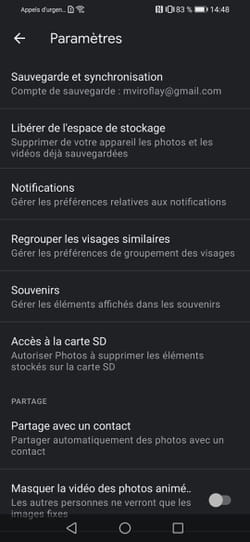
- In the menu that appears, choose Google Photos settings.
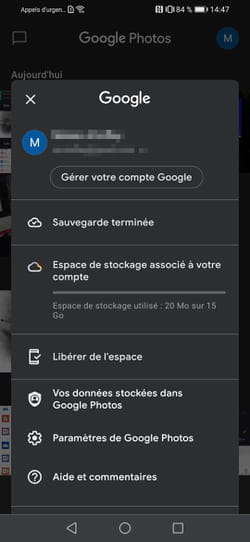
- In the page that appears, press the first option: Backup and synchronization.
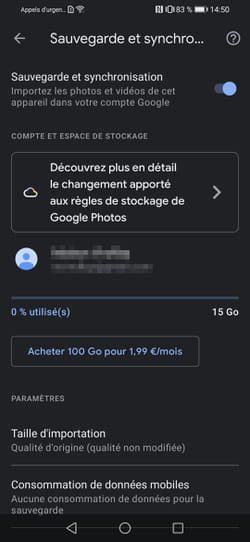
- Activate, if not already done, the switch Backup and synchronization. Your photos will now be saved in your Google online space as soon as the device is connected to a Wi-Fi network (so as not to consume your data plan). By default, they will keep their original size.
- To access your photos and videos saved in your Google online space, use your usual browser on the page of Google Photos.
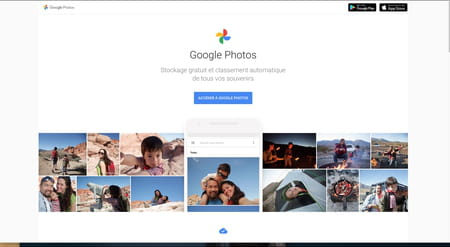
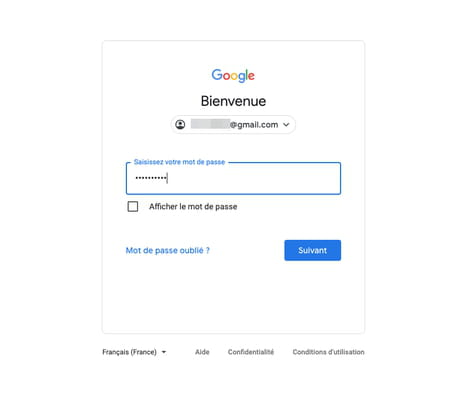
- Click the blue button Go to Google Photos. Identify yourself using the same identifiers that you use on your mobile.
- Immediately, all the pictures that have been synchronized between your smartphone and your Google Photos account are displayed. Click the check mark at the top left of each image you want to recover on your computer to select them.
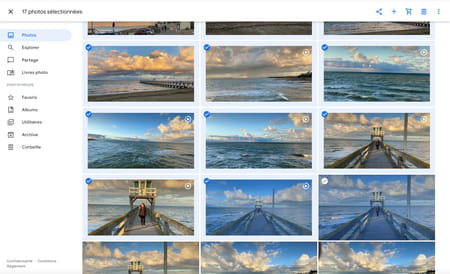
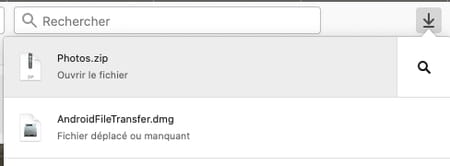
- Once the selection is made, press the keyboard shortcut Shift + D and confirm the download. The photos and videos are then gathered in a Zip archive that you will find in the folder Download from your computer.