
Are you running out of free space on your PC? It’s probably time to do a disk cleanup, especially if Windows is showing signs of slowing down…
Over time and its use, Windows becomes cluttered with multiple temporary files – like all operating systems – coming in particular from updates and the Internet. Files that take up unnecessary storage space, but which are difficult, if not impossible, to delete manually, because they are almost invisible – more precisely, they are scattered in well-buried folders.
To free space on the disk and relieve Windows of these useless files which can slow it down, it is advisable to carry out a small cleaning regularly. A simple and fast operation, especially since Windows includes a utility specialized in the operation. Alas, despite its obvious usefulness, this tool is also well hidden in the depths of the system, which means that we have a fairly natural tendency to ignore it or forget it!
Note in passing that this tool is not confined to a single activity: it can be used to erase other types of files – for example, those left in the Recycle Bin -, but also to clean other partitions or disks, including external.
- Type the keyboard shortcut Windows+R to open the window Execute.
- In the input field, type cleanmgrthen press the key Hall or click the button OK to validate.
- If you have multiple disks – or multiple partitions – on your PC, a window titled Disk Cleanup: Drive Selection appears, prompting you to select the drive to clean.
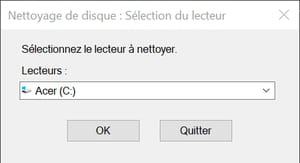
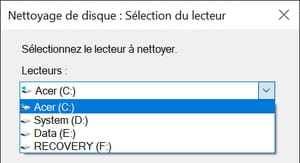
- Click on drop-down menu to choose the reader concerned in the list then on OK to validate. You must select the disk on which Windows is installed, the drive (C:) in general.
- If you have only one disk, the drive (C:) is selected by default and this window does not appear.
- The window Disc cleaning is displayed. In the list Files to deletecheck all the boxes except Downloadsto keep the files you’ve downloaded on your computer – you can always delete them individually by hand, if necessary, by opening the Downloads folder.

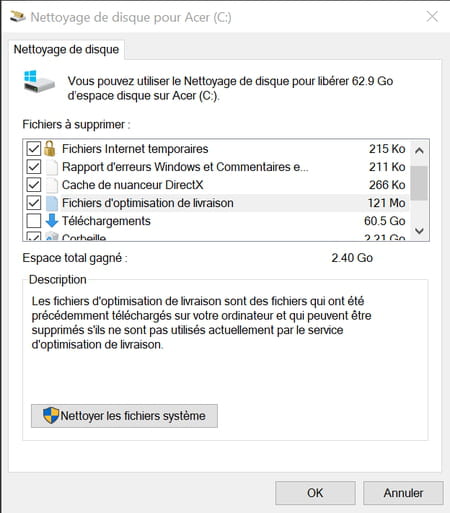
- If you have any doubts, simply click on an item in the list: a description will appear below, with the space occupied.
- When your selection is complete, click the button Clean up system filesat the bottom left.
- A warning window appears where Windows asks you to confirm the disk to be cleaned. Validate by clicking on OK.
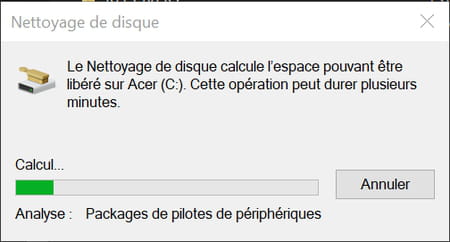
- Another window appears showing the progress of the scan. Wait a few minutes – the time varies depending on the size and nature (HDD or SSD) of the selected drive.
- When the scan is complete, the Disk Cleanup window appears again, but the list of items to remove is slightly different. Check everything (Recycle Bin, Thumbnails, Temporary Files, etc.) except Downloads, Windows Defender Antivirus, and Windows Upgrade Log Files, which may still be useful. Click on OK to validate.

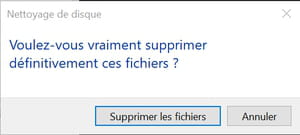
- A warning window appears, informing you that files will be permanently deleted. Click on Delete files.
- Again, another window opens showing the cleaning progress. Wait: it will close automatically when the cleaning is finished.