
Want to share souvenir photos with your loved ones? Forget the slideshow made in PowerPoint and use the Windows 10 Photos app to embed your photos into a video that’s much more enjoyable to watch!
Free and installed by default with Windows 10, Microsoft’s Photos app has several strings to its bow. Because if it allows of course to organize and edit your shots, it also has a few functions to make and edit videos. A very practical tool to combine your photos in a small video sequence. An operation that is all the simpler as it will require almost no effort. In fact, the Photos app offers you to manage the staging of the shots on your own, to set them to music and start over until you like the result. And if, despite all its proposals, nothing suits you, you can at any time take back control of the editing to organize the order of the images, define music, apply effects or filters, etc.
Designed for those who want to save time or who aren’t comfortable with editing, the Auto Video option in the Photos app does a great job on its own when it comes to stitching your footage together.
- Launch the Photos app from the Start menu if you can’t find it. The snapshots found on your computer or in OneDrive (Microsoft’s online storage space) are displayed. Click on the button New video at the top of the window and choose Automatic video.
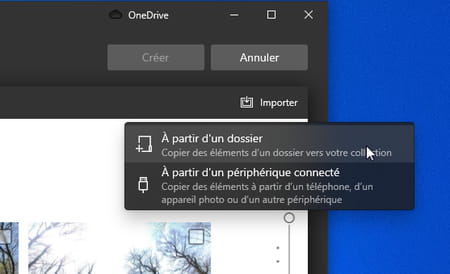
- Select the shots to appear in your video. If they are not present in the list presented by the Photos app, click on the button Import at the top right, then choose the source: From a folder if the snapshots are stored in a folder on your computer or From a connected device if the photos are still in your smartphone, for example.
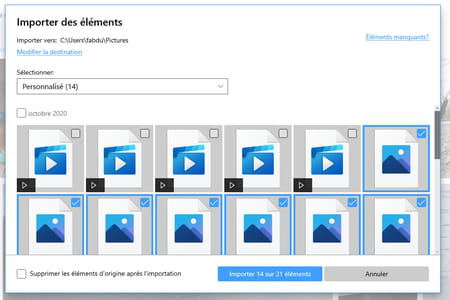
- Now choose the elements to import. Tick boxes of their thumbnails, then click the blue button Import, at the bottom of the window.
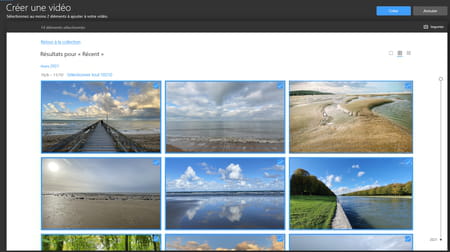
- Select the desired elements then click on the blue button To create at the top of the window to make a first video from your photos. Give a name to your sequence (be careful, this may appear in the video as a title) and validate with OK.
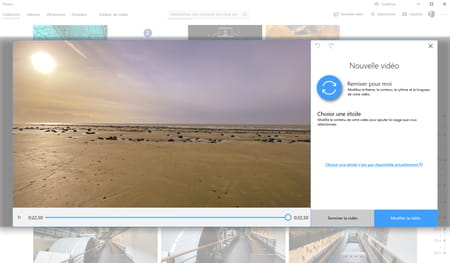
- After a few seconds or a few minutes (depending on the computing power of your computer and the number of photos to process), a first video proposal is displayed. Its reading starts automatically. The images come alive (with zooming or traveling effects) and are based on music provided by the Photos app. If this arrangement does not suit you, click on the blue button Remix for me.
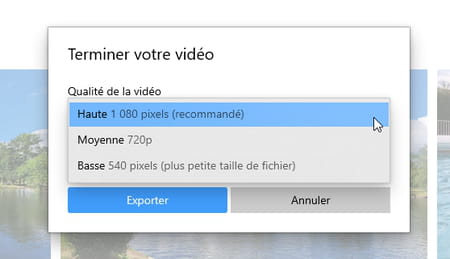
- A new version of the assembly is offered to you. If it suits you, click on the button End the video. You can then choose the display quality: Full HD at 1080 pixels, 720p for HD or 540 pixels for low definition video. Then click on the button Export and set the folder to save the video to. You will then have a video file in MP4 format, playable on all kinds of devices.
Have you just created an automatic video and you are not completely satisfied with the result? No need to start from scratch. The version of the sequence offered by the Photos app remains fully editable by you.
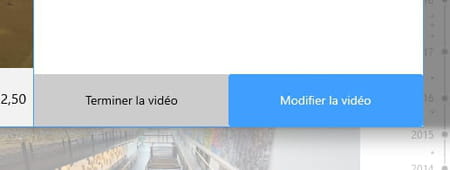
- Repeat the previous operations but, once the automatic editing has been proposed, click on the button Edit video instead of End the video.
- The editor then presents several tools to modify your video as you wish.
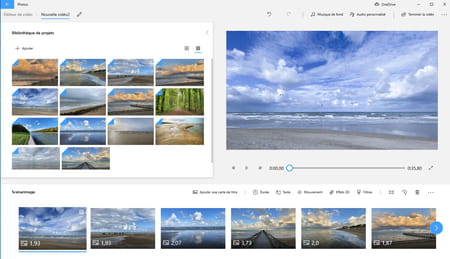
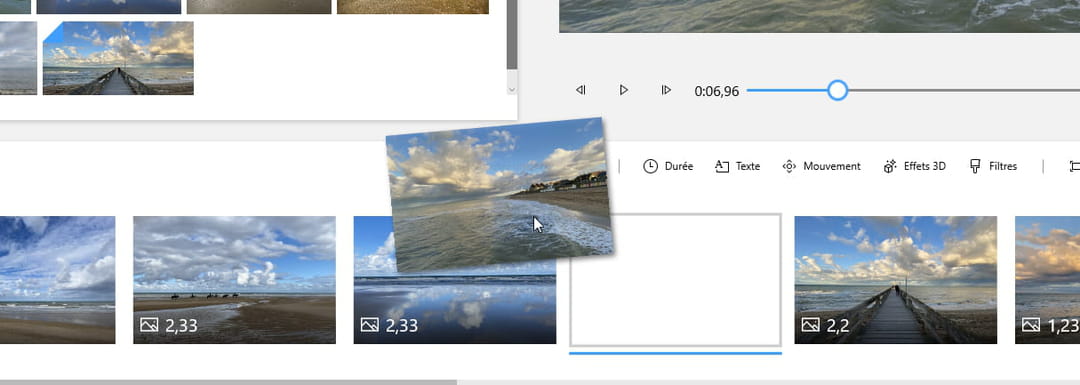
- To section Storyboard at the bottom of the window, all the photos that make up your video are displayed in the form of thumbnails. Each has a duration. You can move the thumbnails to cycle through the images in the order you want. Click on one of them, hold the click and move it with the mouse to the desired location.
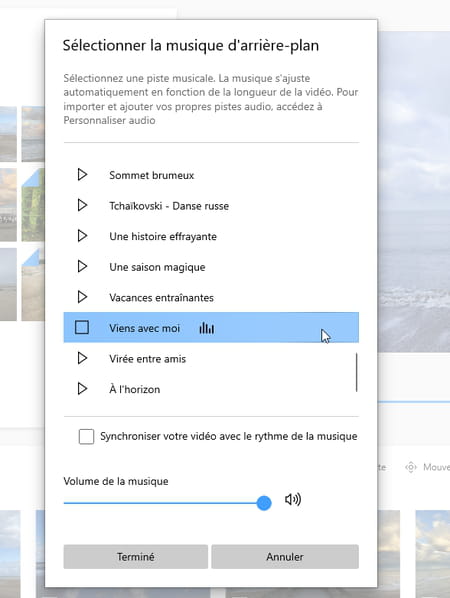
- If the music automatically retained by the app does not suit you, you can change it. Click on the button Background music at the top of the window. Nearly fifty pieces of music are on offer. Test them by clicking on the triangle to the left of their name until you find the one that suits you. As Photos has set the display time of the images on the music, do not forget to repeat the operation for the new music selected. Check the box Synchronize your video with the beat of the music. Click on To end.
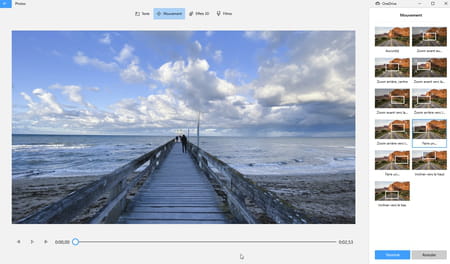
- You can also add music of your choice (by clicking on Custom audio at the top of the window), add text, change motion effects applied to images, apply filters, etc.
- When you are satisfied, click End the video at the top right of the window. You can then choose the display quality: Full HD at 1080 pixels, 720p for HD or 540 pixels for low definition video. Then click on the button Export and set the folder to save the video to. You will then have a video file in MP4 format.