Want to access a PC on your local network but Windows asks for a username and password you don’t know? A few clicks are all it takes to fix the problem permanently.
Since Windows 7, Microsoft has made it much easier to network any computer. As long as they are all connected to the same local network – Ethernet or Wi-Fi -, making them communicate with each other no longer requires special computer skills. You can then transfer files from one PC to another and even exchange them with a Mac. However, if you stumble upon certain steps, you can refer to our How-to-share file on a local network.
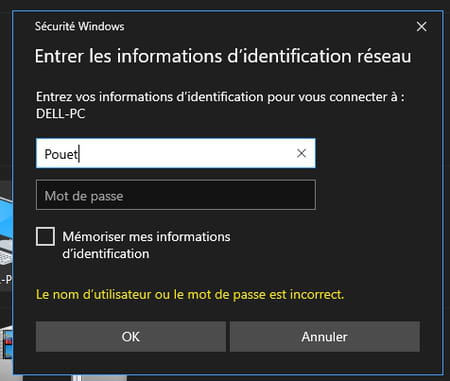
However, this beautiful mechanism is not waterproof to grains of sand. And many users are faced with a window asking them to enter a username and password. If, whatever information you enter, you are denied access, don’t despair. A little adjustment is all it takes to put you in control.
Before embarking on any adjustment, you should check that file sharing is activated on the PC you want to access through the local network.
- First, access the Control panel Windows. Click for it in the search field Windows and type Panel. Click on the first occurrence: Control panel. If you prefer to use only the mouse without going through the keyboard, click on the Start menu, scroll through the list of applications, expand the folder Windows system then click on Control panel.
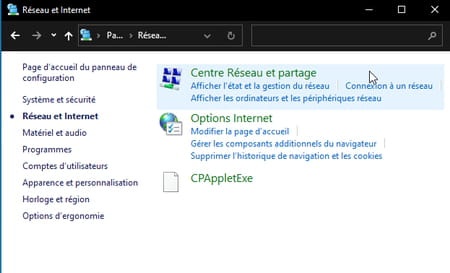
- In the window that appears, click Network and Internet then on Network and sharing center.
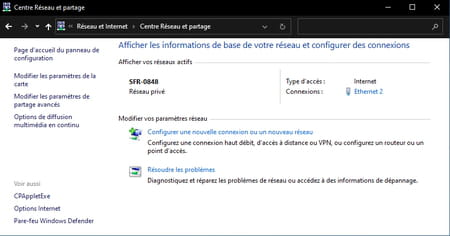
- A new page is displayed showing the status of your Internet connection. Click in the left pane on the link Change advanced sharing settings.
- The window presents three profiles. In the section Current Profile, check that network discovery is enabled as well as file and printer sharing. If applicable, tick the appropriate boxes. Don’t forget to click on the button Save Changes if you brought any.

- Repeat for the profile Guest or audience.

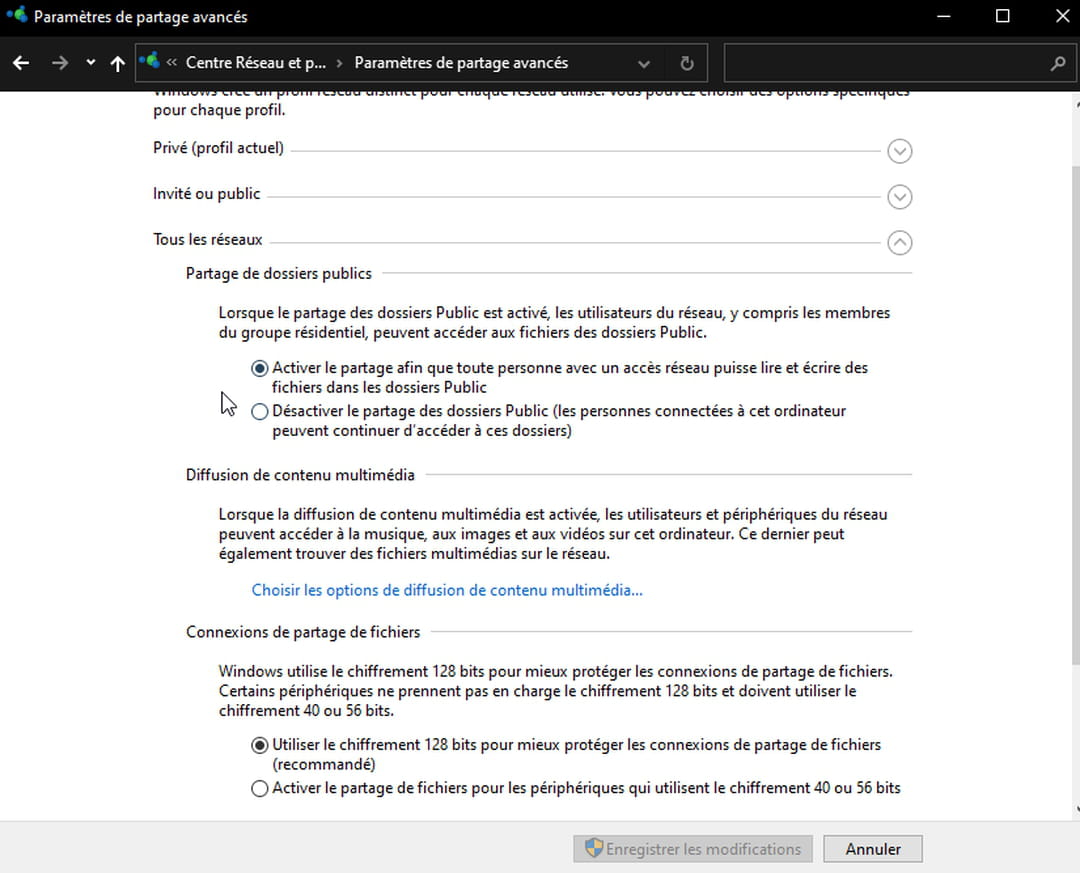
- To section All networks, tick, if not already done, the box Enable sharing so that anyone with network access can read and write files in public folders. Click on the button Save Changes if you have made some and do not close this window.
You have just established file sharing on the PC you want to join. However, to connect to this computer through the network, you will not only need to know the name of a user account on this PC but also the password associated with it. Here’s how to remove this obstacle.
- Still in the window of Advanced sharing settings, to section All networks, go to the bottom and check the box Turn off password protected sharing. Click on the button Save Changes. Be careful to tick the box Enable password protected sharing when you move that PC away from your home (if it’s a laptop) to keep your public records safe.

File sharing being activated and operational, all that remains is to access the PC through the network.
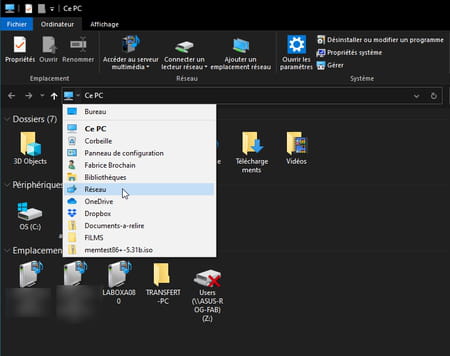
- Open File Explorer. Click the arrow to the left of Quick access and choose Network.
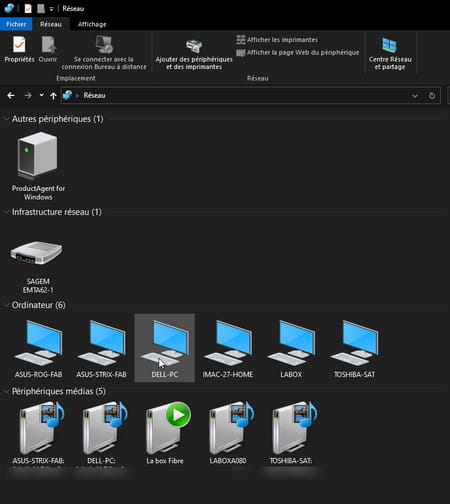
- Windows Explorer shows all the machines currently connected to your local network. The computer you have just configured, the one you use, but also your box, when it can act as a server.
- Double click on the name of the PC that you have just configured. The dreaded window appears. Just type in a username – you can type anything, even a word that doesn’t match any name. However, do not enter a password in the following field and click on OK.
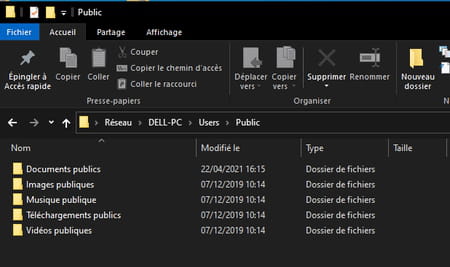
- File Explorer displays a folder icon Users. Open it up. It displays the folders Public user accounts present on this PC and which you can now access.