To make sure you never lose the precious content of your Android phone, use the backup function of your Google account: you will easily recover all your personal data if necessary.
Your smartphone has undoubtedly become an indispensable companion in your daily life. Much more than just a phone, you can use it to communicate as well as share information, consult websites, make purchases, use online services, take photos, watch videos and even play games. In fact, in addition to the applications you have installed, it contains a lot of valuable and sometimes confidential personal information that you certainly do not want to lose: contacts with email addresses and telephone numbers, messages, account settings, etc. In short, a concentrate of your digital life and your various activities.
Why associate an Android mobile with a Google account?
It is therefore essential that all this data be protected. And this is the case if you use a Google account on your Android mobile, as you are offered by default, during the initial configuration of your device. Whether or not it is associated with a Gmail address, it is indeed this account that allows you to use the many Google services, starting with the Play Store, to download applications. The advantage of having a Google account linked to your phone is that all the data in it is automatically backed up to Google Drive thanks to a synchronization that runs in the background regularly – usually at night. Of course, you can perform this backup manually whenever you want, to be sure that all your data is synchronized and always safe, on Google’s servers.
But, above all, a Google account allows you to easily recover all your data when you reset your phone, or when you change models. So when you set up a new phone, just link it to your Google account to get your favorite apps and all your personal data back in seconds. No need to export or copy contact cards, messages, documents or photos: you find everything saved! All in a few minutes, without having to go through a memory card or a computer. All you need, aside from a Google account, is an internet connection, preferably Wi-Fi.
However, as always in the Android world, if the manipulations are very simple, they vary according to the mobile used, according to the version of the system installed and the manufacturer’s software overlay. So there is no question of detailing them for all the phones on the market! But you should be able to easily adapt the methods explained in this sheet to your model.
Access to backup and synchronization functions with your Google account varies depending on your smartphone. You have to dig around a bit in the settings to find the right menu. Here are some examples with popular brands.
Make Manual Backup on Xiaomi Phone
- Open them Settings smartphone and press Account & synchronization.
- In the section Googletap your account Google.
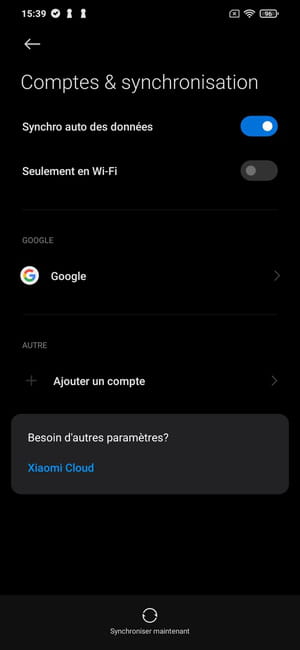
- Select the items to include in the backup and tap the button More to display the options.
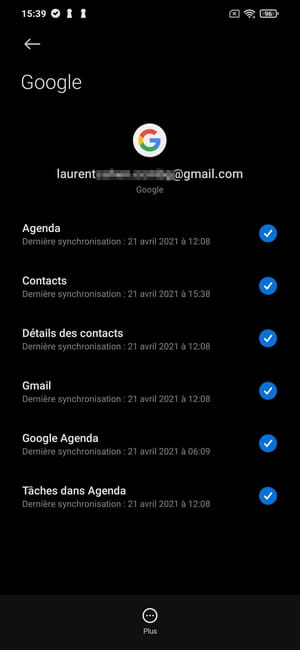
- In the small pane that appears at the bottom, tap Sync now.
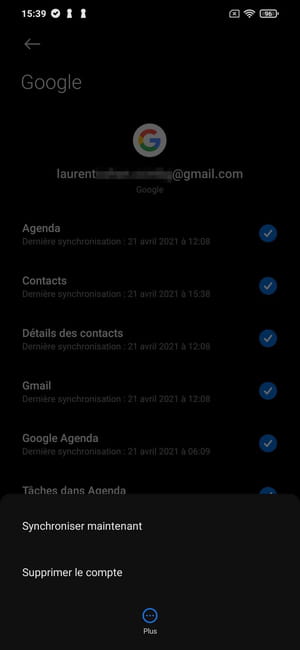
Make a manual backup on a Google Pixel phone
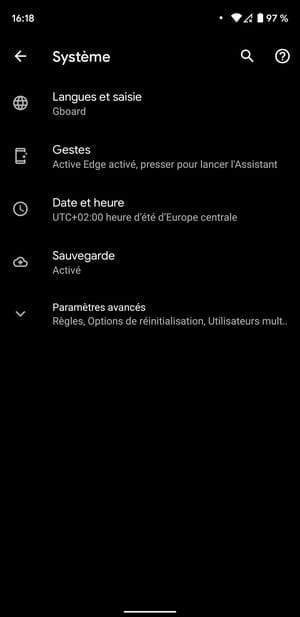
- Open them Settings and enter the menu System
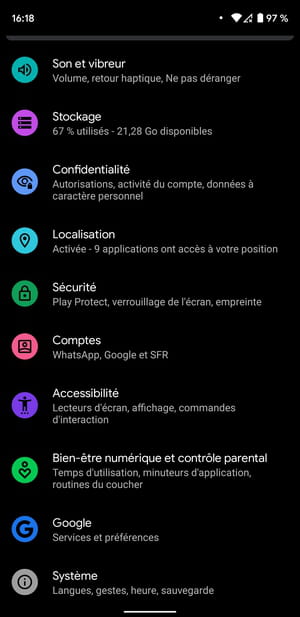
- Enter the menu Backup.
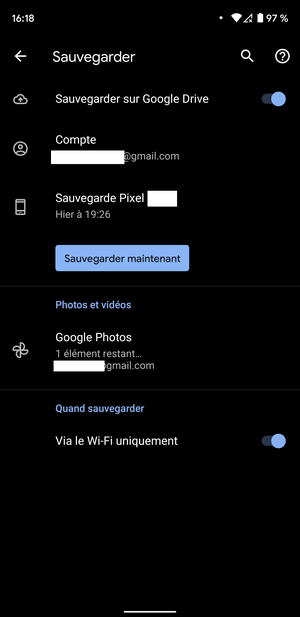
- Push the button Back up now.
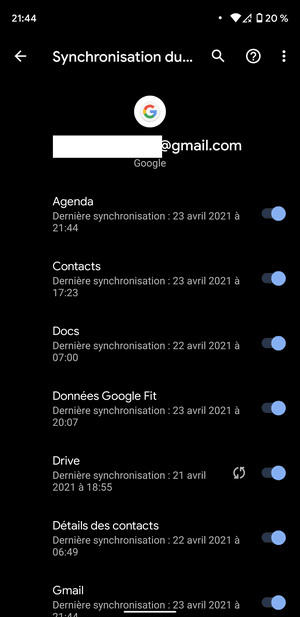
- By default, your smartphone synchronizes all your data on the Google Drive account set up for backup. However, you can exclude certain data from the backup by going to Settings > Accounts > [email protected] > Account synchronization. Then uncheck the data to be excluded from backup.
Make Manual Backup on Samsung Phone
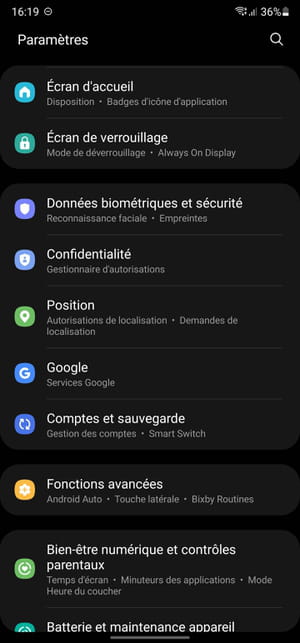
- Open them Settingsand enter the menu Accounts and Backup.
- At the Google Drive line, press the button To safeguard.
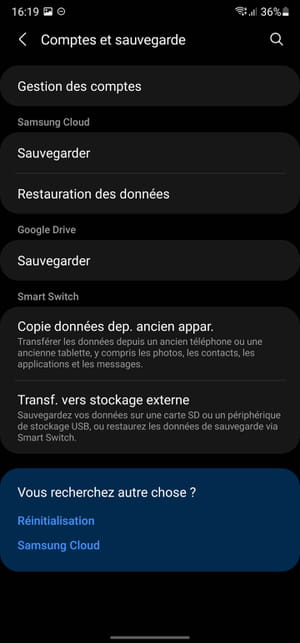
- Then press the button Back up now.
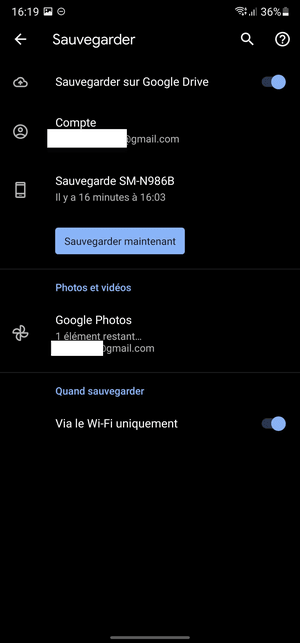
- By activating synchronization on your smartphone, all the data it contains is synchronized by default. However, you can exclude certain data from synchronization by going to Settings > Accounts and Backup > Account management > [email protected] > Account synchronization. Then disable the button of data to exclude from backup.
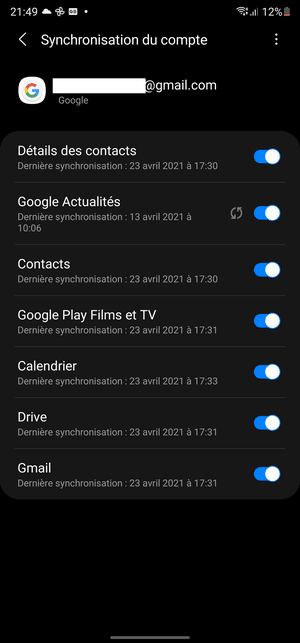
Your data is now backed up to your Google Account. When you set up your account on your new smartphone, all your data will automatically sync to your new device.
Factory reset your Android phone or setting up a new model? Use your Google account to easily and quickly recover all your personal data! Depending on the model and manufacturer of your smartphone, the procedure for starting and configuring the device may be different, but the principle remains the same.
- Press the power button to start your Android smartphone freshly reset or out of the box if new, and press the button Nextoften represented by an arrow, to start configuring it.

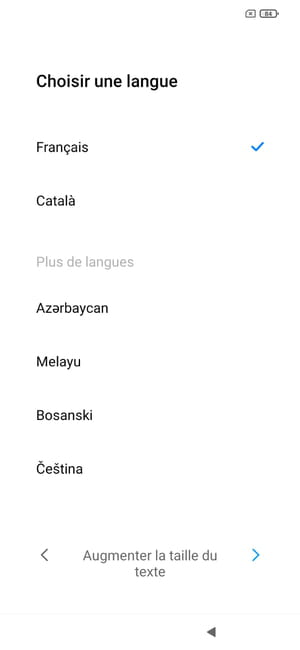
- Select your language and press the button Next.
- Then choose your region (actually your country) and tap the button Next.
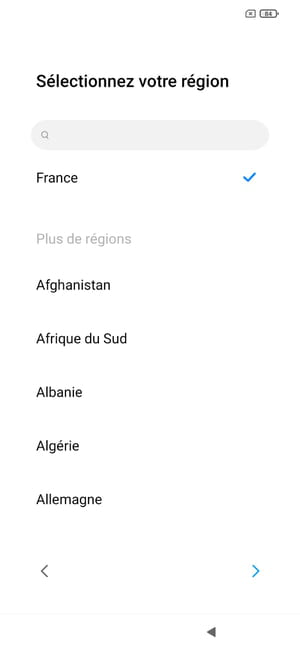
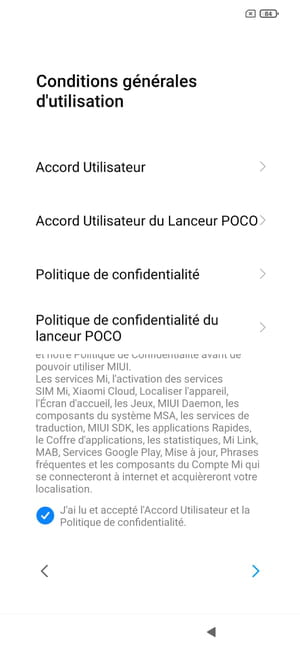
- Depending on the model you have, you may need to agree to the user terms imposed by the device manufacturer. Check the box indicating that you have read and accept the conditions and press the button Next.
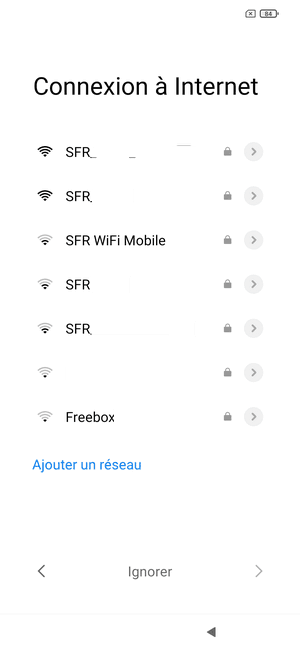
- Your smartphone asks you to configure your Wi-Fi network in order to connect to the internet. Tap your network name (SSID).
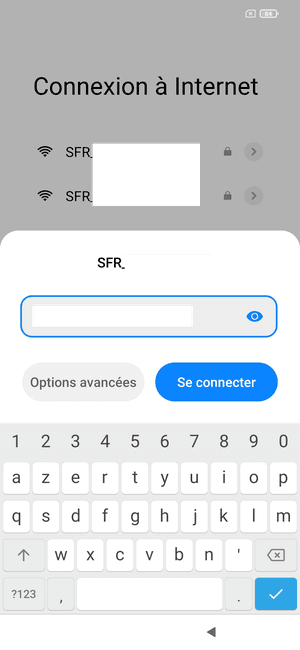
- Now enter the password for connecting to your Wi-Fi network in the field provided and press the button. To log in.
- You are now connected to the Internet. Then press the little blue arrow Next at the bottom right of the screen to go to the next step.
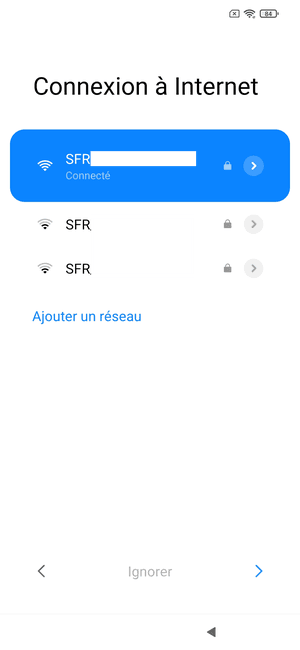
- Your smartphone checks for possible updates.

- The next screen offers to Copy your apps and data. At the bottom right of the screen, press the button Next.

- The next page offers several options for restoring your data. As you have just backed up your data to your Google account, it is stored in the Cloud. Select option A backup made from the cloud.

- A Google account login page appears. Enter your email address in the field provided and press the blue button Next at the bottom right of the screen.
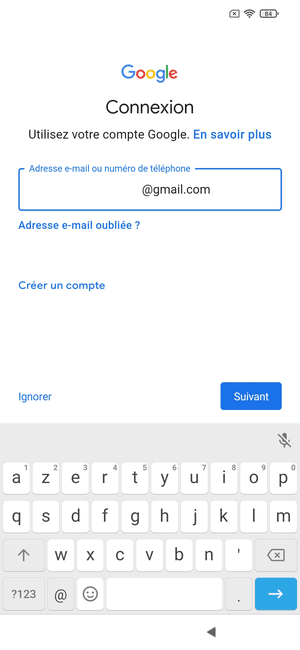
- Then fill in the password for connecting to your Google account and tap on the button Next.
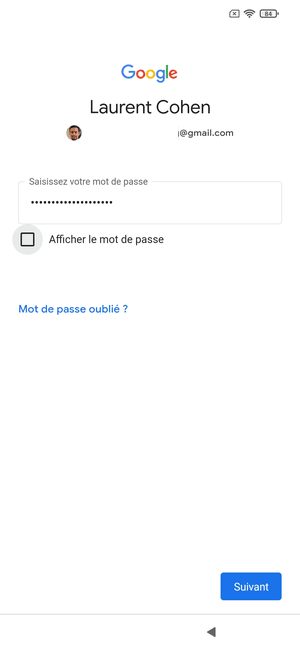
- The next step offers to add a phone number to your Google account. Go to the very bottom of the screen and press the button Yes I accept if you want to add it, or on Ignore (you can add it later).
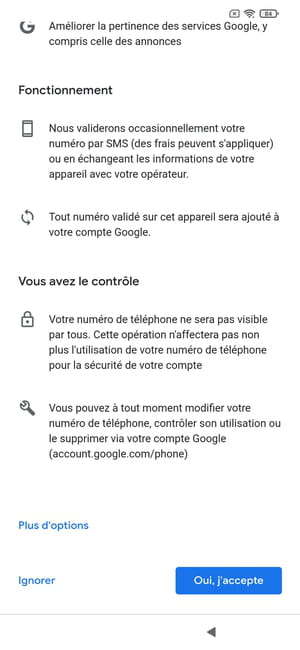
- Google then asks you to access its terms of service. Then press the button I accept to continue continue setting up your device.
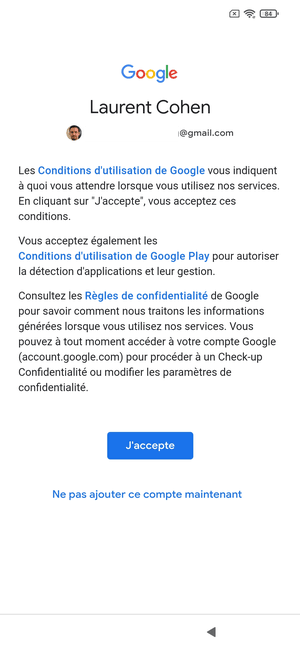
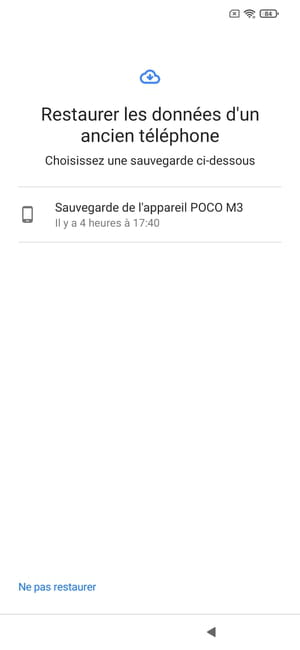
- Now the process of setting up your smartphone displays the page Restore data from an old phone. Tap the name of the Device Backupl corresponding to select it.
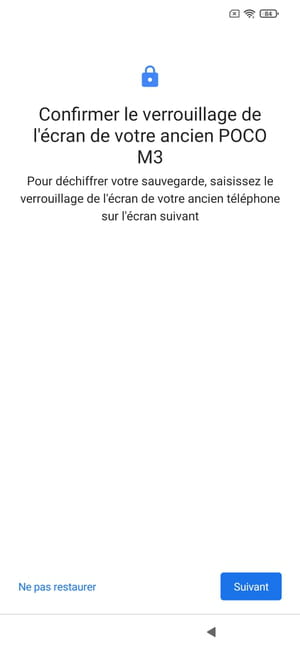
- As a security measure, your smartphone may ask to Confirm your old phone’s screen lock. This is the case for example if your backup has been encrypted. Push the button Next.
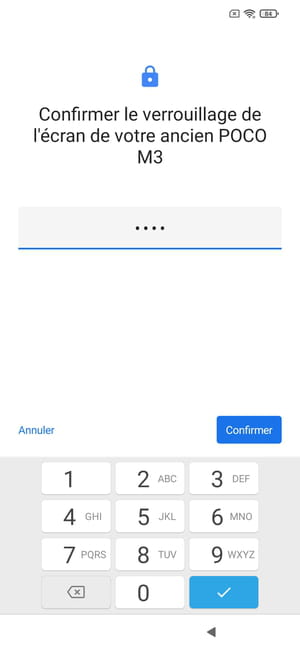
- Now enter the screen unlock PIN of your old device and press the button To confirm.
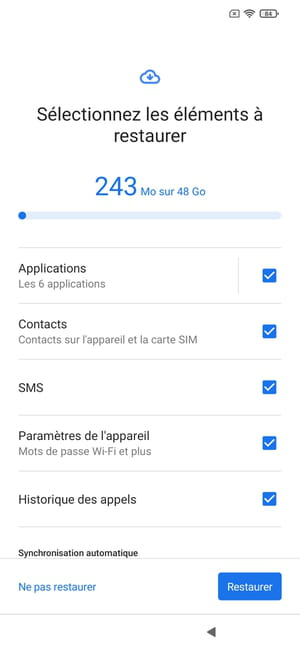
- The page allowing you to choose the elements to restore is displayed. All data is selected by default, but it is possible to uncheck those you do not want. When your choice is made, press the button Restore.
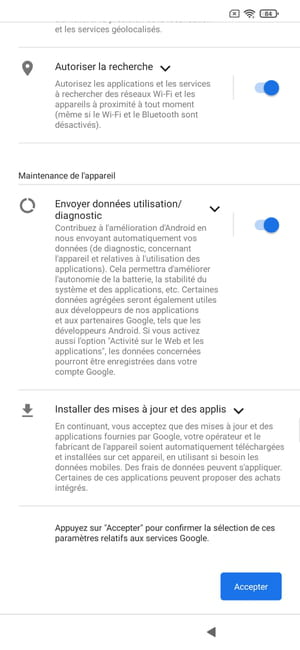
- The configuration page Google Services is displayed. Choose the options you want to keep by activating the corresponding switch for each of them. Scroll through all the options, and press Accept to validate your preferences.
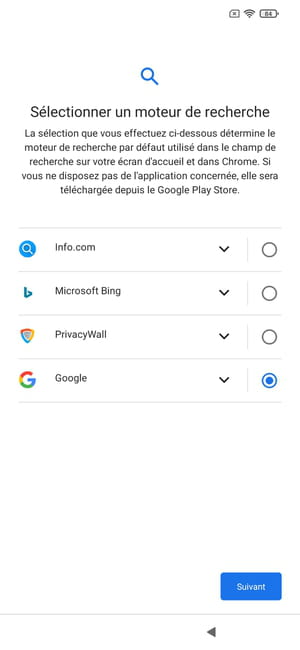
- Android now asks you to select a search engine. Choose your favorite and press the button Next.
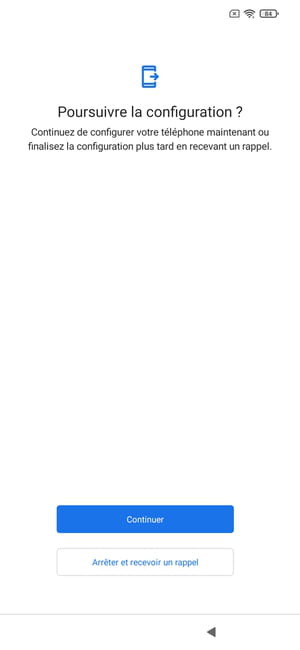
- A window Continue setup? is displayed. At this point, the essential elements for the proper functioning of your smartphone are configured. Push the button Stop and receive a reminder to stop configuring the device and start using it.
- Android will later prompt you to complete the configuration of optional functions, not essential for the proper functioning of your device, such as the Google Assistant, Voice Match so that Google Assistant recognizes your voice, or the contactless payment service Google Pay.
