To keep track of what’s on your iOS mobile device screen, nothing beats a screenshot. Operation is simple, although the way to do it varies depending on the model of your iPhone or iPad.
Do you want to keep a memory of a memorable game session, need to quickly send one of your contacts proof of a bug in an app or need to show a manipulation? Take a screenshot! It’s the fastest, most efficient way to turn everything that’s on the screen of your iPhone or iPad into an image. The screenshots punctuate the many practical sheets that we publish on our site. They allow you to follow in detail the operations that we describe. Once you’ve captured it, you can keep and manipulate it like any other file, since it’s an image, edit it in an app – to crop it, highlight items, hide information confidential, etc. -, share it on a social network or send it by email to a service technician or a customer advisor, for example, in the event of a problem with a service or a site.
You can take screenshots on your iPhone or iPad without installing any special app. The function is directly included in iOS. However, the operations to be performed vary, depending on whether or not your device has a Home / Touch ID button.
The Home button is present from the start on iPhones up to 8 Plus and SE models and on iPads (iPad, iPad mini, iPad Air and iPod Pro until 2017). It has also been associated with the Touch ID function (for fingerprint unlocking). But he is also called upon to take screenshots.
- To achieve this, it is sufficient to simultaneously press the power button device (placed either on the upper edge or on the right side) and the button Home. The support must be brief. The screenshot is immediately taken accompanied by the sound of a film camera shutter. The image is then immediately saved in the Photos app.
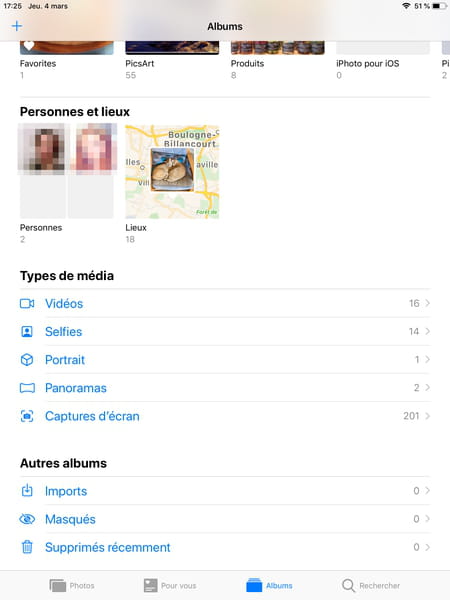
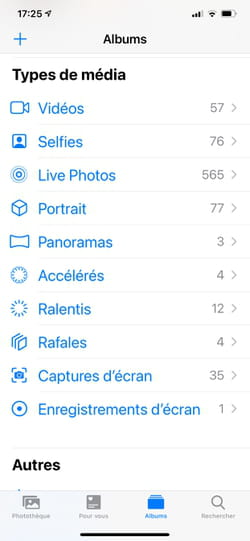
- To easily find all the screenshots taken on your iPhone or iPad, launch the Photos app. Press the button at the bottom of the screen Albums. Scroll down the page and tap the option Screenshot.

Recent iPhone models (since model X), iPad Pro since 2018 and the latest iPad Air no longer have a Touch ID button. But the screenshots are obviously still achievable.
- To take a screenshot, simultaneously and briefly press the power button device and the Volume up button. The screenshot is immediately taken accompanied by the sound of a film camera shutter. The image is then immediately saved in the Photos app.
- To easily find all the screenshots taken on your iPhone or iPad, launch the Photos app. Press the button at the bottom of the screen Albums. Scroll down the page and tap the option Screenshot.

If your iPad is compatible with an Apple Pencil, you can also use the stylus to take a screenshot.
- Place the pen tip in the lower right or lower left corner of the screen. Then drag it to the center of the screen and stop your movement. The screenshot is immediately taken. You can now annotate it using the various tools offered.

- If it is to capture a web page, you can select the option Full page at the top of the screen immediately after capture. This way, the entire web page will be captured, even if its content exceeds the visible area on the screen. Practice !
- Finish with the push of a button OK on the top corner left. Here you can define the file format (PDF for example) or save the image in the Photos app.
