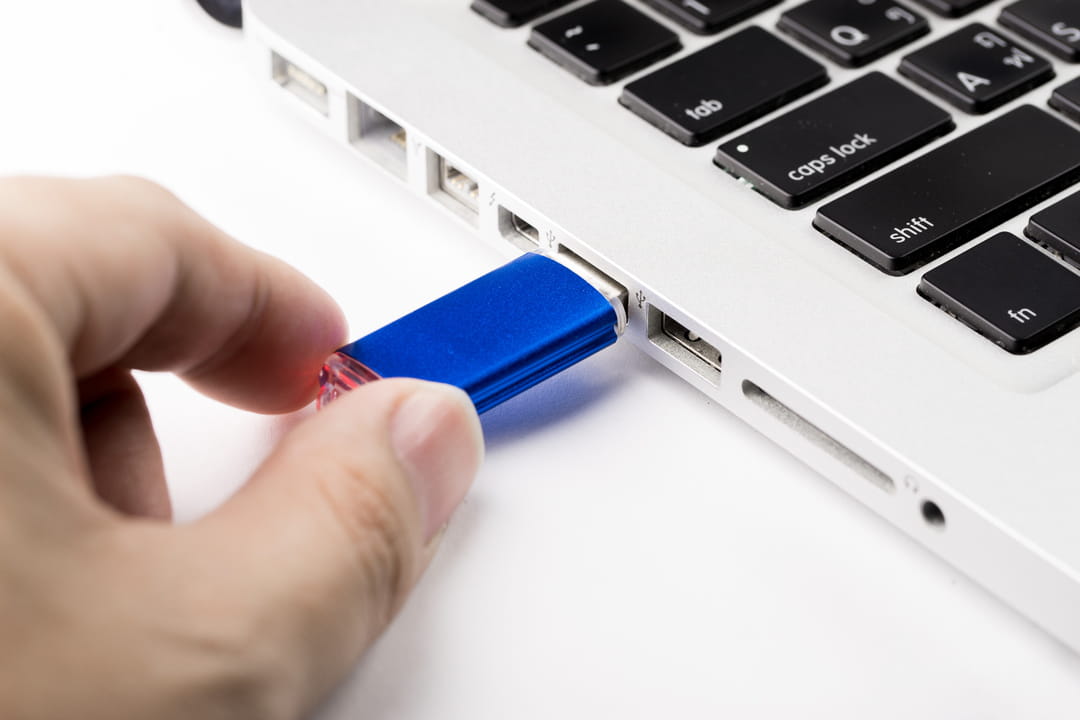
A Windows 10 update not only allows you to safely remove your USB drive, but also boost its performance.
Who has never inadvertently removed a USB key a little too quickly? This gesture, as quick as it is harmless, can unfortunately cause a lot of harm and problems if it is done too regularly. A USB key that is removed before being ejected by your computer may no longer work properly or even erase all the files and folders that you had saved on it!
It is therefore essential to remember to eject your USB key before removing it from your computer. Otherwise, you could well lose all your work. Unfortunately, many of us forget this detail and remove our key a little too hastily. This is why Microsoft has thought of an option to get around this problem. And it also allows you to increase the speed of file transfer, even if in this case, you will have to make a difficult choice.

It was in 2018 that Microsoft subtly slipped a new feature into a Windows 10 update. In its October update titled “version 1809,” Microsoft added a mode called “quick delete” for your computer, which uses USB sticks or external hard drives.
This “quick remove” mode manages your storage operations so that the computer is always ready to eject your USB flash drive or hard drive, even when you unplug it too quickly and without choosing the “eject this device” option. This helps prevent data corruption on your USB flash drive in case you remove it too often without ejecting it first.
But this “quick delete” mode does however imply a slowdown in file storage and transfer operations. In addition, this mode is now enabled by default on many computers. If you want to boost the performance of USB key transfers, there is nevertheless a solution.
- Connect your USB flash drive or external hard drive
- In File Explorer, identify the letter of your key or hard drive (often C: or D:)
- Right click on Start
- Select Disk Management option
- At the bottom, right-click on the letter of the device in question
- Select the Properties option
- Click on Strategies, then choose between “quick removal” and “best performance”
Be careful though, by choosing the “best performance” option, you will disable automatic protection when removing the selected USB key or external hard drive. So make sure this time to eject the latter before disconnecting it from your computer!
