
The web and social networks are full of photos and videos faked or published out of context and likely to mislead you. But free tools can help you uncover deceptions and detect fake news.
Conspirators, animal photomontage enthusiasts or quite simply malicious companies ready to make you mistake bladders for lanterns… On the Web or on social networks, you are constantly confronted with a certain form of manipulation, more particularly through retouched images , even completely faked.
Fortunately, on the Internet, there are also free tools to help you conduct the investigation and find out if a photo discovered at the bend of a Web page is not a hoax (a hoax, in the jargon of the Net) or, worse, outright misinformation. Each photo thus comes with its share of metadata, also called Exif data, automatically recorded by any digital camera. They allow you to know when the photo was taken, sometimes where and with which device, which can be very useful to check that nothing is wrong. To illustrate an event in 2020, for example, a photo must not have been taken in… 2018. The only downside is that this metadata can be erased intentionally. They also disappear naturally after passing through certain social networks or after a simple touch-up to improve them.
There are much more technical tools, such as FotoForensics or Forensically, which allow photos to be subjected to in-depth analysis to show that they have been tampered with (hidden pixels, compression levels, etc.). Quite complex to use, they can more or less confirm an intuition without unfortunately providing definitive proof that there was a real photomontage intended to deceive. Moreover, there is no need for special effects – however clever they may be – to deceive the Internet user. An unretouched photo taken out of context can cause just as much damage. It is up to the Internet user to use his neurons and to investigate to find out if the image is coherent. Is the photographer reliable? Wasn’t it raining the day of the shot, when it shows a beautiful blue sky? Is it really an American city when zooming in on the image, you can read a sign in Greek?
The reverse search possible with Google (see our practical sheet Searching from an image on Google) or with tools such as RevEye and InVID often remains the most fruitful solution for the general public, provided you have a little time ahead. These last two tools make it possible in particular to extend the search (beyond Google) to other engines such as Russian Yandex or Chinese Baidu. In particular, it will be able to notify you of all the web pages on which a photo has been published and thus trace its origin. You can also discover similar images that will help you put your own photo in context.
If the subject interests you, do not hesitate to consult the site France24 observersa unit responsible for verifying amateur content for the news channel or for using the module Decodex of the newspaper Le Monde. One thing is certain, if the use of tools constitutes a good starting point, it is your qualities of investigation and stubbornness that will make the difference.
Examine the Exif data of a photo
With each shot, a digital camera – a fortiori that of a smartphone – automatically records a lot of information. These metadata (called Exif data) are technical (device used, focal length, aperture, etc.), but also general. You can in particular, thanks to them, find out the date on which the snapshot was taken and even sometimes where it was taken. To access all of this data, which constitutes the identity card of a photo, there is no need to install software, you can use sites such as Metapicz Where Jeffrey’s Image Metadata Viewer. If your searches are frequent, prefer installing an extension for your browser – there are dozens of them – like Send to Exif Viewer for Chrome. It’s more convenient and it will save your time
Access the Exif data of a photo with Jeffrey’s Image Metadata Viewer website
- During a surf session, a photo intrigued you. Before any research, save this image. To do this, in your web browser, right-click on the photo. In the pop-up menu that opens, click Save Image As.
In the save save dialog box that opened, rename this image if you wish (here, desert) then select with a click in the left pane a destination folder (here, test photos) to save the image there. Click on To register.

Launch your web browser and go to Jeffrey’s Image Metadata Viewer.

To access the Exif data of the photo you saved on your computer, click Choose file to open your file explorer.

Select with a double click the image of your choice. His name is then displayed behind Choose file (here, we have selected the sky.jpg photo). Be aware that the site can analyze a very wide range of file formats, the most common of which (Jpeg, PNG, TIF, Webp, etc.)

Check the box in front of I am not a robot. Follow, if the case arises, the instructions of the Captcha module, then validate your request by clicking on View Image Data to view your image information.

Exif data, if available, is displayed at the bottom of the page. To precisely locate the place where the photo was taken, click for example on Google (in blue) in the game Lease.

The address is displayed as well as a map from Google Maps.

If you don’t want to save a photo to your hard drive, right-click on any image on a website, then select from the context menu (the same as in step one): Copy the image address.
Go to Jeffrey’s Image Metadata Viewer. Position your mouse cursor in the frame located under the line labeled URLs, right click and choose To stick on in the context menu to place the address of your image. Then proceed in the same way as before to consult the Exif data.


Access the Exif data of a photo awith the Send to Exif Viewer extension for Chrome
- If you use Google Chrome, go to the section Extensions from Chrome Web Storesearch for the extension Send to exif Viewer, install it and activate it by clicking on the small pin present in the space of your extensions, at the very top right of your Chrome browser. It must then take the blue color.

If, during a surfing session, you want to consult the Exif data relating to a photo, right-click on this image, then, in the contextual menu that appears, select the extension Send to image metadata viewer.

All searchable data is then displayed in your web browser.

Do a reverse image search with RevEye
To find out more about the origin of a photo, you can also use Google. Do not hesitate to refer to our practical sheet Do an image search on Google. To investigate further, there are reverse search alternatives like the specialized site TinEye or the RevEye extension for Chrome. To find out if your photo has been used on another site, the latter has the advantage of being directly integrated into your browser. You can thus launch a search for images similar to yours on several engines such as Google, Yandex or Bing. Which is particularly practical.
Meet in the Chrome Web Storesearch for the extension RevEye Reverse Image Searchinstall and activate it.
To search on a photo published on a site, right-click on this photo.

From the context menu that appears, select All Search Engines (all engines). Five tabs then open in your browser: they correspond to the search engines Google, Bing, Yandex, TinEye and Baidu.

Go, for example, to the Bing tab to find your image and discover many other similar ones.

Detect potential rigging with FotoForensics
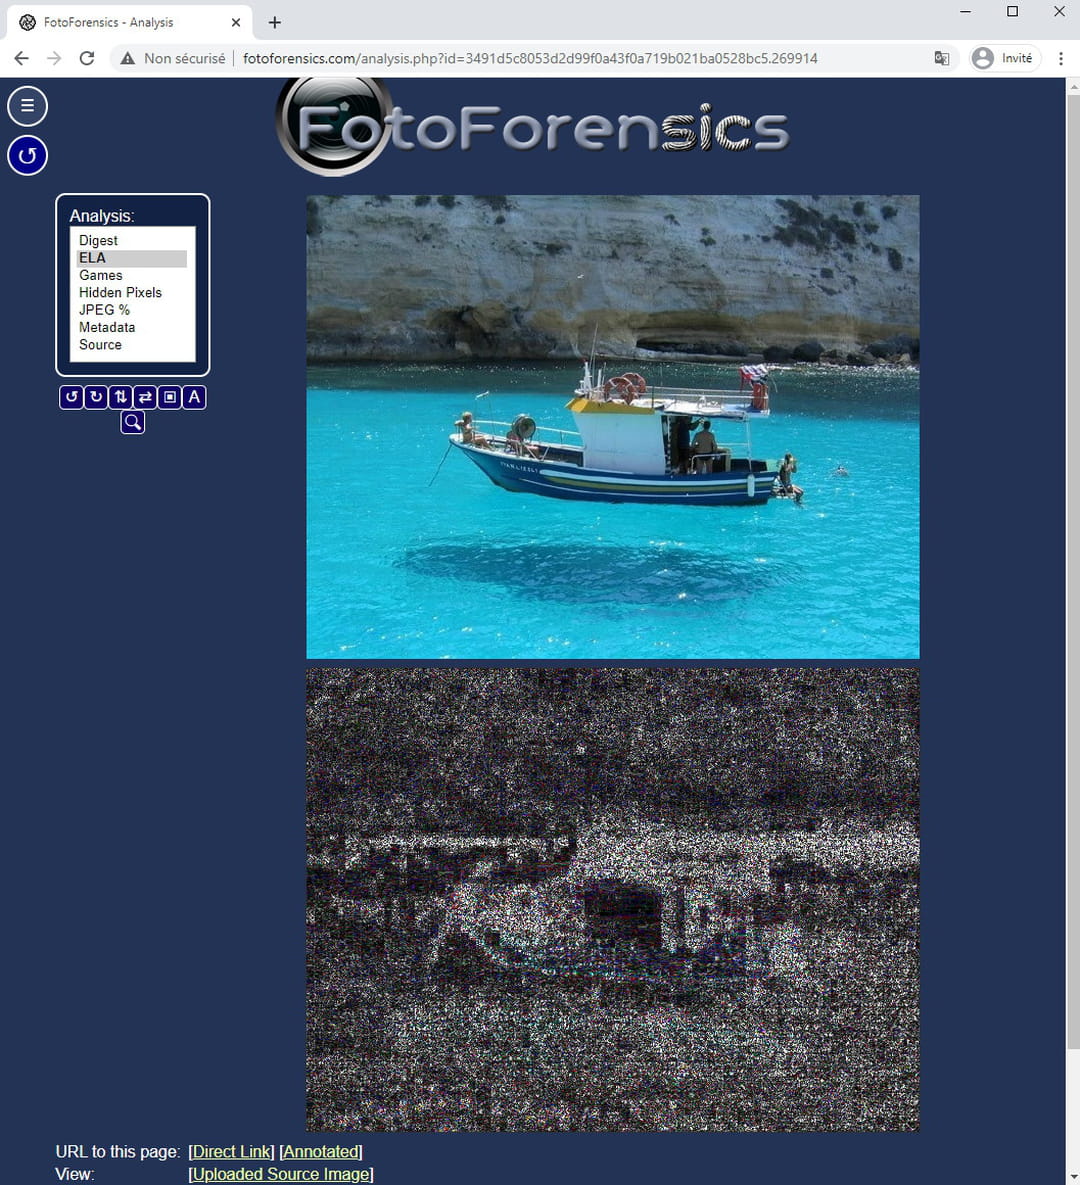
A photo seen during a surf session seems too good to be true? You can analyze it using the FotoForensics site to try to detect if it has been altered or tricked. Thanks to this tool, you access the ELA (Error Level Analysis) representation of your photo, a second rather dark image that will allow you to detect the different levels of compression of the original photo. Areas of identical texture or color (like a sky) should remain uniform. If this is not the case or if very light areas appear, it may mean that there has been retouching. However, do not expect certainties from this site, only elements that could suggest a photomontage. Before attempting any interpretation, it will be better to seriously study the complete tutorial. Unfortunately, it is only available in English.
Go to the FotoForensics website. To analyze an image, you can either copy its address behind Image URLor download it if you have previously saved it on your hard disk, provided that it is in JPEG, PNG or WebP format and does not exceed 10 MB. If this is the case, click on Choose filethen select the photo of your choice (here, saucer).

To launch the ELA analysis click on Upload file. Your photo and its analysis of the different compression levels are displayed.

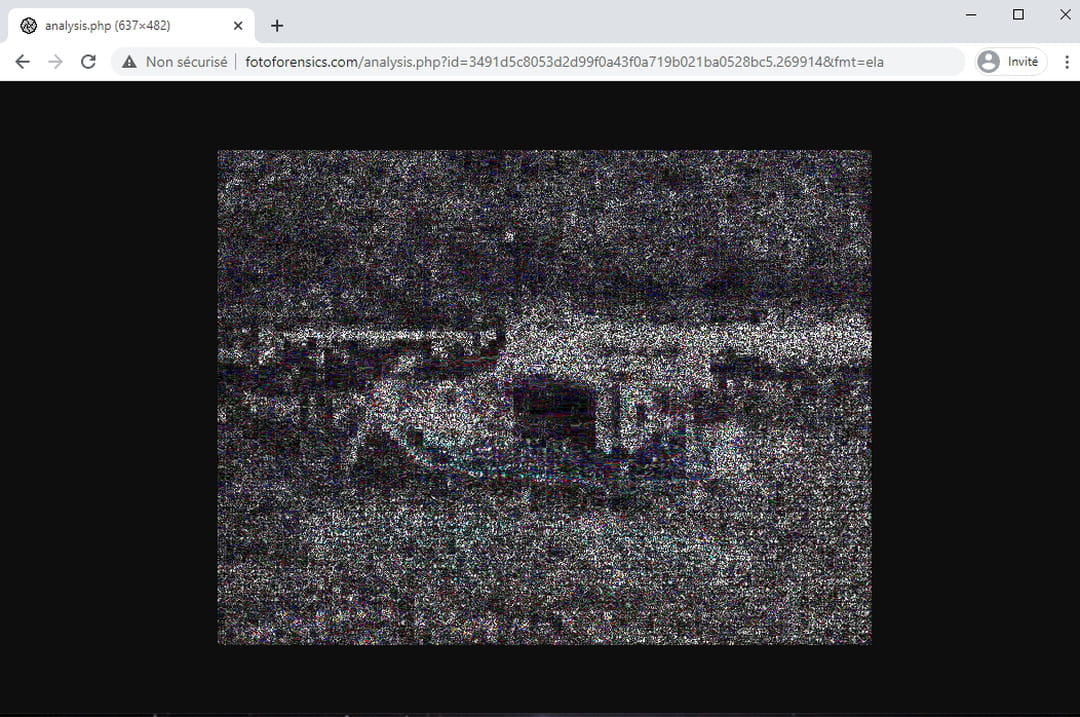
You can click on the ELA representation to enlarge it.

Analyze photos and videos with inVID
For those who wish to go further, the inVID tool is the most complete that exists to date, since it allows you to analyze both photos and videos. In its most basic functions, it provides access to multi-engine reverse search and many forensic tools including ELA. Getting to grips with inVID in its most advanced functions will not be done in a few minutes and is not necessarily within the reach of the general public. The site Cold Tools has nevertheless published a detailed practical guide and in French on the subject.
Access the basic functions of InVID
In the Chrome Web Store, download the extension Fake news debunker by InVID & WeVerif, install and activate it.
To get information about a photo on a website, right-click on that image. In the pop-up menu that appears, click Fake news debunker by InVID, then for example on Image Magnifier.

Click on more Filters then check the filter Sharp
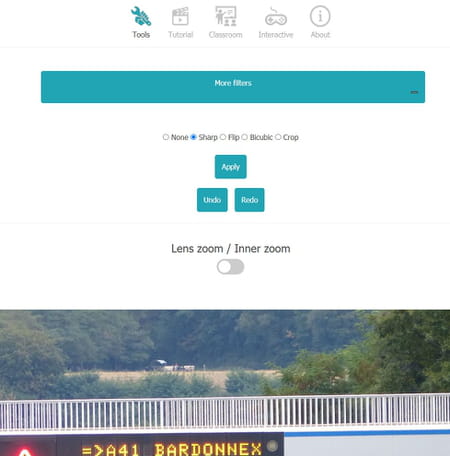
By passing your mouse over the displayed image, a zoom in the form of a bubble allows you to better distinguish certain inscriptions

In addition to Image Magnifier, it is also possible to find tools for reverse lookup and forensic tools.
Access advanced functions of InVID
To take advantage of all the possibilities offered by inVID, click on the extensions icon in your Chrome browser to open the menu that groups them. Click on Fake news debunker by InVID

In the small window InVID toolkit displayed at the top right of your browser, click OpenInVID.

- You then access all of the InVID tools from your browser.

- Analysis allows, for example, to search the metadata of YouTube, Twitter or FaceBook videos while Thumbnails provides access to reverse search on YouTube videos.