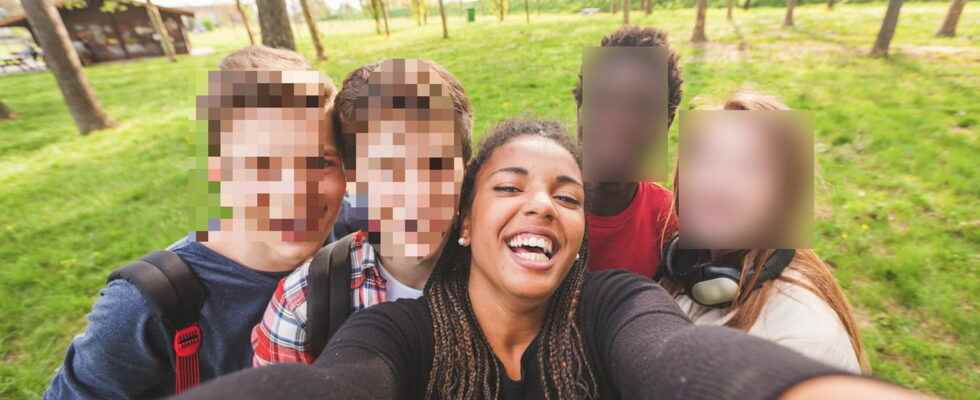
Need to hide faces or private details in a photo? There are several online services and applications to blur parts of an image, for free, quickly and without any graphic editing knowledge!
You can’t always show everything in photos. Especially in those that we publish on social networks or websites. Thus, in general, as the right to image – which applies in France and many countries – stipulates, it is not advisable to expose the faces of unknown passers-by in pictures taken without them. consent. Ditto for children’s photos, which should be reserved strictly for family or friends. Without even talking about the laws and rules governing image rights, it is a simple matter of respect for private life. And security.
Because it is also on this point that we must be vigilant. It is not safe to show details in public photos that can identify or locate you. This is the case, for example, if you are selling a product on a used site. Or on a publication on a social network, if you show confidential information, such as an address, a number or a code (on a train ticket, a place of performance, etc.), or any other information usable by crooks.
However, there is a simple way to avoid exposing sensitive information: it suffices to blur the affected areas on the images before publishing them in order to make them unreadable. Depending on the case, it can be a face, a street or place name, a sign, a vehicle license plate, etc. No need to go through image editing software like Photoshop or Gimp for this, especially if the photos come from a smartphone, as is generally the case today. There are indeed free and easy-to-use apps and online services that can do this very quickly. Depending on the case, we can blur or pixelate areas of an image with a rendering comparable to what we see in television reports, when it is necessary to anonymize witnesses. Everything is done in a few seconds and you don’t need to have any image editing experience!
Today there are many free online services that allow you to easily flute or pixelate part of a photo, such as ImageBlur, Image on Line Where Facepixelizer. One of the simplest is Redacted which does not require any registration. Demonstration.
With your usual web browser, go to the site Redacted.
Open a window on your computer to display the folder containing the photo you want to edit and drag and drop the image directly with the mouse onto the Redacted page.
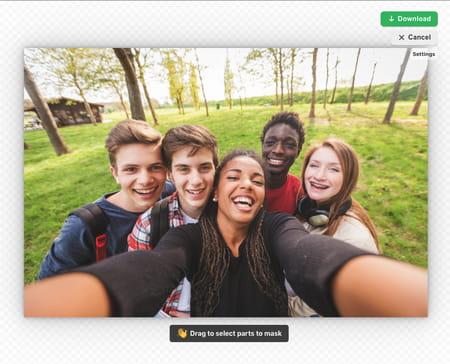
► The image is displayed immediately. With the mouse, draw a frame to delimit the area you want to mask.
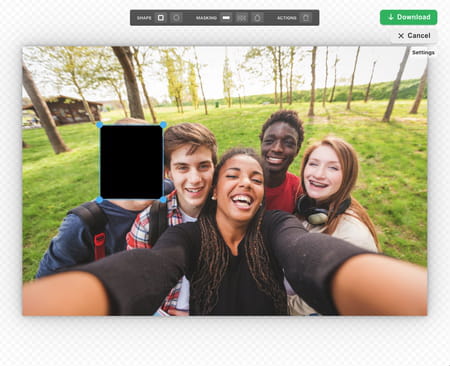
► At the top of the window, a toolbar appears.

► Click on one of the buttons of section Masking (mask) to choose an effect: masking with a black block, pixelation or blur. The effect applies immediately.
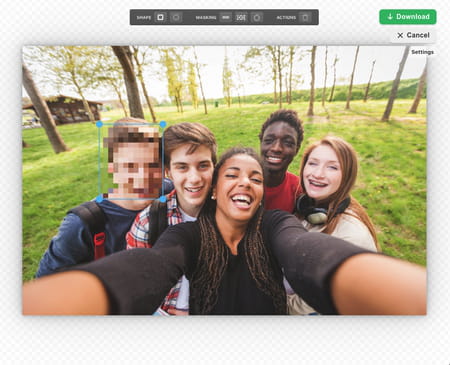
► Repeat the operation with other areas of the image.
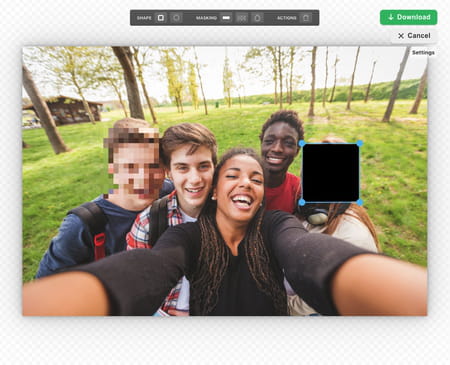
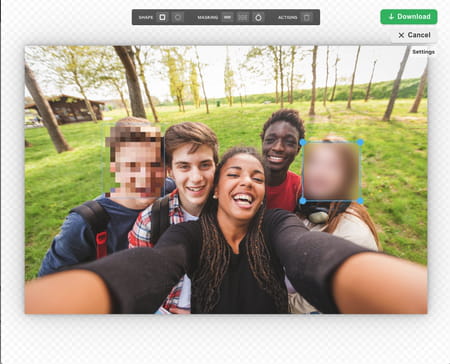
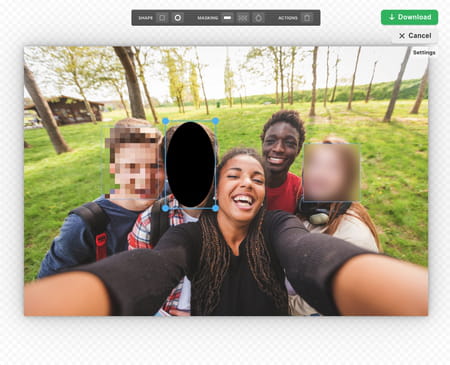
► In the toolbar, you can also choose a block shape in the section Shape (form). By default it is a rectangle, but you can opt for a circle or an oval, better suited to faces.
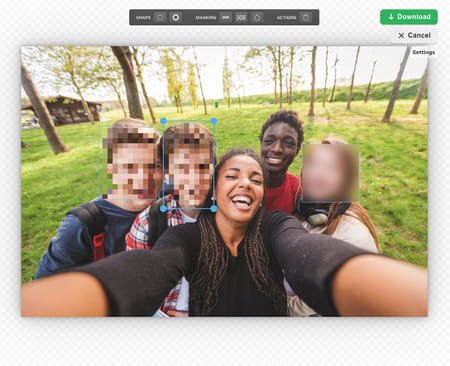
► When you are finished, click on the green Download button at the top right. The edited image is downloaded. You will find it in your usual download folder.
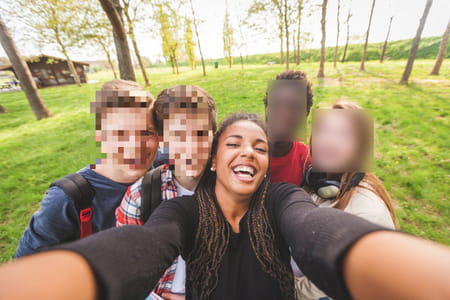
Available on both Android and iOS, the free Pixlr app has a feature to pixelate an area in an image, making it easy to blur details in a photo.
► On your mobile device, download the application via one of the links below. Start the installation and approve the requested permissions for access to the images.
► Open Pixlr and press Photos icon to browse your collection of images. tap the one you want to edit to open it in the app.
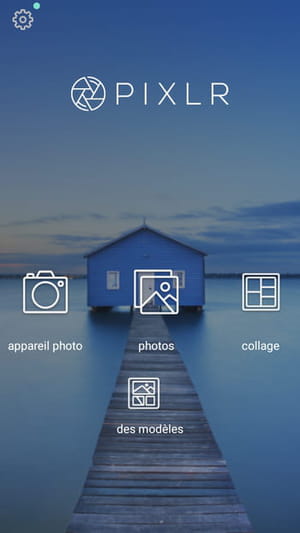
► If you don’t have your photo yet, you can still take it with your smartphone by tapping the Camera icon on the Pixlr home screen. It will then be displayed in the same way in the app.
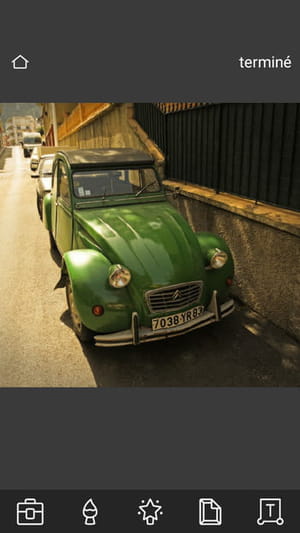
► Your photo is displayed in Pixlr on a simple screen with five icons at the bottom. Press on paint brush icon (the second from the left).
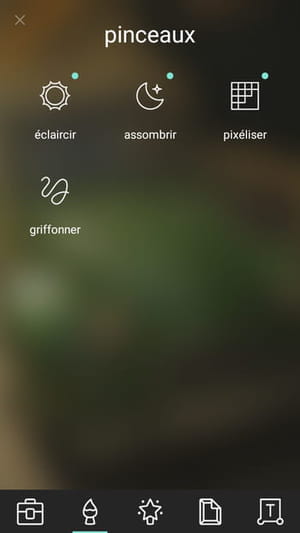
► The following screen presents four tools. Press on Pixelate.
► Your photo will reappear in a new screen, with settings. Zoom in with your fingers – with the usual gesture – on the section you want to treat to see it in a big way.
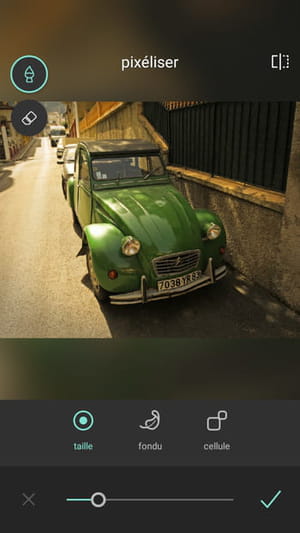
► Be careful, the operation is sometimes delicate and you risk inadvertently pixelating other parts of the image. If you make a mistake, press the cross, bottom left, to undo your changes and return to the previous screen, then start over.
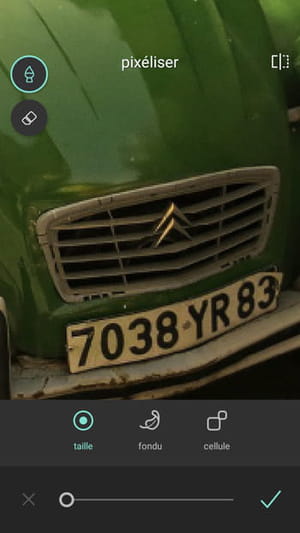
► Once on the correct area, swipe the area to be masked to pixelate it. The effect is instantaneous.
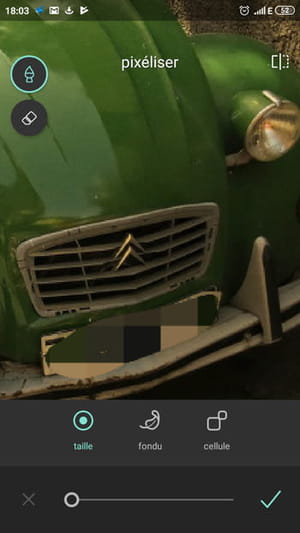
► If the default setting of the tool does not suit you, drag the slider at the bottom of the screen to adjust the size of the “brush” using the blue circle which is then superimposed on the image. If necessary, you can modify the other two parameters (the fade and the shape of the pixels) in the same way by pressing the associated icons and playing with the cursor.
► As long as you are not satisfied with the result, you can always go back by pressing the cross down, and starting over. Of course, you are not limited to a single area and you can perfectly process other parts of the image depending on the information to be anonymized.
► When you are satisfied with the result, press the notch, bottom right to validate.
► You return to the previous screen, but with the changed image. then press Ended, top right.
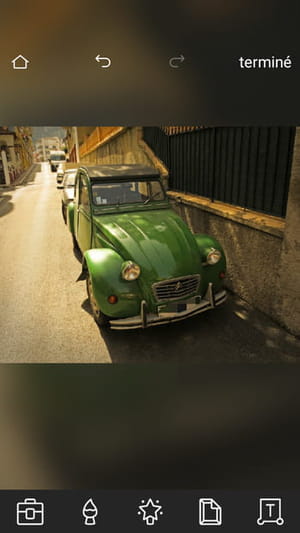
► The next screen offers you several options through different icons: you can share your processed image on social networks (Facebook, Instagram or Twitter), use it in other apps installed on your device (messaging, SMS app, etc.), or, more simply, save it.
► If you press Save image, a screen allows you to choose the size of the image (Small, Medium, Max, Custom). Then press OK to finish.
