Microsoft’s online storage service offers many useful functions for Windows 10 users. But to take full advantage of them, it is better to understand how it works, which can sometimes be tricky.
Baptized Windows Live Folders, Windows Live SkyDrive then SkyDrive and finally OneDrive, Microsoft’s online storage service has not only undergone name changes since its launch in 2007. From a simple tool allowing files to be saved in the cloud, it has become an essential brick of Windows by integrating itself into the very heart of the system. Photos, videos, music, office files, preference files, etc. OneDrive takes care of keeping all your sensitive files safe without you having to do anything, or little. By default, the free storage space available online is set at 5 GB. Users of the Microsoft 365 suite (previously called Office 365) billed from € 69 per year, benefit from their side of 1 TB of space to save their files.
To benefit from OneDrive, a simple Microsoft account is sufficient. If you are using Windows with a Microsoft account, then you already have OneDrive. If you don’t have a Microsoft account, then all you have to do is create one for free by following the advice in our Outlook.com fact sheet: create a free email address. From there, you can access it as you see fit since OneDrive is obviously not limited to Windows. It can be used from any web browser or dedicated apps available on macOS, Android and iOS. Thus, from any device, anyone can save files online and, of course, access them as soon as an Internet connection is established.
Still, OneDrive is not always easily tamed. It is not always easy to know what is stored online or locally on the computer, what is backed up automatically and what is not, or even to control the occupancy rate of online space. Here’s how to see more clearly.
When you first set up Windows 10, OneDrive was installed. Chances are you have already configured it. If not, you can control the online backup settings at any time.
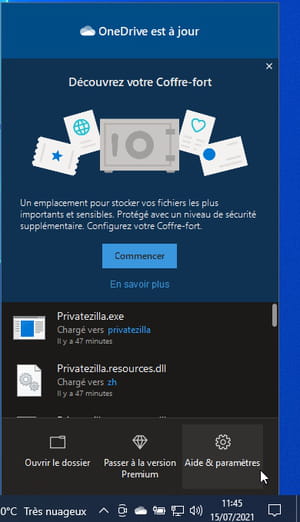
- Click on the icon OneDrive in the shape of a cloud, placed at the end to the right of the taskbar. Or, if it’s not there, it should be in the taskbar drawer.
- A shutter is then deployed. Click on the button Help & settings at the bottom right.
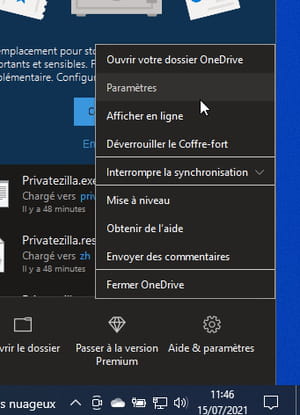
- In the menu that appears, choose Settings.
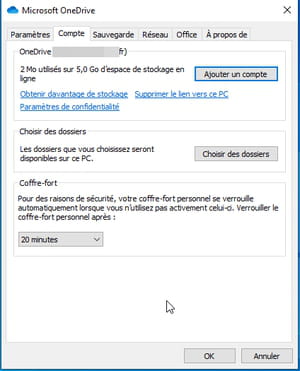
- The OneDrive settings window appears. It opens on the tab Account which specifies the name of your account and the amount of data saved online. Activate the tab Backup.
- In the page that appears, click Manage backup.
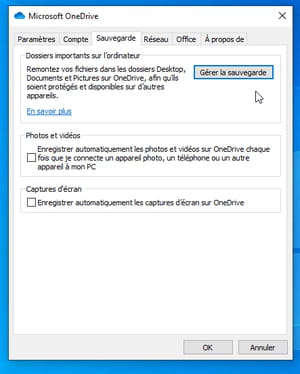
- A new window appears. It mentions the items backed up by default in OneDrive. There are three elements: Office, Documents and Pictures. Thus, everything on your PC desktop – including shortcuts – items in the Documents folder as well as those in the Pictures folder are sent to OneDrive.
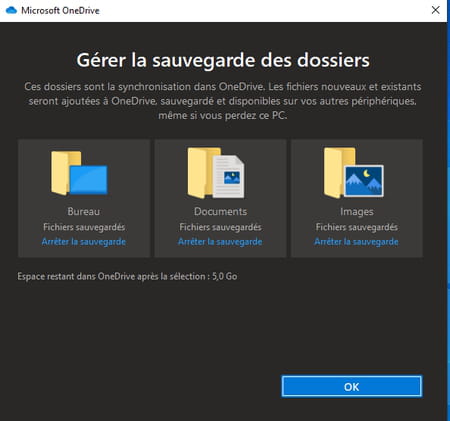
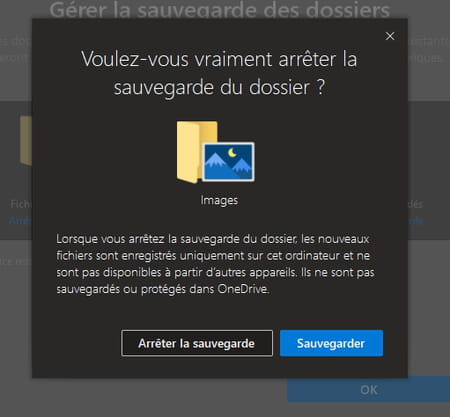
- If that’s okay with you, click OK. Otherwise, you can stop the automatic backup of one or more folders. In particular the Images folder which, if it is full, can quickly fill up the free 5 GB available to you. Click on the link Stop backup of one of the elements. You are then warned of the consequences of this choice. That is, future items that you create or save on your computer will not be shipped to OneDrive. On the other hand, those who are already there stay there. Click on Stop backup then on To close.
OneDrive doesn’t just back up desktop items and Documents & Pictures folders online. You can choose for yourself which folders or files are worth saving online to ensure you always have a copy.
- Open Windows 10 File Explorer by pressing the keyboard shortcut Win + E. In the window that appears, click OneDrive in the navigation pane. All the items synchronized with your OneDrive online space are displayed here.
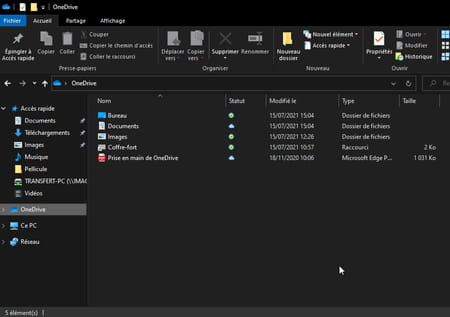
- If you want to add a folder or files, just paste or copy the items you want in that OneDrive folder. When they are there, synchronization with the online storage space starts immediately (as long as a connection to the Internet is established).
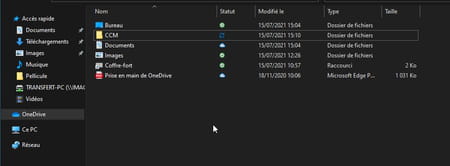
OneDrive activates the option by default Files on demand. Thanks to it, the files that you place in the OneDrive folder are sent to online storage and then deleted from the PC in order to reclaim space on it, even if they remain visible in Windows File Explorer. (which can be misleading). However, you can decide to keep a copy of all or part of your files locally.
- Go to the OneDrive settings window and click on the tab Settings. To section Files on demand, uncheck the box Free up space and download files when you need to use them.
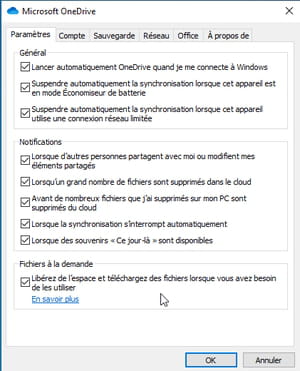
- Click on OK in the dialog box that appears. All the files in OneDrive are then transferred to the hard drive or SSD of the PC. A copy remains in the online storage space.
- If you prefer to keep only a few files on the local PC drive – for example, important files that you want to keep just a click away without having to have an internet connection – open your OneDrive folder. Right-click on the item to keep. From the pop-up menu that appears, choose Always keep on this device.
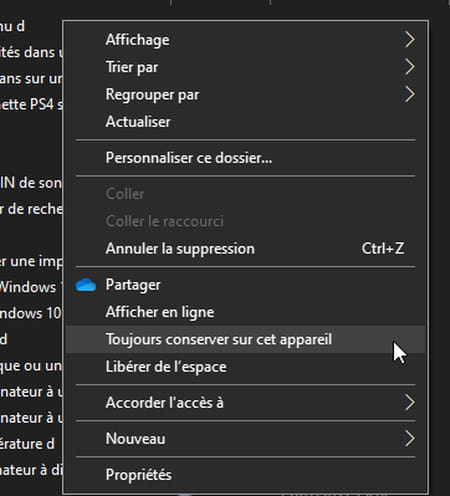
- The file or folder and its contents will then be downloaded. You can access it without an Internet connection.
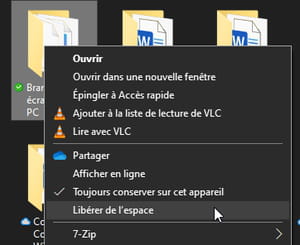
- On the contrary, if you don’t want to keep a file local but only give it to OneDrive, right-click on it. In the pop-up menu that appears, choose Free up space. The item will still be visible in File Explorer, but its presence will be virtual. You will need an Internet connection to access and open it.
What do the different OneDrive symbols next to files mean?
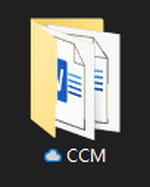
Files that use OneDrive’s sync features all have a cloud icon that can vary depending on their status.
A white cloud with a blue outline
The file or the contents of a folder are only available when an Internet connection is present. The file or folder is missing from the local disk. You must double-click on it to bring it back and open it.
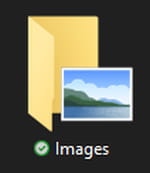
A white icon with a green check mark
The file or folder is available on the local drive where it takes up space. No internet connection is required to open it.
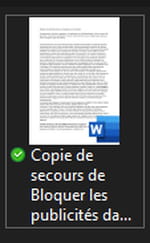
A green icon with a white check mark
The file or folder benefits from the option Always keep on this device. It takes up disk space and does not require an Internet connection to open.
A red icon with a white cross
The file or folder could not be synced to OneDrive. The problem can come from the name of the element (too long or with forbidden characters).
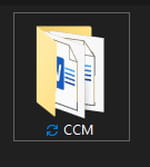
A cloud icon with a blue circular arrow
The folder or file is syncing with OneDrive.
On Windows, File Explorer, along with the OneDrive folder, is the best way to check what items are in online storage. However, you can access your OneDrive space by other means, in particular with other devices such as another PC, a Mac or an iOS or Android mobile.
Access OneDrive with a web browser
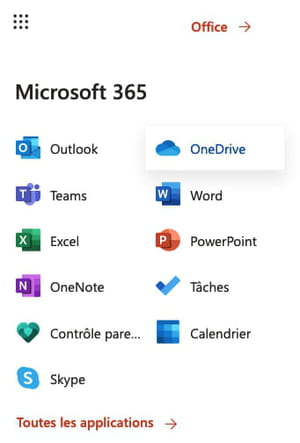
- From a Mac or PC, open your usual web browser, then sign in to Microsoft’s web page and enter your Microsoft account credentials. This takes you to the Outlook.com inbox. Click on the nine small squares at the top left of the page. In the pane that unfolds, choose OneDrive.
- You then access all the content of your online space.
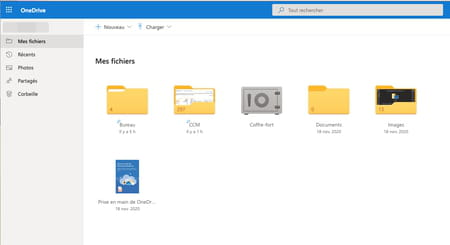
- You can, if you wish, download elements or import new ones using the menus at the top of the interface.

Access OneDrive from an iOS or Android mobile
- Start by bringing the OneDrive app back to your device.
- Launch the app, then enter your Microsoft account credentials. Grant the app the required permissions. Be careful though. You will also be asked to enable camera charging. By accepting, you will send the photos taken with the mobile camera to OneDrive (those already in the storage space and those to come). If you have a free OneDrive account with its 5 GB of space, it may quickly become full with the addition of your snapshots.
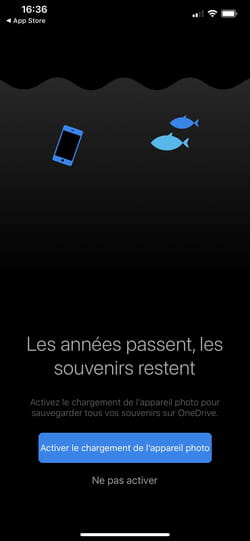
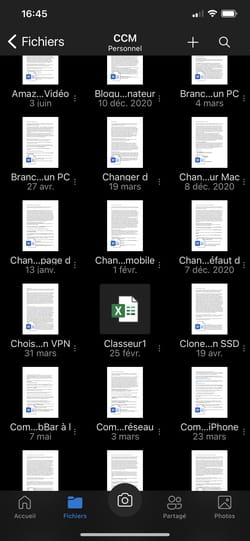
- When the app is set up, press Files at the bottom of the interface.

- The files and folders backed up in OneDrive are displayed.
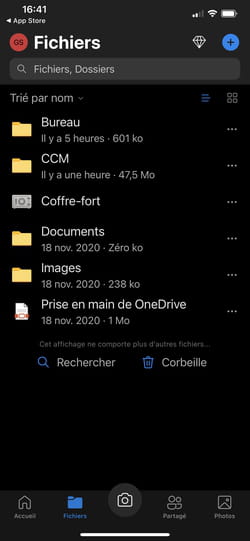
- If they are office files, you can open them directly from OneDrive without even having the original app (Word or Excel for example) installed on the device. However, it will be impossible to modify them.
