Is your PC equipped with a webcam? You can use it to take photos and record videos thanks to the Camera software, integrated as standard in Windows 10. A simple, fast and practical solution!
Whether integrated, such as on laptops or all-in-one models, or external, a webcam is one of the must-have peripherals of any computer today. Obviously, it is the essential tool for videoconferences and video calls, very fashionable practices since the confinement and the generalization of teleworking. But this little camera can easily be hijacked for other very useful purposes, including taking photos and recording videos. Handy for quickly taking a selfie – for a profile picture on a website, for example – or for shooting a footage to post online on social media, especially when you have nothing else on hand.
Admittedly, this solution does not offer all the advantages of a real camera, a real camera or even a smartphone, whether in terms of image quality or freedom of movement. But it can help out in many situations, and, above all, it is very easy to implement. Indeed, contrary to a widespread belief, it is not necessary to install additional software or to invest in a specialized application to make you take the portrait or record videos with the webcam of your PC: Windows 10 embeds in standard Camera, a specially designed tool that works with any webcam, internal or external. A simple utility to use, and free!
The Camera app included as standard in Windows 10 lets you take pictures with your webcam when you’re at your computer and have nothing else on hand. It works just as well with integrated webcams as with dull models, connected via USB.
- Click on the menu To start up and, in the list of software installed on your PC, to the letter C, click on Camera to launch the application.
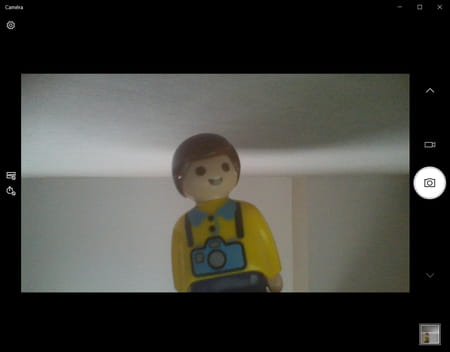
- The webcam is automatically activated and the application opens by default in the last mode used, Photo or Video. To switch to Photo mode, click camera icon Or on one of the arrows, to the right of the window. Most of the window is occupied by the image captured by the webcam. Be careful, this image is inverted, as if you were in front of a mirror. But once the photo or video is taken, the recorded image is fine in normal mode.
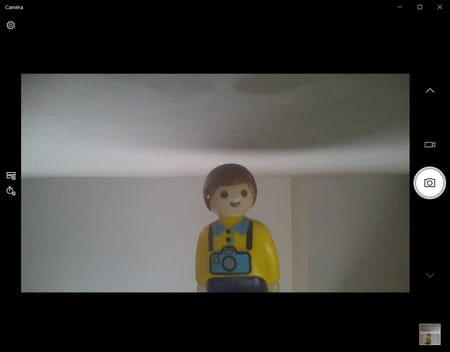
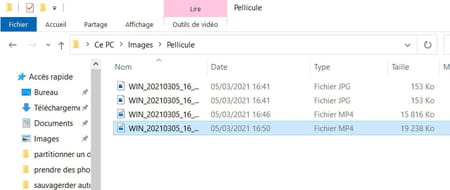
- To take a photo with the webcam, just click camera icon which acts as a trigger. The captured image is automatically saved in Jpeg format in the Windows 10 Pictures folder, in the Camera Roll subfolder.
- As soon as a photo is taken, it appears in miniature in a small square, at the bottom right of the window, which gives access to the filmstrip – which contains all the photos and videos taken with the webcam. Click on this miniature : the photo is displayed in a viewing module specific to the Camera application. A mini toolbar, at the top, above the image, allows you to zoom in the photo, rotate it, crop it, delete it, or even apply a filter Document Where Whiteboard which can be useful if you have photographed a paper document to scan it with the webcam. Click on the three points, at the top right to copy the image to the clipboard or open with Windows Explorer the folder where it is saved. Finally, click on the arrow, at the top left of the window, to return to shooting mode.

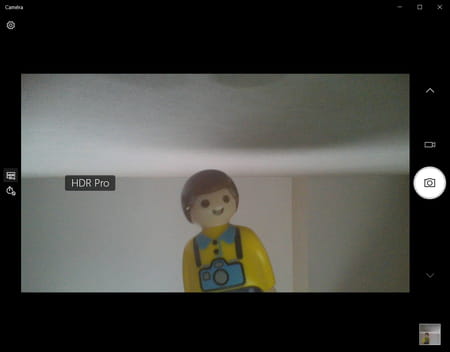
- In Photo mode, two options are available as icons on the left of the window. Click the icon HDR to activate or deactivate the HDR mode (Hugh Dynamic Range) supposed to improve the brightness of the pictures.
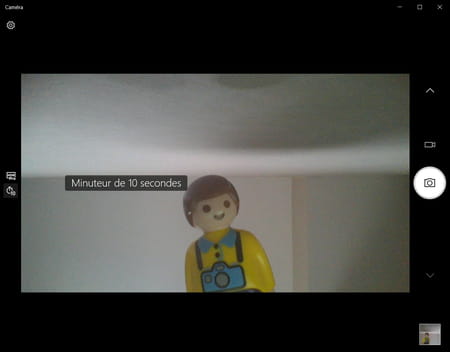
- The icon with a stopwatch is used to activate and set the self-timer function. Click several times on the button to set the duration of the self-timer (from 2 seconds to 10 seconds) or to deactivate it completely. When the self-timer is on, click the trigger right to start the countdown as you stand in front of the goal. When the set time is up, Camera automatically takes a photo and saves it to the Camera Roll.
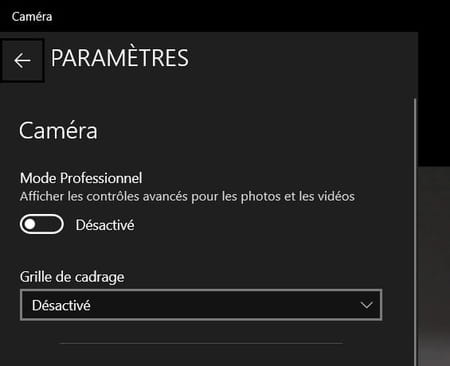
- Camera offers several settings additional. To access it, click on gear icon, on the top corner left.
- The blind Settings appears on the left of the window. The section Camera applies to the webcam, regardless of the selected shooting mode (photo or video). You can activate the switch Professional mode to remove the HDR option in favor of a slider to manually adjust the brightness of the camera.
- By clicking on the menu Framing grid, you can also superimpose a grid on the screen to help you better frame your photos and videos. The application offers several: rule of thirds, golden ratio, reticle and square. You are free to choose the one that suits you.
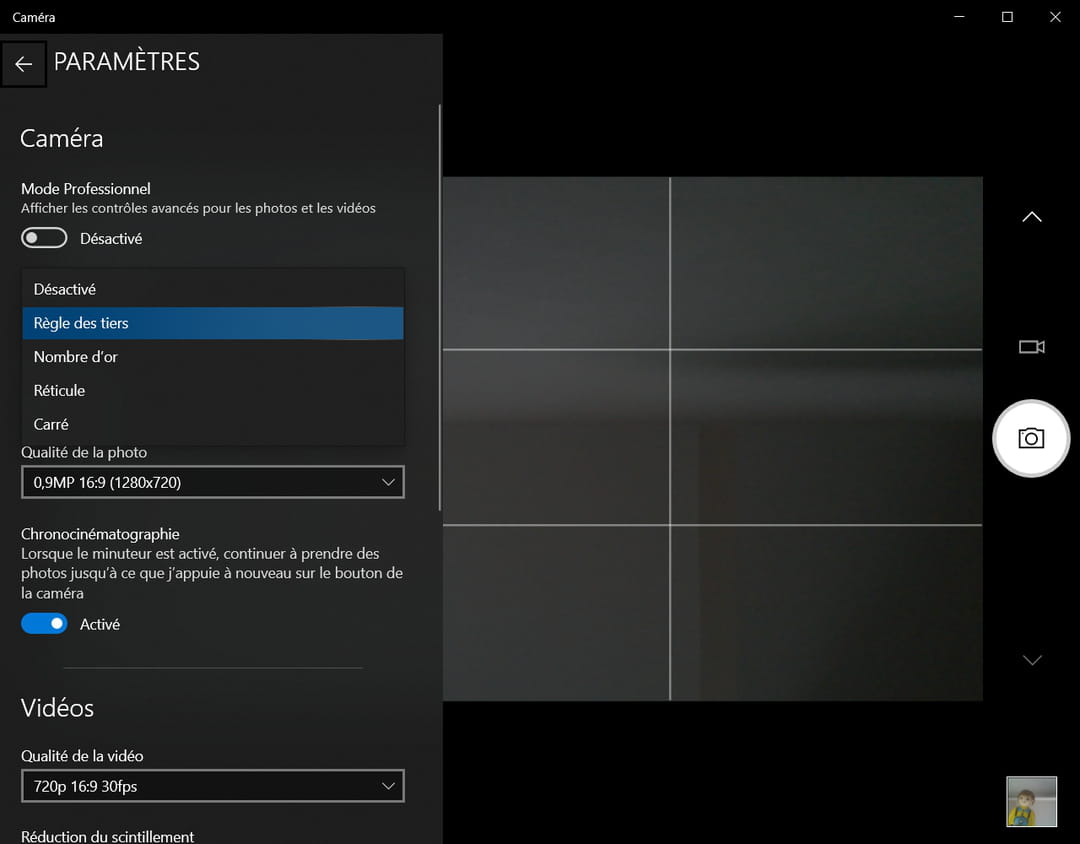
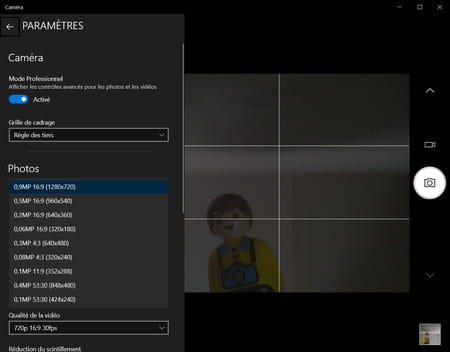
- Section settings Pictures only apply to photo mode. By clicking on the menu Photo quality, you can choose the definition and the ratio of the captured image: the list varies according to your webcam used, but we are far from the definition of a current smartphone …
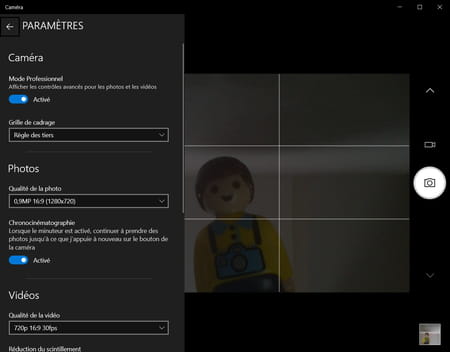
- The last parameter dedicated to the photo is the mode Chronokinematography. If you activate it by clicking on the switch camera, and you use the self-timer for your shots, the webcam continuously takes photos until you stop it by clicking the camera icon again. A gadget to test.
The Camera application built into Windows 10 can also be used to record videos using your PC’s webcam.
- Launch the Camera application, and click camera icon on the right of the window to switch to video mode. As in photo mode, most of the window is occupied by the image captured by the webcam. Be careful, this image is inverted, as if you were in front of a mirror. But once the video is taken, the recorded image is fine in normal mode.
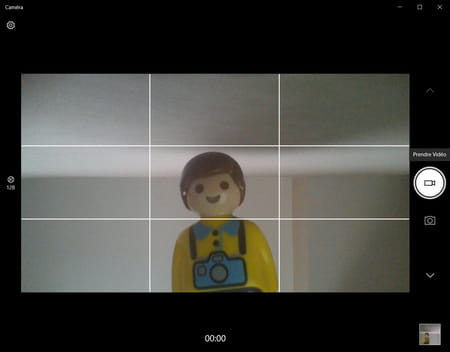
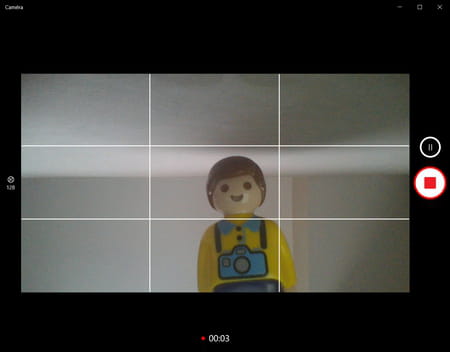
- To start recording a video, simply click on the same camera icon. The duration of the video being recorded is automatically displayed at the bottom of the window. Then click on the red round button Stop to stop recording. If you need to take breaks while recording, click the Pause button (the small circle with two vertical lines), just above. The recorded video is automatically saved in MP4 format in the Camera Roll subfolder of the Pictures folder in Windows 10.
- As with Photo mode, Video mode has its own settings. Click on the gear icon at the top left of the window to access it.

- The blind Settings unfolds. As for the photo, the functions of the Camera section concern the webcam. You can activate the Professional mode with a switch and display a framing grid in a menu.
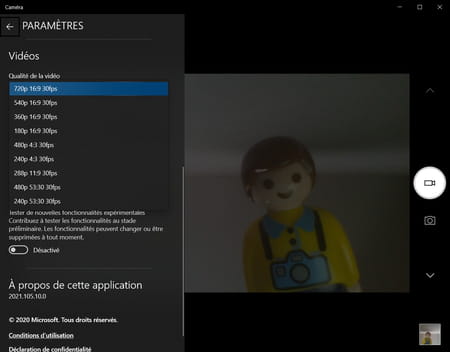
- Click on the menu Video quality, in the section Videos, to select the definition, the ratio and the bitrate (in number of images per second) of the video. The choice obviously depends on the possibilities of your webcam. Here again, we are far from the quality of a current smartphone.
- Finally, the menu Flicker reduction reduces the flickering effect of the image that may occur under certain conditions, particularly due to the lighting used.
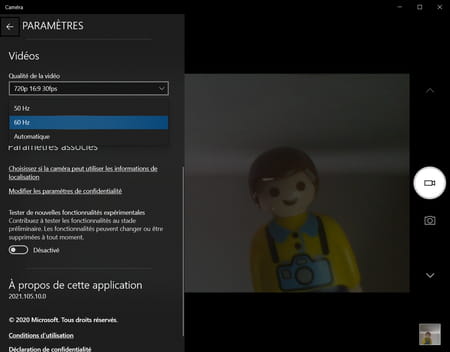
- Finally, the section Associated parameters provides access to ancillary functions such as location information, settings related to Windows privacy and experimental functions. Nothing essential to record small videos on a daily basis.
