If your Mac has a webcam, integrated or not, you can take the opportunity to take photos and videos with a touch of fun thanks to the Photo Booth app included in macOS, which can even act as a Photo Booth!
Your Mac’s webcam isn’t just a video conferencing tool for telecommuting – it can also be entertaining with Apple’s Photo Booth. Comes standard with all Macs – it is one of the few apps to have gone through the different versions of macOS since 2005 and Mac OS X Tiger (10.4) and to be still present, even in the latest Big Sur version -, this obviously free application can be used in various ways.
Of course, and this is its primary role, it allows you to take quite classic photos or videos with the Mac’s webcam, which it integrated, as on Macbooks and iMacs, or external, which avoids ” having to take out a phone or a camera when you are in front of the computer. But it also allows you to apply a variety of effects to the image in real time. Children love it because they can see their faces transform at will thanks to the distortion or deformation filters. In addition, if it was previously possible to apply animated wallpapers, this function has disappeared since the Catalina version (10.15) of macOS without Apple having provided any explanation. Pity. Photo Booth is nonetheless a very fun app and allows you to get original photos or videos to share without moderation.
The Photo Booth app works as well with the integrated webcam of iMacs and Apple laptops (Macbook, Macbook Pro and Macbook Air), as with external models connected via USB (on Mac mini or Mac Pro for example ). Obviously, the image quality is not comparable to that obtained with an iPhone or a real camera, but it remains largely sufficient for use on the Web, for a profile picture on a social network for example.
- From the Finder, click on the menu Go and choose Applications. In the folder that opens, double-click Photo Booth to launch the application.
- The image captured by the computer’s webcam is immediately displayed. You can switch this window to full screen mode with a keyboard shortcut, by pressing the keys simultaneously. Cmd + Ctrl + F.
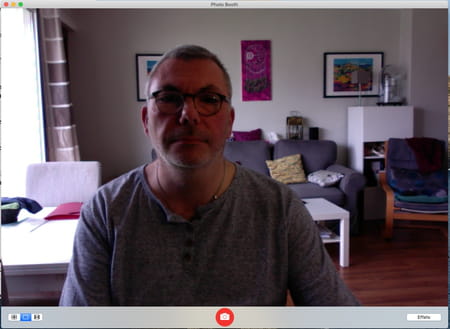
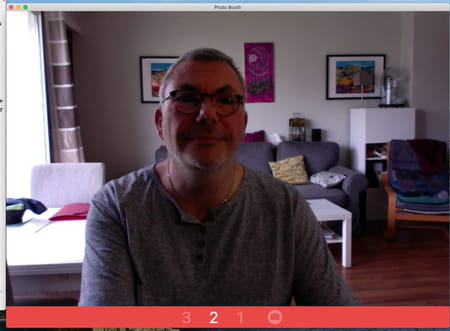
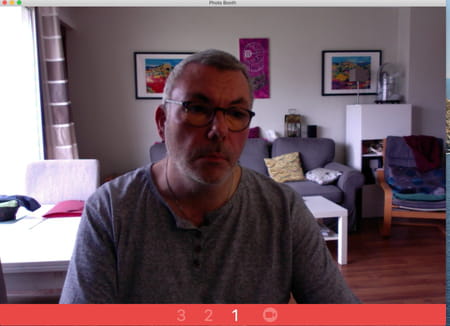
- By default, this is the mode Photo which is activated. Click on the red button at the bottom of the screen (or press the Cmd + Entrance on the keyboard) to enter a snapshot. A three-second countdown starts to give you time to adjust the frame.
- The computer screen briefly switches to white (to act as a flash). The photo is taken and displayed at the bottom of the window.
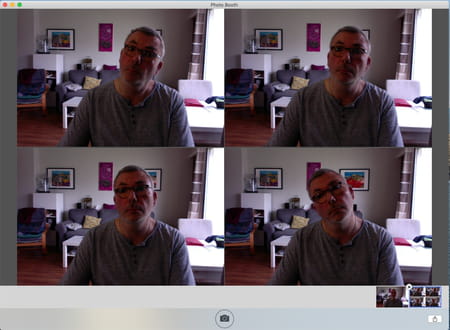
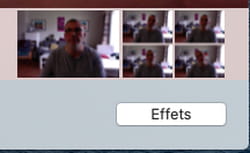
- As in the Photobooth booths, you can also take a series of four shots. Click, at the bottom left of the screen, on four squares icon.

- Activate the red button. The countdown starts. The first photo is taken and the sequence with the next three is automatic. Please note, there will be no self-timer for the other pictures. A single image containing the four captured photos is then displayed at the bottom of the screen.
- You can also take more fun photos. Click on the button Effects at the bottom right of the screen.
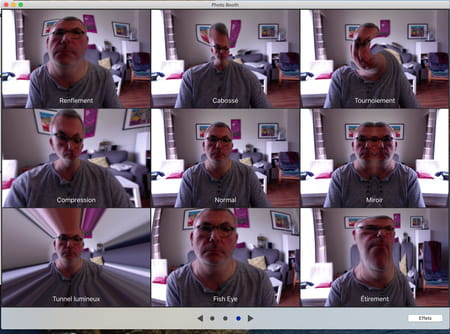
- A first series of eight video effects is presented, each with an animated thumbnail in real time.
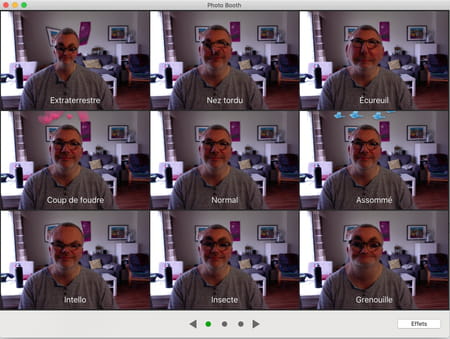
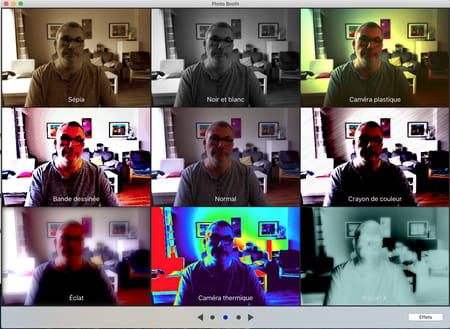
- Click on arrow pointing right to discover other effects. There are 24 of them in all, ranging from warping (fish eye, stretching, compressing, etc.) to applying color filters or graphics (sepia, colored pencil, thermal imager, etc.). Note that normal shooting, without the slightest effect, always retains space in the center of the window.
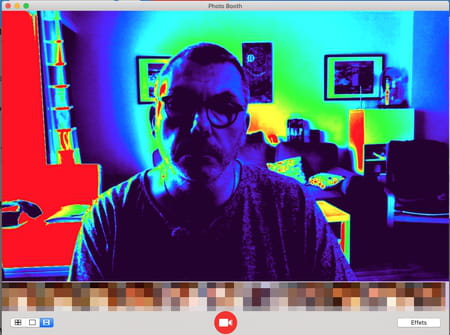
- Click on the desired effect. If it does not suit you when displayed in large size, press the key. Esc on the keyboard and choose a different one.
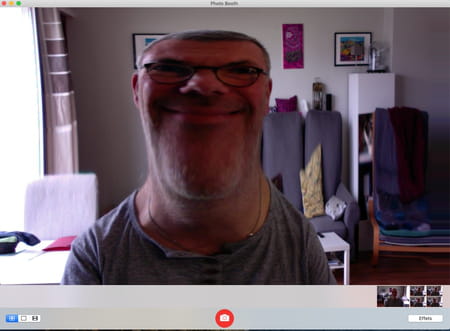
- Note that some effects take advantage of a slider to intensify or reduce their intensity.

- If the effect suits you, all you have to do is take the picture by clicking on the red button at the bottom of the screen. Your photo is displayed at the bottom of the window. You can appreciate the result by clicking on it.
The Photo Booth app doesn’t just take photos – it can also record videos and, again, add visual effects.
- From the Finder, click on the menu Go and choose Applications. In the folder that opens, double-click Photo Booth to launch the application.
- The image captured by the computer’s webcam is immediately displayed. You can switch this window to full screen mode with a keyboard shortcut, by pressing the keys simultaneously. Cmd + Ctrl + F.
- Click, at the bottom left of the screen, on film strip icon.

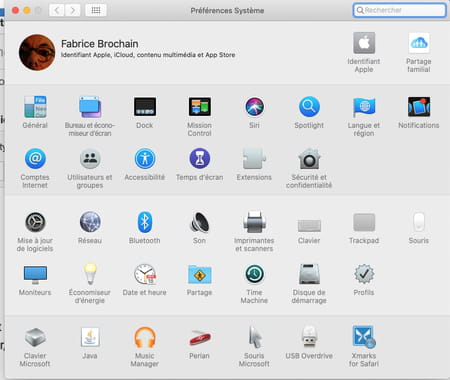
- By default, the computer’s microphone will be used for audio capture. If you have a wireless headset with a mic and you prefer to use it, you’ll need to tell macOS. Access to System Preferences (from the menu Apple) then click His.
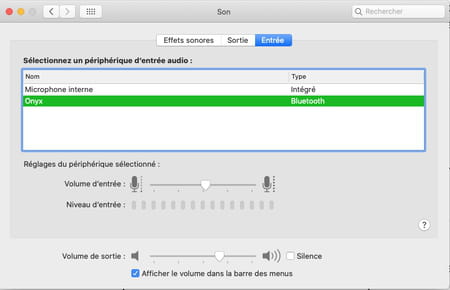
- In the window that appears, activate the tab Entrance then click on the name of your helmet. You can close the window of System Preferences and return to the Photo Booth app.
- The central red button took on the appearance of a camera. Click on it (or press the Cmd + Entrance on the keyboard) to start recording a video clip. A three-second countdown starts to give you time to adjust the frame. Recording starts. Click again on the red button to stop it.
- Your video footage is displayed at the bottom of the window.

- You can also take more fun videos. Click on the button Effects at the bottom right of the screen.

- A first series of eight video effects is presented, each with an animated thumbnail in real time. These are the same effects as those offered for photos.
- Click on arrow pointing right to discover other effects. Click on the one you want. If it does not suit you when displayed in large size, press the key. Esc on the keyboard and choose a different one.

- Note that some effects take advantage of a slider to intensify or reduce their intensity.

- If the effect suits you, all you have to do is start recording the video by clicking on the red button at the bottom of the screen. Be careful not to move too far in the frame, or you may lose the video effect along the way.
- Click again on the red button to stop it. Your video footage is displayed at the bottom of the window. You can appreciate the result by clicking on it.
Taking photos or videos with your Mac is fun. Even better to share it with those around you! Photo Booth delivers images in Jpeg format for photos and files in MOV format (using the H.264 codec) for videos. Here’s how to get them back.
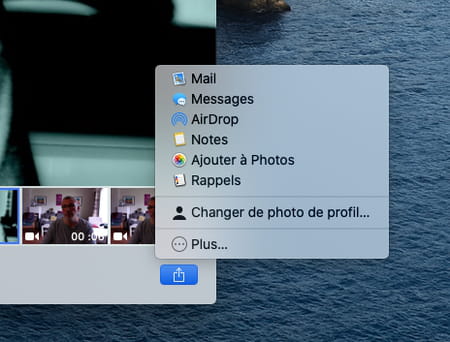
- From the Photo Booth window, click one of the thumbnails at the bottom of the screen (a photo or video). Then click on the icon at the bottom right of the window representing a square with an arrow pointing upwards.

- You have several options to share the item by Mail, AirDrop (over Wi-Fi with another Mac or iOS device placed nearby), save it in the Photos app, in a Note or send it to a contact with the Messages instant messaging app.
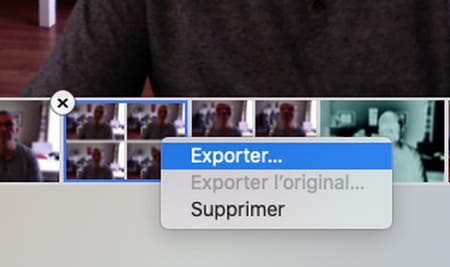
- If you just want to recover a file, right click on his thumbnail in the Photo Booth window and choose Export from the context menu. Define the destination (the Office, for example) and validate.
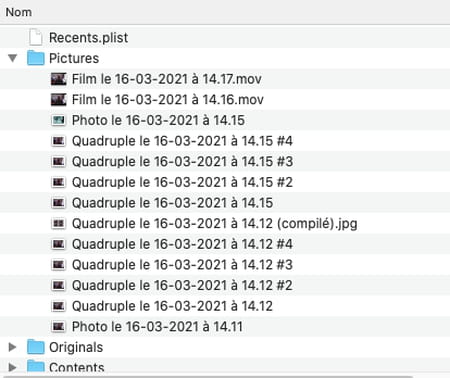
- If you want to recover multiple photos or video at once, open a Finder window. Go to your user folder then open the folder Pictures.
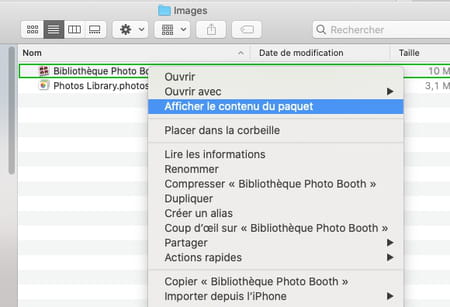
- Right click on the file Photo Booth Library. In the menu that appears, choose View Package Contents.
- Open the folder Pictures. All files saved with Photo Booth are stored here.