Autonomous and ecological, this watering of plants and vegetables in the vegetable garden is the solution to save water when it comes to heat waves and water shortages. You will be able to water your garden in a reasoned way.
You will also be interested
[EN VIDÉO] InnerPlant: plants that launch SOS Rather than integrating electronic sensors into plants to detect their level of water stress, researchers now plan to transform the plant itself into a sensor thanks to genetics. The start-up InnerPlant has developed a tomato that produces fluorescent proteins when exposed to water or environmental stress.
How not to spend too much water in the garden during the summer and periods of heat waves? By using special pottery called ollas to practice economical and ecological watering.
What is an olla?
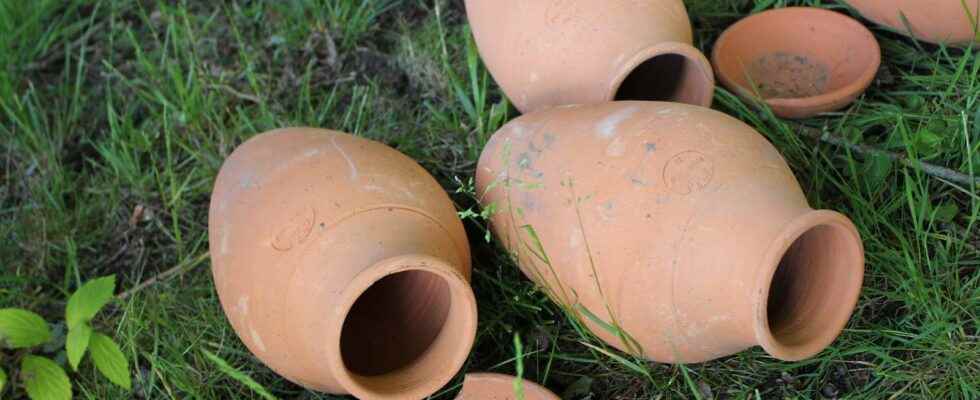
We speak of olla or oya to designate a watering system, a real water reservoir. This is a pot terracotta or in clay, matter microporous which facilitates theirrigation some water. This porosity nature allows the water to diffuse through the walls and to infiltrate slowly and gradually into the soil at the level of the roots of the plants. This pot is covered with a lid to avoid theevaporation water and spawning mosquitoes.
How to install an olla?
This terracotta jar must be planted in the ground, while keeping the opening at the surface of the ground. This opening makes it possible to fill the container and once filled with water, not limestone preferably, a lid is positioned above. The olla thus diffuses the humidity through the pores in the soil and the roots can benefit from this freshness.
Place it at the foot of the plants of tomatoes, cucumbers, zucchini and other water-intensive vegetables to replace daily watering sessions. You can add a mulch all around the feet of the plants to preserve this humidity of the soil, so beneficial to the presence of microbial life in your plot of land. This will optimize the use of water.
There are different shapes and sizes to suit your needs. Depending on the capacity of the pot, which can vary between 0.5 liters and 10 liters, and weather conditions, you will need to fill it every 3 to 9 days. There are small models for potted crops that can be placed both outdoors and for indoor plants.
How to make a homemade olla?
Expensive to buy, you can improvise a homemade olla by buying 1 terracotta pot and a saucer. Plug the drainage hole with a cork, then bury the container in the garden. Fill it with water, then place a saucer to close the pot hermetically and prevent the water from evaporating. By positioning a saucer, you also avoid mosquitoes to come and lay eggs in the water.
How to winter the ollas?
Do not leave the ollas, in terracotta, outside in winter. The material could break under the impact of the freeze. Once removed from the ground fall, clean them by rubbing them with a soft brush. If you see traces of limescale, remove them with white vinegar. Let them dry and then store them in a shelter until the next plantations.
Interested in what you just read?