
While most people buy everything from apartment rents to prescriptions via digital documents, we are yet to become the paperless society that Frederick Wilfred Lancaster envisioned in his book “Towards Paperless Information Systems” nearly 50 years ago. Scanning documents is an essential part of life, whether it’s some documents and invoices for your private life, contracts and business plans. If you’re like most people, you probably don’t have a multifunction printer and may not want to scan something at work.
Stack was created by Google’s Area 120 team, Android phones It is an experimental document management application for If you haven’t heard of the app yet, check out our comprehensive Google Stack guide to get a better idea of what it does. If you’re familiar with the app but don’t know how to install it, here’s what you need to know.
How to install Stack app?
There is no shortage of browser apps for your phone or tablet. And while scanning paper documents can be annoying when you use an app, at least you don’t have to pay for the luxury of digitizing a document.
You can start using Stack like this:
- Stack app Google Play StoreDownload from.
- Open the app and select the Google account you want to use with the app.
- Continue Press the button.
- To give Stack access to your documents and media AllowClick .
- If you want to automatically add new documents to the Stack, AllowTap . Otherwise, rejectSelect .
- Scroll through the tutorial and Finished Tap the icon.
How to use the Stack app?
After the Stack is installed, you will see Home, All documents and plus (+) icons at the bottom of the screen. The Stack bar, filled with several default categories, appears at the top of the app.
Now that you have an idea of the basic setup, you can scan your first documents as follows:
- in the lower right corner of the app. + Tap the icon.
- PDF, Gallery and Camera You will see a menu with options. If you have an Adobe Acrobat file on your phone or tablet, to add it to the Stack PDFSelect . Photos and videos can be saved to the Stack by selecting the Gallery option.
- For scanning a paper document CameraWe will choose .
- To access your camera Allow Stack Press permission.
- Align the corners of the viewfinder with the corners of your document and Scan button Click.
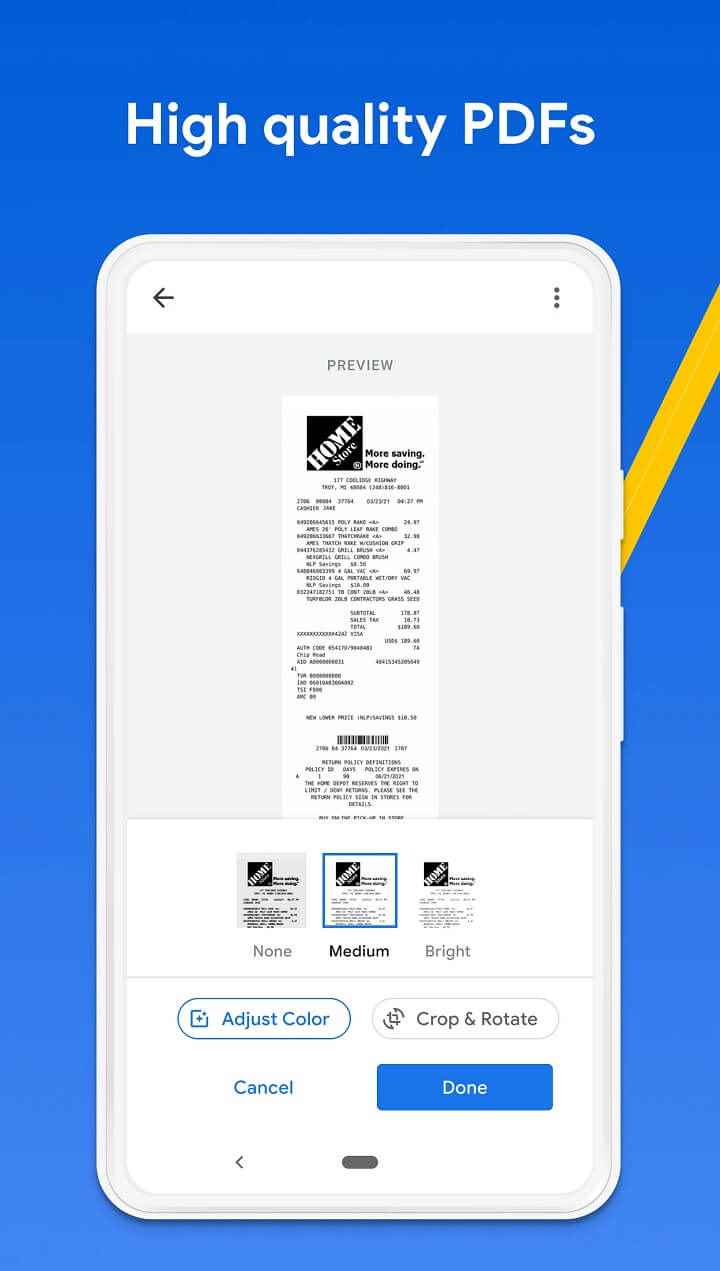
- After scanning the first page of your document, to include additional pages AddSelect . The Adjust color and Crop and rotate options allow you to clean your documents when you’re done scanning.
- After scanning and editing your document SaveTap .
- In the Name field, add the name of the document.
- After naming your document, you can tap on the Stack where you want to store the document. You can select multiple stacks.
- To save your document when you are satisfied with your selections Finished Tap the icon.
What else can Stack do?
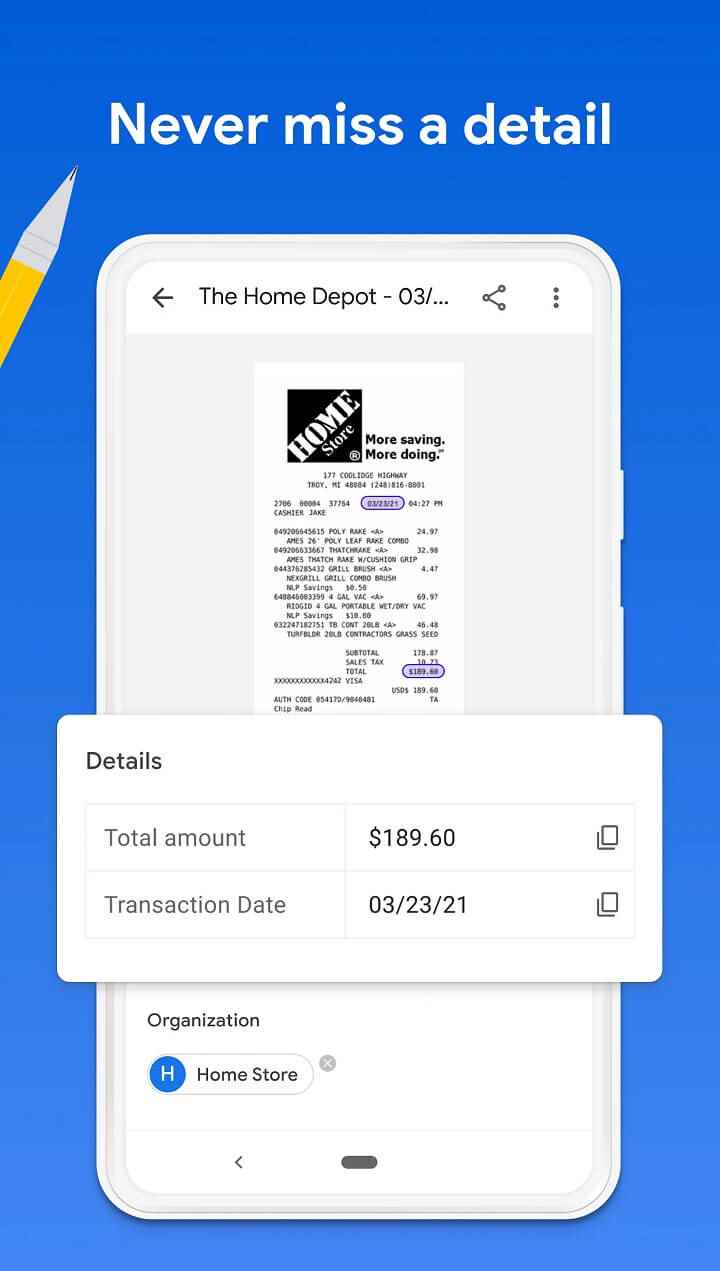
While Stack is a solid document scanning app, it has some impressive AI tricks. The Stack app uses OCR to parse your documents. It also uses Google’s machine learning features to help you find and categorize your files quickly.
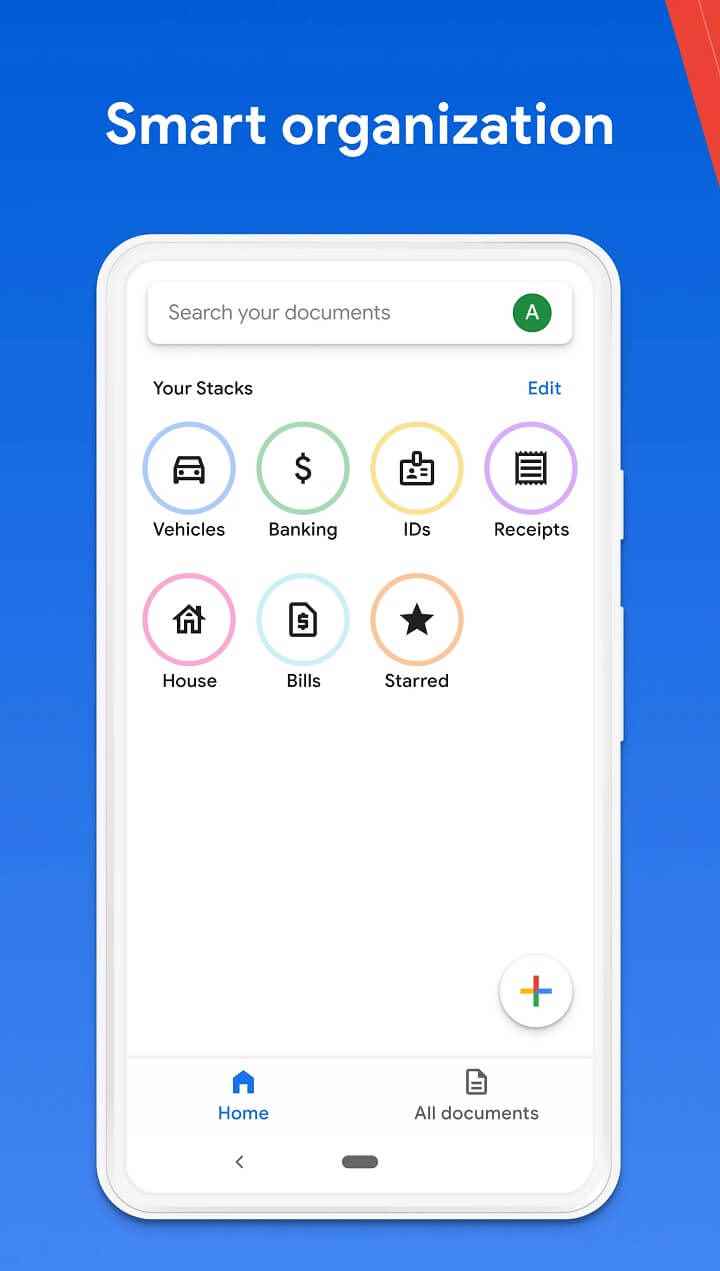
You can also edit and create new Stacks to better organize your documents. Here’s how to customize your Stacks bar.
- in the upper-right corner of the Stack home screen (below your profile picture or initials) Edit Tap the icon.
- Tap one of your Stacks to remove it. Removing a Stack does not delete any documents in it.
- To create a new Stack, tap Suggested Stacks to find Google’s suggested options, or Create Select the button.
- Create a StackIf you select , add a unique name for it in the Stack Name drop-down field.
Additional Stack settings you may want to update
Like most Google apps, Stack is intuitive. Once you’ve learned the basics, you’ll be able to navigate the app with ease. The app’s Settings menu has a few options you might want to tweak. Here’s how to access Stack’s Settings menu and some options we think deserve a quick review:
- in the upper right corner of the Stack application. to your profile icon tap.
- choose settings.
- A list of settings will appear and you can turn them on or off as needed.
- Import photos of documents will automatically add the document images you have taken to the Stack.
- Fingerprint or Face unlock option adds an extra layer of security to the Stack app by requiring biometric verification every time you open the app. We recommend that all users enable this feature.
- If the mobile data usage option is enabled, you can automatically add documents to Stacks and sync them to your Google Drive account (see below) without a Wi-Fi connection.
- Enable Save PDF copy to Drive to save your documents to a Stack folder in your Google Drive account. We recommend that all users enable this feature.
- The Export all documents to Drive option moves anything you save on the Stack to your Google Drive account. Documents are saved in a folder called Stack Export.
- Erase all your data icon removes all your files from Stack. If you want to remove everything from the Stack, select Erase all your data and click the Erase all your data checkbox that appears.
Stack is an experimental application from Area 120. Google may discontinue the Stack app at any time or integrate the underlying technology into one of its existing products. We highly recommend backing up all documents scanned on Stack to Google Drive or a similar cloud storage service.
Stack is not the only alternative
Although we are fond of Google Stack, we know that there is a chance that Google will cancel the experimental application at any time. Since Stack is only available for Android users in the US, it is not suitable for people who might want a solution that works on more operating systems. Still, a large number of third parties working on multiple platforms scanning and document management application you will find.