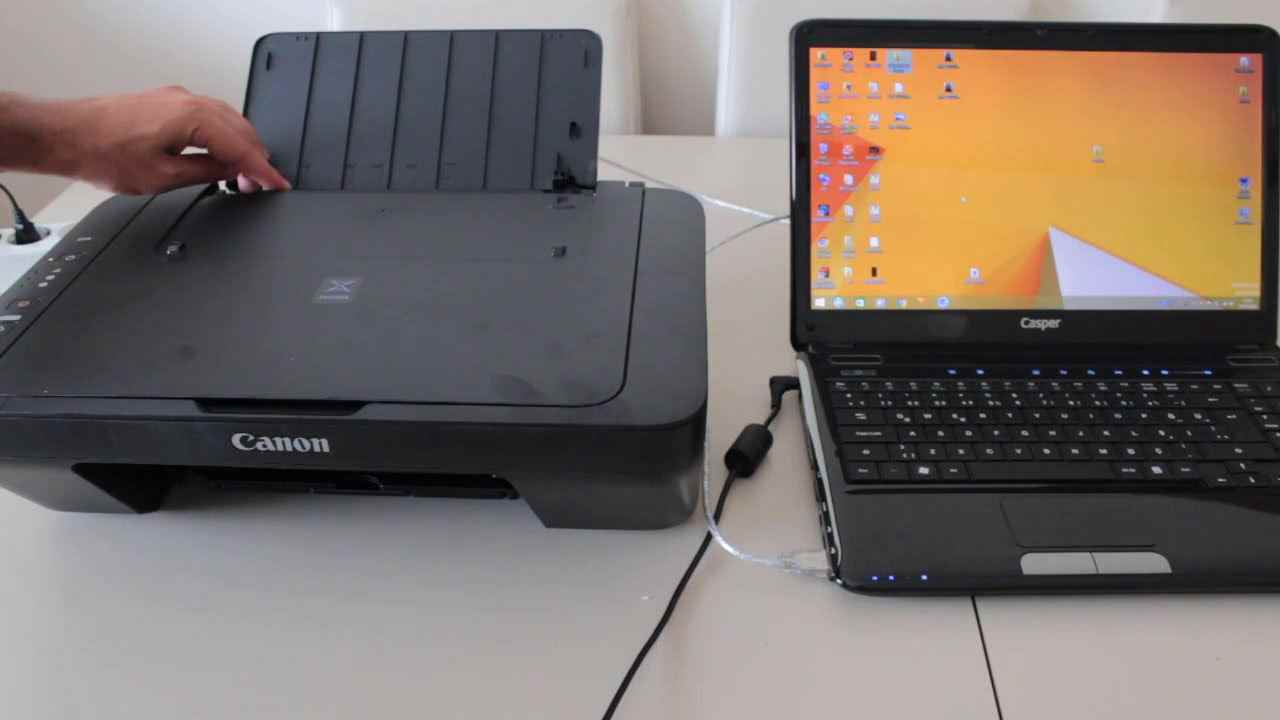
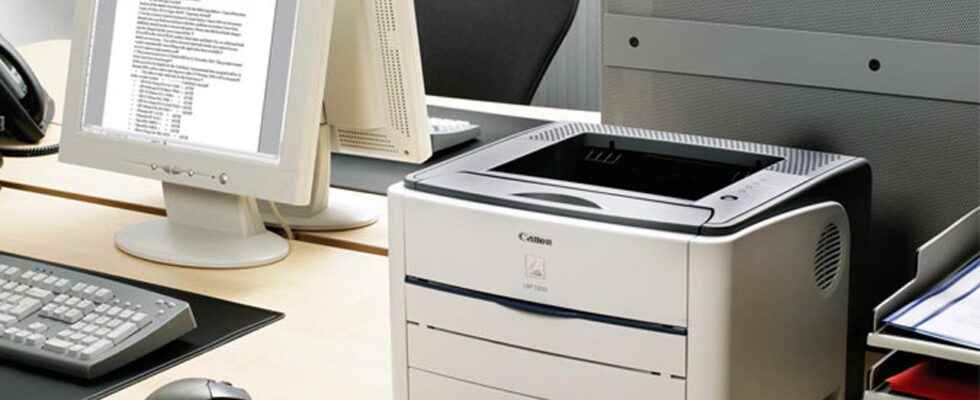
We add a lot of external hardware to computers today. While these make things necessary for us easier, they may encounter some problems. Especially at the beginning of these problems is the fact that your computer does not read the external hardware, that is, it cannot be detected. In today’s article, we will give you information about the computer does not see the printer error.
You may encounter certain problems when you want to connect any printer to your computer. Although these problems are encountered in wired printers, they also occur in wireless printers. Detection problem in external hardware is a problem that we constantly encounter. Eliminating this problem is quite simple.
Software problems lie at the root of the non-detection problem. Buddha shows us this. We can completely eliminate these problems by updating the drivers and with simple actions from the device manager. Below we have compiled ways to eliminate this problem for both wired and wireless printers. Let’s take a look together.
Connect the Printer to Your Computer
- Plug the printer cable into the computer.
- Windows + Q key Open the search window with .
- Search for the word printers. Click on Printers and scanners.
- Click on the printer you want to use from the page that opens and add it to the computer.
- You can also remove old printers from the same screen.
If Your Device Does Not See Your Printer, Install It Yourself
- Plug the printer cable into the computer.
- Windows + Q key Open the search window with .
- Search for the word printers. Click on Printers and scanners.
- Click Add printer and scanner at the top.
- Wait for the search process to complete automatically.
Reset Settings to Default
- Plug the printer cable into the computer.
- Windows + Q key Open the search window with .
- Search for the word printers. Click on Printers and scanners.
- Turn off the Allow Windows to manage my default printer option at the bottom of the page.
- Select the printer you want to set as default from the printer list above.
- ‘to Manage Click it and set it as default.

Update Printer Driver
- Go to Start, Settings, Update and Security and Check for updates.
- If there is a new update, be sure to do it.
- Go to the website of your printer brand and find and download the relevant driver for the model from the drivers section.
- Restart your computer after installing the driver.
- Try connecting to the printer.
Edit Settings in Device Manager
- Plug the printer cable into the computer.
- Windows + Q key Open the search window with and search for Device Manager.
- Click Scan for hardware changes from the menu of Device Manager.
Get Help from the Troubleshooter
- Plug the printer cable into the computer.
- Open the search window with the Windows + Q key.
- Search for the word printers. Click on Printers and scanners.
- Click Open troubleshooter settings in the upper right part of the screen.
- From the page that opens, go to the Printer section and click Run the troubleshooter.
What is Auto Clicker? How to use?
