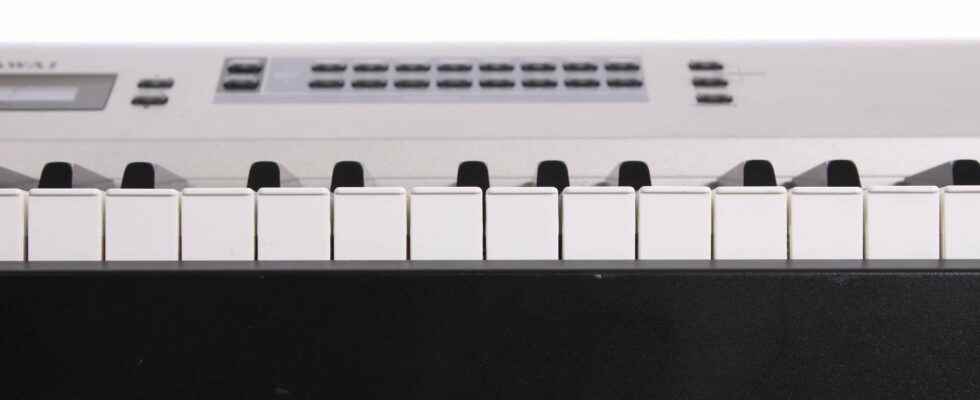
When you have paid a certain price to afford a digital keyboard and when, once the warranty has expired, you observe that one or more keys malfunction and are even sometimes silent, it is quite annoying. But most often this is caused by clogging of some components. You have the choice of taking your keyboard to a professional repairer or trying to fix the problem yourself. For this second option, here is some basic information on how to disassemble and clean your keys.
You will also be interested
[EN VIDÉO] A soap bubble that dances to the music No need for brushes to paint with music, it’s possible with soap! Researchers from the Matter and Complex Systems laboratories and the Interdisciplinary Physics Laboratory presented a device for observing the effect of sound on soap films: several physical phenomena create spectacular and fascinating patterns.
Whatever brand of your numeric keypadthe dismantling technique is substantially the same, but if your model cannot be dismantled by following our recommendations, then the best thing will be to contact a professional directly, or to carry out a search to find what makes its specificity.
To begin, the first step is to remove a number of screws. Place your keyboard on the edge to be able to access its reverse (the bottom cover) and unscrew the slots that seem to you to secure the assembly. Once this is done, you can normally either remove the cover directly, or remove the part that represents the edge that runs under all the keys in order to access the interior and the first part of the mechanism.
Most often, from this stage, you will be able to observe that a large quantity of dust has accumulated over time and before any other manipulation, we advise you to take avacuum on this part (often there is felt) in order to clean it of accumulated dust. Besides the fact that this can solve your problem, it will also allow you to see things more clearly!
A delicate and meticulous cleaning
You can then disassemble the rest of the keyboard, i.e. unscrew the other screws that were out of reach until the ventral cover had been removed. Caution, do not remove the screws that support the structure — otherwise nothing holds it all together! — because you will then have to replace the keyboard in the normal position to access the interior and if possible, without everything falling to the ground. You can now place the keyboard back in its normal position and you should now be able to open the top cover of your keyboard by pulling from front to back. If you can’t, check that you haven’t forgotten any screws.
You now have access to the heart of the machine, and as you noted for the keyboard part, there is undoubtedly a very large deposit of dust that clogs the whole thing. Do not pull on any cable and be careful in your manipulations.
In order to clean all the electronic part, the best is to use a spray ofair cold (the same type of bomb as for the computer keyboards) rather than thevacuum which could damage components. These must be handled with great care.
Once everything has been thoroughly cleaned, you can remove the screws that hold or secure the keyboard with the electronic part (generally there are between 4 and 8 screws depending on the model); then disconnect the plugs and cables that connect the keyboard part to the electronic part (the motherboard).
Replacement of damaged elements
After turning your keyboard upside down, you can now dismantle the entire electronic board, and thus access the springs which raise the keys of the keyboard after you have pressed them. By being very careful, you will no doubt notice that some have come out of their initial housing, that others have shifted, and that others have simply broken, in which case, they will of course have to be replaced. Damaged keys can be ordered individually, on Internet ; with the reference of your keyboard, you will find what you need without too much problem normally.
You can remove the keys that pose a problem by levering the upper part and unclipping them in order to have access to the internal mechanism of each of them. Most of the time when it’s not the accumulated dust that causes the problems, it’s the small springs that are tired and do not raise the keys, for example.
You can swap the springs between the top keys of the keyboard (little used and therefore in good condition) with those that have suffered damage and are twisted (on the other hand, straighten them as best as possible by taking the springs that are not very worn as a model. ..), or try to find new ones from the manufacturer or from a professional in order to “rebuild” everything.
Conclusion
The manipulations presented above are not always simple and if you are not comfortable with the idea of dismantling everything, do not do it, because the reassembly keyboard or changing the springs can be tricky. Be aware, however, that cleaning the assembly is usually enough to resolve a malfunction.
Interested in what you just read?