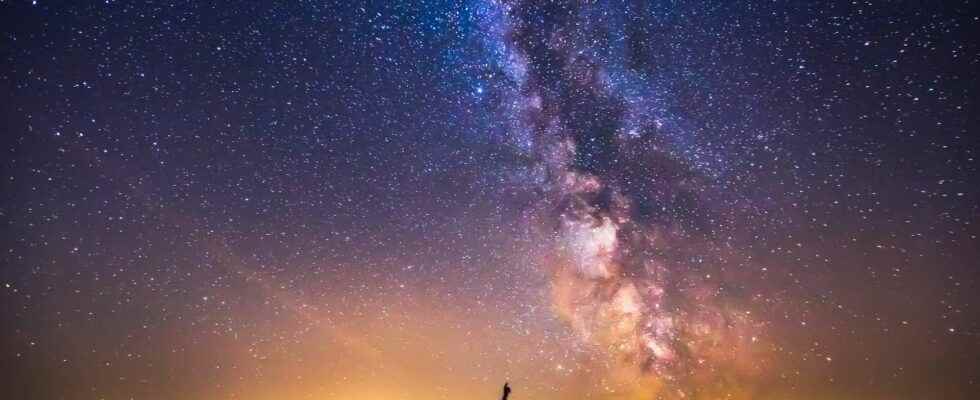
It can be admired on starry nights, when there is very little light pollution. It looks like a milky road that crosses the sky, hence its name: the Milky Way. But beware, because of its low light, photographing it requires specific equipment!
You will also be interested
[EN VIDÉO] The first image of the Milky Way’s central black hole, Sagittarius A* The EHT has just unveiled the very first image of our galaxy’s central black hole, named Sagittarius A*. This astronomical monster of 4 million solar masses is located 27,000 light years from us, and its shadow has a diameter equivalent to 15 times the Earth-Moon distance!
The Milky Way means the galaxy in which we find ourselves, spiral galaxy : more precisely, we are in one of its arms called Orion27,000 light-years from the center where the famous black hole is located Sagittarius A* recently photographed.
All the sky that we observe corresponds in fact to the Milky Way seen from the interior, but this pale white streak which we associate with this name is one of the densest parts of the galaxy, and contains in reality of thousands ofstars and deep sky objects! photograph it Capturing all these small light points first requires a long exposure time, in order to obtain the sharpest image possible, but also a large aperture of the lens. But no need for professional equipment, it is quite possible to take a beautiful photo with a consumer camera, or even a smart phone !
The settings to be made
First of all, you need to be able to make manual adjustments, so whether it’s on your smart phone or your camera, you need a mode M or equivalent which allows you to adjust each parameter yourself. Then come the different settings:
- The focal length: it is what defines the angle of view of the photo: the more the focal length is lower, the wider your angle of view and will allow you to take in the Milky Way as a whole.
- For opening : It defines the amount of light that your device will let in. For an object as faint as the Milky Way, it is therefore necessary to the maximum. In practice, the aperture is defined in your camera by an F/N ratio: the smaller N is, the larger the aperture will be. Thus, an opening of f/1.8 would be ideal but until f/3.5 you have a chance to get a very nice photo!
- Then comes the exposure time, or speed shutter: a time of 15 to 30 seconds is recommended, all with a tripod or a sufficiently fixed support to ensure that the device or smartphone will not move. This will capture much more detail than with an instant photo. Attention, a too long time will make the photo blurry because of the rotation of the Earth. To get the ideal value, we can use the rule of 500: 500/focal length = maximum exposure time.
- For the sensitivity ISO, the best is to adjust it not to the maximum because it will bring noise digitalbut to put it high enough so that it brings luminous details: between 1600 and 6400. But if other light sources than the stars are present (the Moonor streetlights or other artificial elements), the ISO should not be too high so as not to accentuate these light sources too much.
- Finally, last adjustment but not least: the focus. Two possibilities are available to you: a so-called “infinity” focus if it is possible, and if not, the focus is on the brightest star. To do this, you have to zoom in on the star as much as possible, then focus manually, that is to say, adjust until it appears as small and sharp as possible.
Once the photo has been taken, depending on the area of the Milky Way targeted, you may see it in colorsbecause the densest part is full of clouds molecules that appear dull to theeye naked, but colored in the device! Otherwise, retouching is possible in order to invigorate the colors of the photo, but for that, it is necessary to first have a file in .RAW.
Interested in what you just read?