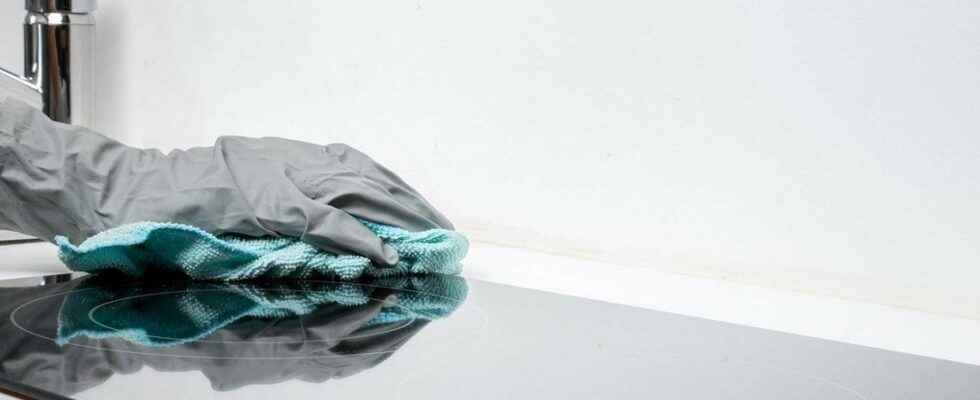
Sponges have a particularly short lifespan: they must be replaced regularly and cannot be recycled. At a time when the trend is zero waste, Tawashi sponges are a sustainable solution to this problem. We will see how to make them at home from recycled fabric.
You will also be interested
Tawashi sponges were invented in Japan, they are washable cloth sponges. They are made by hand, and are a 100% recycled and totally free alternative. It is reusable since machine washable. These sponges last on average 7 times longer than the classic model.
In Japanese, “tawashi” means mop. As its name suggests, this sponge will allow you to clean the whole house: dishes, surfaces, bathroom… etc. Some even use it to wash their bodies. Depending on the use we want to give it, we will use a different fabric: softer for the skin, harder for the dishes.
How to make a Tawashi sponge myself?
The best-known method of making tawashis is to use a loom made from a plank of wood and nails planted 2 cm apart. But to avoid a accident hammer, there is a simpler system: clothes pegs, which are placed around a square container, such as Tupperware! This can be a fun activity idea to do with the kids.
You will need the following equipment:
- A square container of about 20×20 centimeters
- 28 clothes pegs (7 on each side of the container)
- Old clothes (socks, t-shirt sleeves, leggings, tight pants, etc.) in the colors you want for your sponge
- A pair of scissors
Here are the steps for making thesponge tawashi:
Choice and cutting of the fabric
After washing, the diffused polyester or acrylic microparticles remain in the water. It is therefore best to avoid fabrics containing these materialsbecause the microparticles are not filtered by the treatment plants, and end up in the oceans. Go for cotton or wool fabrics instead. Of course, the idea is to choose clothes that are damaged and cannot be donated.
From your used clothes, cut a strip of fabric, about 3 cm wide, which should form a ring. For this, use the part of the sleeves, or the bottom of your pants. You can also give your damaged socks or tights a second life. Make fourteen strips to obtain a medium-sized sponge.
Weaving
To start, attach the clothespins to the edge of your container, seven on each side. This is what will form your loom.
Stretch a strip of fabric between two opposite clothespins and do the same for the entire backing (this should give you seven stretched strips across the backing).
Then turn the container a quarter turn, then weave the rest of the strips between those already installed. For the first row, pass a strip below then a strip above the 7 perpendicular strips previously laid. For the following rows, follow the same principle by reversing the direction at each line: first above then below.
Closing the sponge
You should now have completed your weaving and all the strips of fabric have been used. To finish, take the first corner between your fingers and slide it into the next one. It is a question of making pass the first loop in the second. Then use the second loop to bring in the third. So on, repeat the operation around the square. Once in the last loop, pull on it to make one cove. Your tawashi sponge is ready to use! You can machine wash it at 30 degrees, whatever the fabric.
Interested in what you just read?
