Do you want to hide certain files or folders on your PC, to protect them from prying eyes? A simple and risk-free manipulation in Windows (10 and 11) is enough to hide them by making them invisible.
You have documents on your PC that you want to keep confidential so that anyone accessing your Windows session cannot open or modify them. If they are on the Windows Desktop, you can simply hide them so that they do not appear as we explain in our practical sheet. Nevertheless, the method remains basic and it takes little time to reveal their existence. Without resorting to very complicated solutions based on encrypted archives (read our practical sheet), you can easily hide folders and files from plain sight with a few simple manipulations and without installing any software. Windows 10 and 11 allow you to change the attributes of elements stored on the PC by passing them from a visible to invisible status, whether they are on the Windows Desktop or accessible from File Explorer. Of course, the files are neither deleted nor even moved! They remain intact, in their original location, but simply go into hidden mode, just like sensitive files in Windows, and you can continue to use them.
Be careful however, if the method used is quite simple to hide your files, it is just as easy to reveal their existence for those who know a little about Windows. Also, if your documents contain really confidential data, it will be better to lock them in an encrypted archive.
How to hide folders or files in Windows 10 or 11?
Without using any additional tools, Windows (10 and 11) makes it possible to hide files and folders, wherever they are in the storage space.
► Open File Explorer and navigate to the folder containing the items to hide. Right-click on a file or directly on the folder that contains multiple files if you want to hide them all. In the pop-up menu that appears, click Properties (depending on your version of Windows 11, you may need to choose Show more options > Properties).
► The properties window opens on the screen. In the section AttributesCheck the box Hidden and click on To apply.

► A dialog box pops up on the screen. It allows, if you wish, to apply the “Hidden” status to the folder only or also to the sub-folders and files it contains. This second option is more efficient. Click on okay.

► For more security, you can also ask Windows to stop indexing this folder. In other words, when a search is performed on the name of a file with the Windows search engine, the hidden elements will not come up in the results. To do this, click on the button Advanced. In the window that appears, uncheck the box Allow the contents of this file to be indexed in addition to the properties of this file and confirm with okay. Click again on okay to close the properties window.

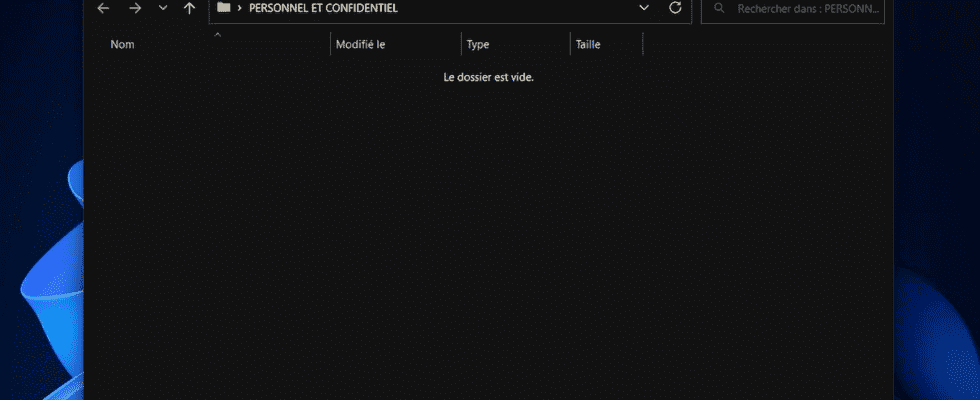
► Your folder or file now appears in File Explorer in gray form, a sign that its status has changed.

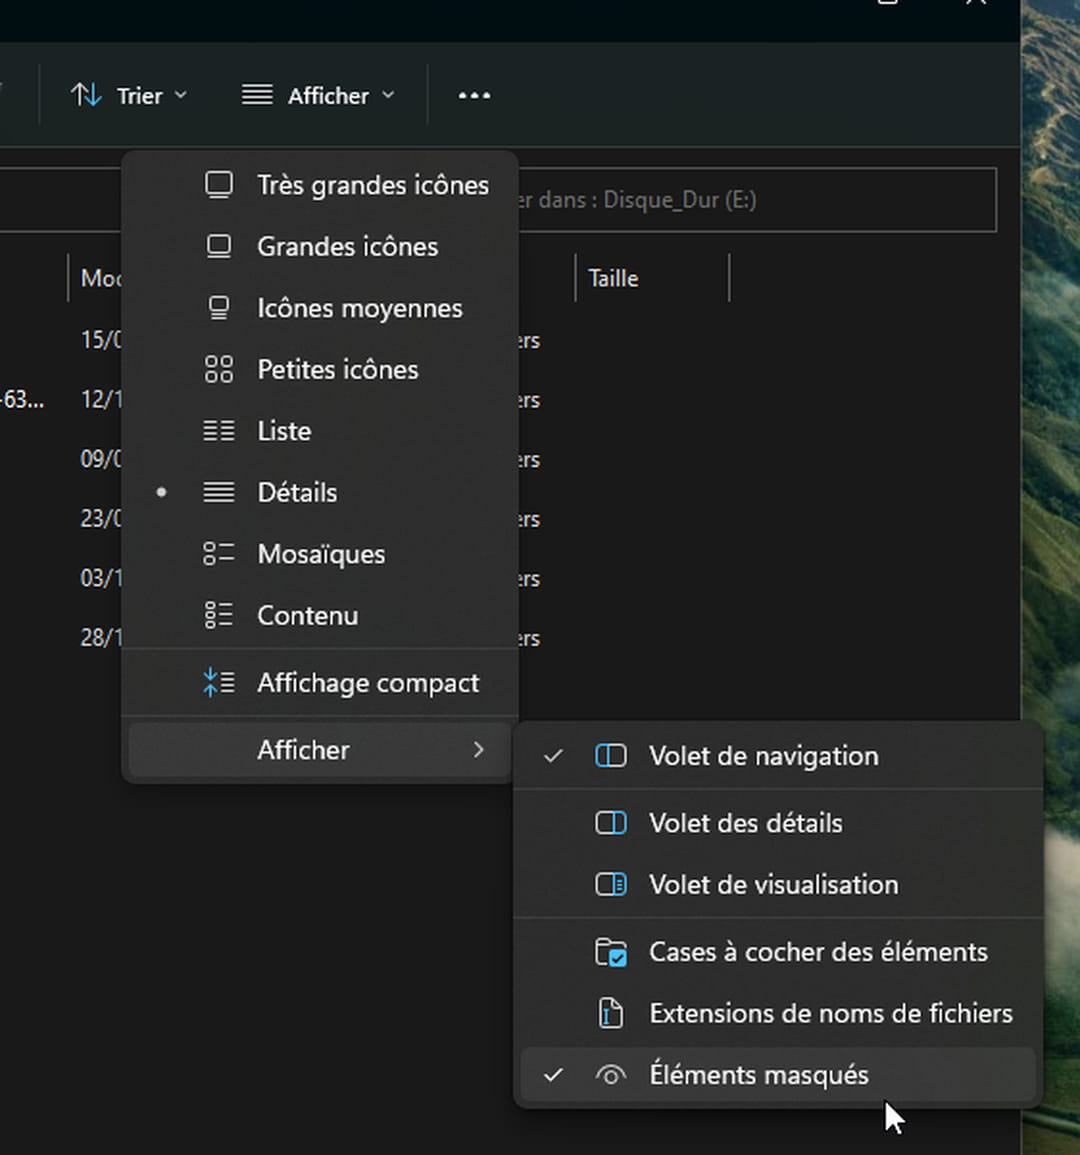
► To really hide it, with Windows 11, click in the File Explorer tools ribbon on the menu To display. Choose To displayat the very bottom, and then click Hidden items.
► With Windows 10, click on the menu Display from the File Explorer tools ribbon and uncheck the box Elements masked.

► Your folder or file has now disappeared from Windows File Explorer. To make it reappear, just repeat the operation from the Explorer tools ribbon and check the box Elements masked.