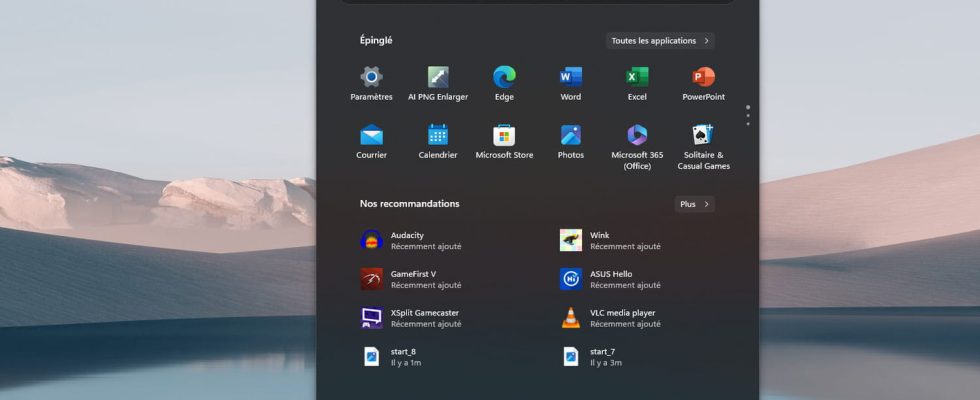
Having trouble with the Windows Start menu? It freezes, reacts with a delay or even refuses to open? Whether you use Windows 10 or 11, here are the solutions to get it back on its feet!
Brick inseparable from Windows since its beginnings, the Start menu has undergone many transformations over the evolutions and the different versions of the system. Sometimes overloaded, sometimes very light, it always responds in the taskbar. Well, almost always…
It may indeed happen that the Start menu refuses to open. Rather annoying since it houses many shortcuts to key Windows functions such as restarting, standby or shutting down the PC, for example, but also access to different user accounts. The Start menu may also exhibit some slowdowns. The clicks you can make there seem to act with a rather disturbing delay time. Before jumping on the first Windows repair utility, two manipulations can get you out of trouble and allow you to find a functional Start menu. Here are the steps to follow.
The Windows Start menu is an application “almost” like any other. Which means it shows up in Task Manager just like any other process running on the computer. So you can restart it.
► Open the Windows Task Manager by typing for example Administrator in the search field or by following the instructions in our practical sheet.
► With Windows 11, in the search field at the top of Task Manager, type Startup. The Startup process is then displayed in the central area of the window. If you are using Windows, you need to look for the process Startup among the running processes of this version of Task Manager without a search field.
► Right-click on the process Startup. From the pop-up menu, choose end of task.
► Wait a few seconds. The Startup process will restart automatically. As soon as you see it again in Task Manager, try clicking on the Start menu. There is a good chance that its restart has unblocked the situation. If not, try the second method.
Unwanted items or corrupt Start menu files can prevent it from working properly. A small intervention in the Windows registry will allow you to find it as if Windows had just been installed. You will therefore lose the various shortcuts that you may have placed there, but at least you will find a functional menu.
► Press the keyboard shortcut Win + R to open the window Execute. In the field Opentype Regedit and validate.
► The registry editor opens. Now navigate to the following key:
HKEY_CURRENT_USERSOFTWAREMicrosoftWindowsCurrentVersionCloudStoreStoreCache
► Select folder DefaultAccount present in the file Hidden. Click on it with the right mouse button. From the menu that appears, choose DELETE.
► Confirm your choice in the dialog that appears.
► Close the registry editor then open the Windows Task Manager as in the previous step. Among the various active processes, locate Windows explorer. Right click on it and choose To restart in the pop-up menu that appears.
► After a few seconds, the taskbar and the Start menu disappear and reappear. The Start menu is functional again. If you’re using Windows 10, the various tiles you might have placed there are likely gone. You will have to put them back there.


