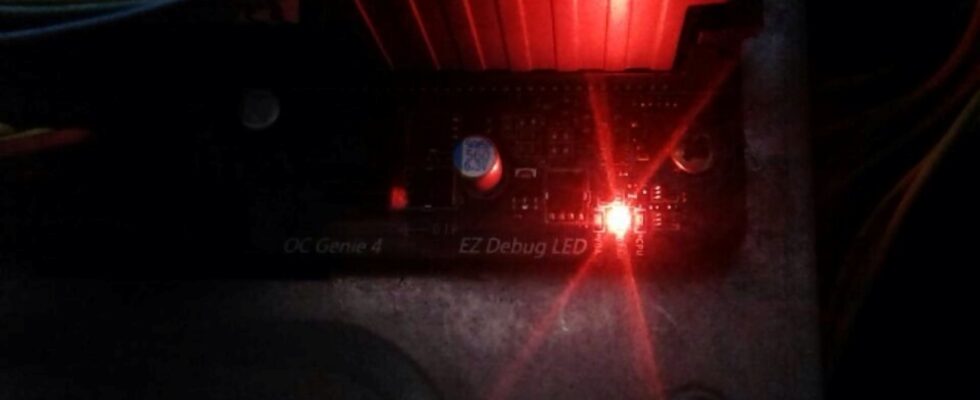
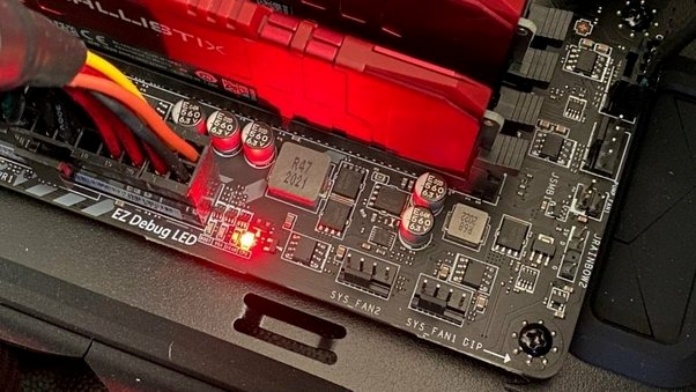
A red light on your motherboard could be as simple and harmless as fancy RGB lighting, or it could mean that a key piece of hardware is failing. If you are having problems with your computer or think that the computer does not turn on at all and there is a red LED light on the motherboard, continue reading this article.
Check out the Guide
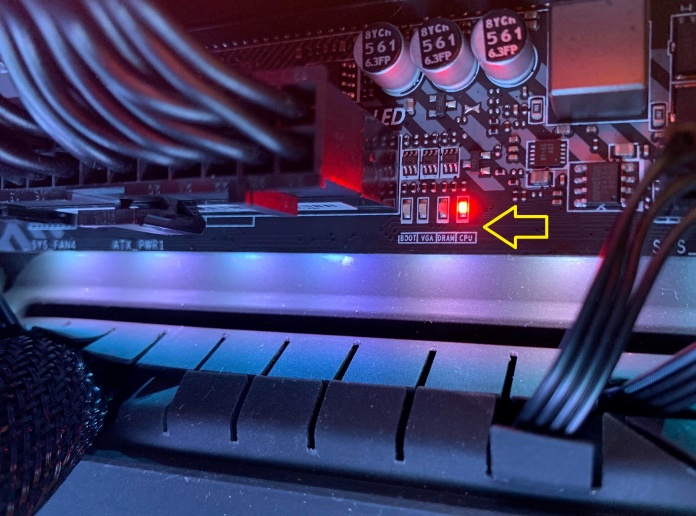
Almost every manufacturer uses a different layout and design for their motherboards, and even different motherboards from the same manufacturer can have different features; so it’s hard to tell what the red light is on your motherboard without knowing which model it is.
You should have received a physical copy along with your computer or motherboard, but your manufacturer’s website will also have a digital version available along with detailed motherboard information. Use manual or online tools to find out what the red LED on your motherboard means. Take note of its placement and whether it opens or shows you a pattern or code. Also consider when the LED is turned on. Is it always on or only when you try to turn on the computer?
You can find a simple answer in the manual that will tell you exactly what is wrong (or ideally everything is fine and you don’t need to worry). It doesn’t say much about the red light, but if you’re getting a beep when the system starts up, or there are other LEDs or readouts on the motherboard that are giving you codes at boot, compare them to those in the manual.
Reset CMOS
Before we delve into more complex fixes for this motherboard red light issue, it’s always worth resetting the CMOS as it’s not uncommon for BIOS changes or new hardware installations to cause stability issues that can lead to the system not booting and displaying warning lights.
You can do this by pressing the BIOS reset button on your motherboard, if available. Alternatively, unplug the power cable, remove the CMOS cell battery from the motherboard, and then press and hold the power button for 30 seconds. Replace the battery and cables and try again.
How to Fix Red Light CPU Errors?
If you think the motherboard’s red light is caused by a CPU error, there are a few things you can try:
- Reinstall the CPU: Remove and reinstall the CPU cooler and processor.
- Make sure the CPU fan is spinning properly and the cooler is securely attached. A loose or underperforming heatsink may be sending a warning to the motherboard not to start.
- Update the BIOS firmware: If you installed a new CPU on an old motherboard, the motherboard may not support it. Yet. Install an old CPU that you know works, then update the BIOS before reinstalling the new processor. If in doubt, also check your motherboard’s compatibility list to make sure the CPU is officially supported.
- Test the CPU: If you can, test the processor on another computer to make sure it’s working properly.
Try Other Actions
Unplug everything: A standard troubleshooting tip is to unplug everything you don’t need and see if that fixes the problem. Remove all RAM sticks but one, any storage drives and add-in cards you don’t need, and unplug all USB devices except your keyboard and mouse.
Reseat memory: If you think it might be RAM, try removing and reinserting both sticks.
Check for power: Have you plugged in the graphics card power cables? What about the CPU power cable on the top of the motherboard? Make sure you have installed everything necessary correctly. If in doubt, unplug them and plug them in again.
If you’ve tried all of the above solutions and your computer’s motherboard is still showing the red light, you may need to consider replacing the hardware.