Published on
Updated
Reading 2 min.
Did you miss your self-tanner application or discover unexpected stains? Don’t panic, it’s only an ephemeral product, and there are solutions to rectify the situation.
You wanted to give yourself a nice deep tan but here you are with unsightly marks on your forearms, legs, or even a stain on your top? Don’t panic, it even happens to regular self-tanners. And it’s not that bad. In the US GlamorAdarsh Vijay Mudgil, dermatologist explains the various ways to remove these marks.
Erase orange marks on the skin
Above all, the expert recalls how self-tanner works, which colors your skin thanks to an active ingredient called dihydroxyacetone. “This chemical interacts with proteins in the outer layer of our skin, which contains dead cells. This causes a reaction that results in a bronze or brown color. This discoloration makes you look tanned”. Above all, self-tanning allows you to have a sublime complexion without having been exposed to the sun and UV rays. But there are several simple ways to get rid of this asset.
The doctor first mentions the solution of a gentle scrub in the shower, or even the use of baby oil. “But it is possible to buy a product commercially, containing baking soda, a gentle exfoliant. I think a product specifically designed for this purpose is the best solution.”
Erase stains on fabric
Unfortunately, you also see brown stains on the collar of your t-shirt, or on your sheets. Here again, there’s no need to get upset, it’s quite easy to get rid of with a simple machine wash. “If in doubt, pre-treat the stain by soaking it in hot water, then apply detergent and let it soak for 20 minutes before cleaning it in the washing machine.” indicates the doctor, specifying that it is still better to act quickly.
But the best way to avoid streaks and stains is to know how to apply your self-tanner perfectly. And for this, the dermatologist reminds you of the right actions:
- Prepare your skin. Begin the prep process 24 to 48 hours before applying your tan by exfoliating dead skin cells, and moisturizing your skin. Focus on problem areas such as elbows, knees, feet, back of heels, entire hand and wrist crease, as well as any areas of very dry skin such as eczema or psoriasis. Finally, do not do hair removal 24 hours before;
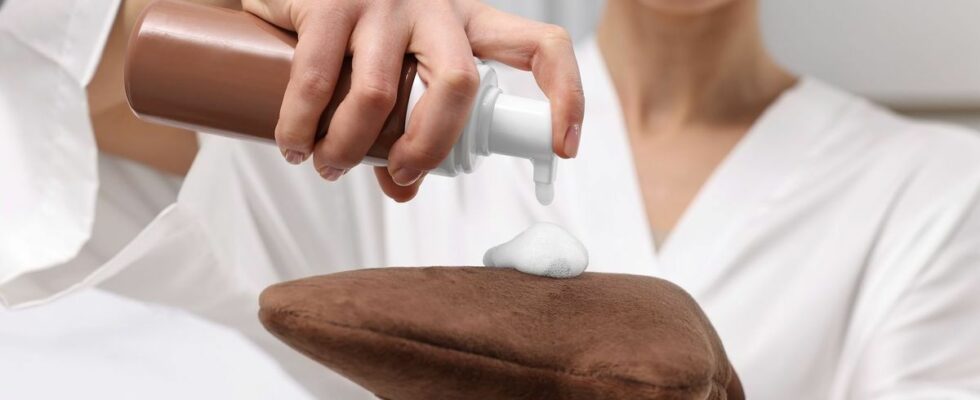
- Make sure you have everything you need. You need to have all the right products and accessories ready to be applied: tanning applicator mitt to protect your palms from stains and make application easier, a self-tanner for your body, a separate self-tanner for your face, an oil-free moisturizer and a packet of cleaning wipes to correct;
- Apply self-tanner in the correct order : Start at the bottom of your legs and use an application glove for a uniform finish. Continue with the body. Stop at your hands and feet which only need a minimum of product. Tan one hand, wipe the nails, cuticles and palm, wait about 60 seconds, before proceeding to the second. Finish with your wrists.
- Finally, wait 12 hours before showering. “Showering too soon can cause some of the product to wash off, creating an uneven appearance of the product on your skin.”