
Is space starting to run out on your PC? It’s time to clean up the bulky folders! Especially since Windows 10 has a very handy tool to simplify this chore.
Over time and use, files pile up on your PC. And sooner or later, storage space runs out. It is then high time to make some space by going on the hunt for bulky, useless or obsolete files. A chore that is not always very easy, especially if you have to manually explore the countless folders on your computer…
Fortunately, Windows 10 offers tools to help you with this thankless but essential task. And since the May 2017 update – stamped 1703 and called Creator Update – it is possible to see in a few clicks which are the largest files stored on your PC to do some cleaning. This function has even been further improved with the spring 2020 update, numbered 2004.
To do an effective cleaning, you must start by identifying the folders that take up space, using the function integrated into Windows 10.
- Click on menu To start upthen on Settings.
- In the window Settingsclick on the heading System.

In the left column, click on the sub-heading Storage.
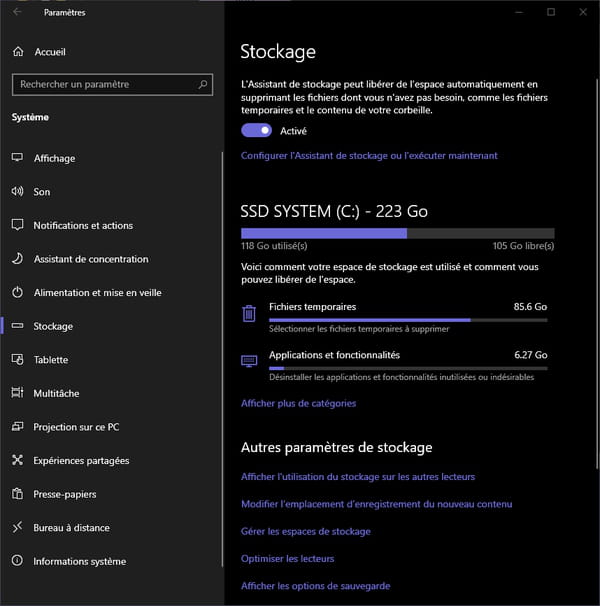
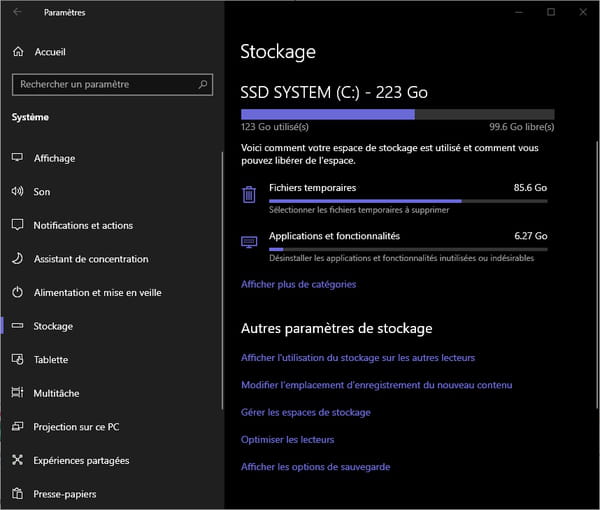
- The right part of the window then displays by default the footprint of the main disk – the system disk, on which Windows is installed. The disk is displayed with its name, its total capacity and a bar graphically indicating the occupied space and the free space.
- Just below you can see categories of files that are taking up space, for example, Temporary files and Apps and Features, again with bar graphs. They do not correspond to folders, but to file types. By default, Windows only shows the main ones. Click on Show more categories to see more.
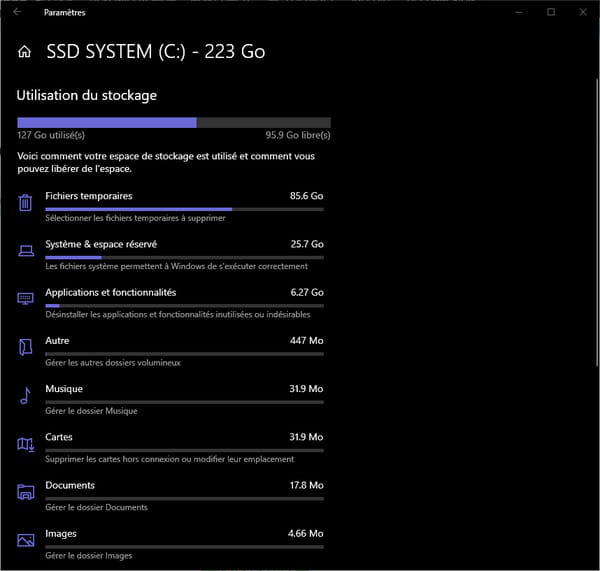
- The list expands by presenting all categories in order of size – or footprint.

- If you have several drives – disks or partitions – scroll down the right part of the window and, in the section Other storage settingsclick on View storage usage on other drives.
- The content of the window changes completely to present the list of available drives – including removable ones, such as external drives and USB keys – indicating for each the name, letter, total capacity, occupied space and free space.

- Click on a drive. The list of categories it contains is displayed with, again, a ranking in order of size.

- Repeat the operation as many times as necessary to check each of your readers and identify the categories that take up the most space.
Now that you have a good idea of your disk’s clutter, it’s time to clean up. This time again, Windows 10 will help you, by offering you different options depending on the category to be cleaned. No need to go around the folders to manually delete files, just let yourself be guided.
- As before, select a reader, then click on a category. As you will see, the functions change depending on the file type.
- If you click on Temporary filesWindows displays a list of subcategories, always sorted by size: Downloads, Recycle Bin, Windows Update Cleanup, Windows Upgrade Log Files, Thumbnails, Temporary Internet Files, etc All are accompanied by a fairly clear description and preceded by a selection box. But, for safety, some boxes are not checked. this is particularly the case of the Basket and Downloads, which, as noted, may still contain important files, which should not be accidentally deleted. A word of advice: it is better to leave them unchecked and clean them manually afterwards. Go through the list, check the boxes of the categories that interest you, then click on the button Delete filesup.

- Files corresponding to the selected subcategories are immediately deleted.
- Go back and switch to another category on the same drive.
- If you select System & placeholderWindows tells you exactly where its various components and functions are located: System Files, Reserved Storage, Virtual Memory, Hibernate File, etc But this time, you can’t delete anything! And for good reason, these are sensitive elements, essential for the proper functioning of the PC. No risk of doing damage, therefore. You can simply act on the system restore function by clicking on the button Manage System Restore to access related settings.

- Go back and select the category Apps and Features. Again, the display changes. Windows lists this time all the applications installed on the PC: those installed by default with Windows and those that you have installed manually. There is obviously no button to delete it all at once and you have to proceed on a case-by-case basis. Click on an app you no longer need. Buttons appear below. Just click Uninstall to delete it from your PC. Confirm the deletion in the window that appears next. The app is deleted! Repeat with the other software you wish to remove. Please note that this button is inactive with certain Microsoft applications.

- Go back again and select another category, like Documents, Pictures Where Other, which contains everything that Windows could not classify. This time, the display changes and Windows directly presents folders with their path on disk, listed in order of size. Simply click on the name of a folder to open it in a classic Windows Explorer window: all you have to do is delete the unnecessary files.


- Repeat the operation for the other large folders, then change category.
- When you’ve finished cleaning up a drive, move on to the next one and start over.
Be careful, during your cleaning, do not delete anything in a hurry: take care both to save your important personal files beforehand on an external disk – or in the cloud – and not to delete system files, essential to Windows, and therefore to your PC.