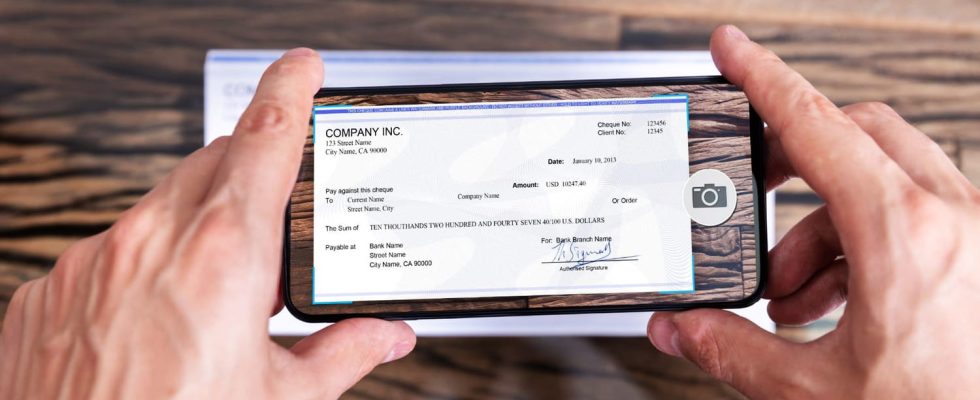
Google Drive improves its document scanning tool in its mobile application. It offers a new interface as well as several functions allowing you to have more control over the generated image as well as better rendering.
Scan Google Drive: automatic scanning in addition to manual
Previously, to scan a document, you had to press the New button, then Scan, before finally being able to scan the paper. The thing is now faster since, from the home page where the list of your files saved on your account is displayed, you have two new buttons: + New, which allows you to add an element, and a camera, which gives direct access to the application’s scanning menu. Once there, you have the choice between two ways to scan your document: automatic capture or manual capture. The first will automatically scan the paper after detecting its contours, with a longer or shorter processing time depending on the situation. The result is largely satisfactory! Afterwards, if you prefer to take your time to get the sharpest result possible, you can always go through manual scanning.
Once the document is scanned, it is displayed in a new preview window. If you find fault with the rendering, you can retouch the image using the various editing tools. You can crop or rotate the image, apply a filter and retouch the colors and contrasts. If you are still not satisfied with the result, you can delete the document or scan it again. Of course, you can also add other pages by selecting the + button provided for this purpose. Finally, once you are satisfied with the result, all you have to do is press OK, at the top right, to be taken to the save menu where you must indicate the name of the file and its save folder. It’s a change from the days when we had to use a printer!


