
Do you want to highlight the photos of your dishes? Foodie offers shooting and image editing functions dedicated to gastronomy. But also usable on other subjects.
The “food” photo is one of the main trends on social networks. And not only for gastronomic professionals: we are happy to share a colorful dish on Instagram or a successful cake on Facebook. These photos are also appetizing supports for creating collections of recipes on Pinterest for example. But still it is necessary to succeed these famous photos! If Instagram’s filters are no longer enough for you to improve your shots, the Foodie app offers some very valuable functions. It is used at the time of taking the picture, and not only to modify the image after the shooting. An improved camera to feast on colors and filters!
However, despite its name and its primary destination, Foodie is not limited to food photography. The app has several filters suitable for other topics, such as selfies. It is therefore perfectly possible to use it in other circumstances by taking advantage of its image enhancement functions. You just have to try!
The app is available for free on iOS and Android. It must be installed on the smartphone, but it does not require the creation of an account. Here’s how to use it well!
Install the Foodie app on iOS or Android
The installation of Foodie is simple but it requires several authorizations to access the photo functions of the smartphone.
- Open your Google Play app if you’re on Android, or the Apple Store if you’re on iOS.
Search for the app Foodie – Camera for life.
Click on To install. The app is automatically installed on your phone. It may take a few moments.
- Once the application is installed on your phone, click on To open Or on the logo of the application.
When you open the app for the first time, you must accept the Terms of use and the Privacy Policy. Click on Accept.
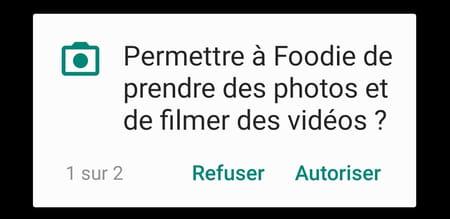
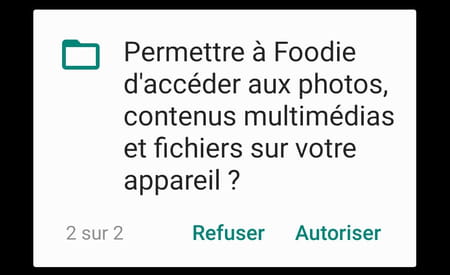
You must also allow the app to access the camera. Click on To allow.
- You now have access to the various features of the application.
Adjust main Foodie settings
Foodie works like a camera, offering several features built into the interface. As soon as the application is opened, the front camera is activated by default. Even if it is not essential, it is preferable to personalize the settings before taking your shot. Everything is not always translated into French, but it is easy to navigate.
- Click on the three points at the top left of the application.
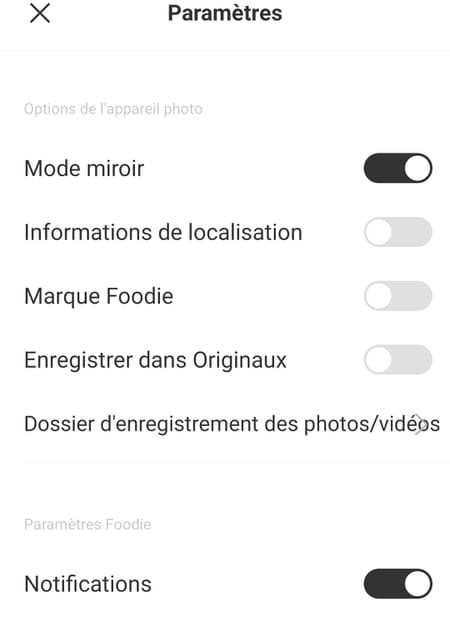
Click on Settings to open the settings. In this section, you can activate or deactivate the mirror mode, the location information, the notifications or change the default recording folder for photos and videos.
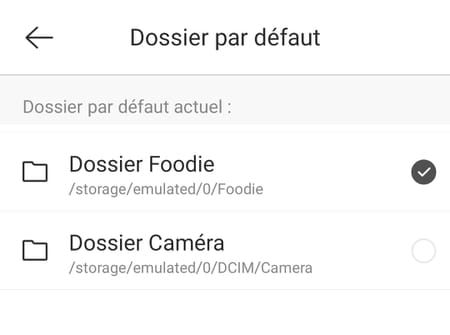
If you want to change the destination folder for the photos, click Photo / video recording folder. This action opens a new interface.
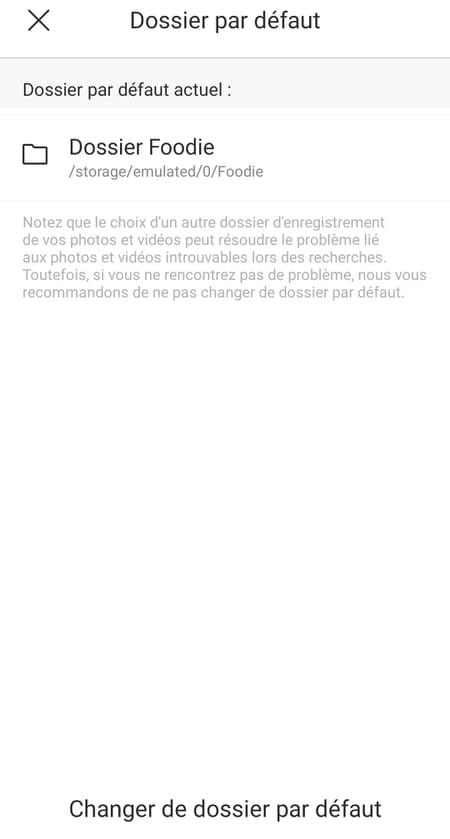
Depending on the settings of your smartphone, you have several choices. Select the folder you want to use. You can then go back by clicking on the arrow at the top left of the interface.
Take photos with Foodie
Once your preferences are saved, you can move on to shooting. Again, you have several settings to adapt the filters and effects to your subject when taking the photo.
- Click on the three small dots to adjust the blurry, apply a gate, set a timer, apply lighting with the torch, or modify the definition (the image quality in number of pixels), called here resolution (high or standard).
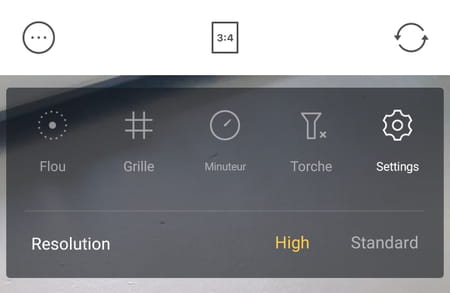
- Click on the button 3: 4 to adjust the aspect ratio of your picture. By default, the image area is set to 3: 4 but you can also choose a ratio 1: 1 (square format) or 9:16 (16: 9 TV format).

- Click on the representative button two circular arrows to switch the front camera to the mirror camera.
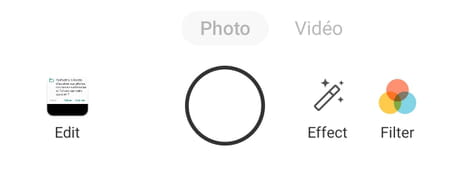
- Click on Photo Where Video to switch between the two shooting modes.
- Click on Recipe to open pre-saved settings.
- Click on Effect to apply effects.
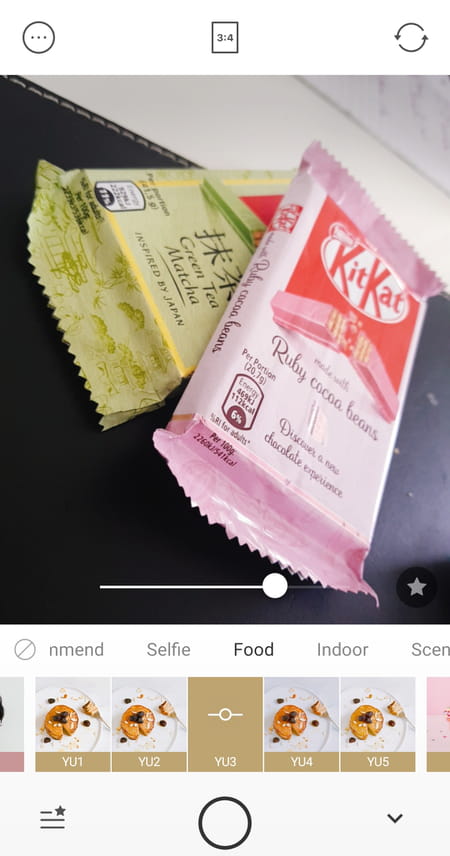
- Click on Filter to apply filters to the image you want to take. The application offers several filters classified by type of shot (selfie, food, favorites, recommended, outdoors, landscape…). As soon as you select a filter, it applies to the image and lets you preview the rendering.
- Click on the round at the bottom center of the interface to validate the shot. The image is saved by default in the Foodie folder on your smartphone.
Use Foodie to edit existing images
Foodie doesn’t just apply filters to the shot. You can use it to edit photos after the fact.
- Click on Edit to open your latest images. Select the image you want to change, and then click again Edit.
- You can apply a new filter by clicking on Filters. You can also change the brightness, saturation, contrast or colors by clicking on Adjust. Finally, you can apply pre-established settings by clicking on Recipe.
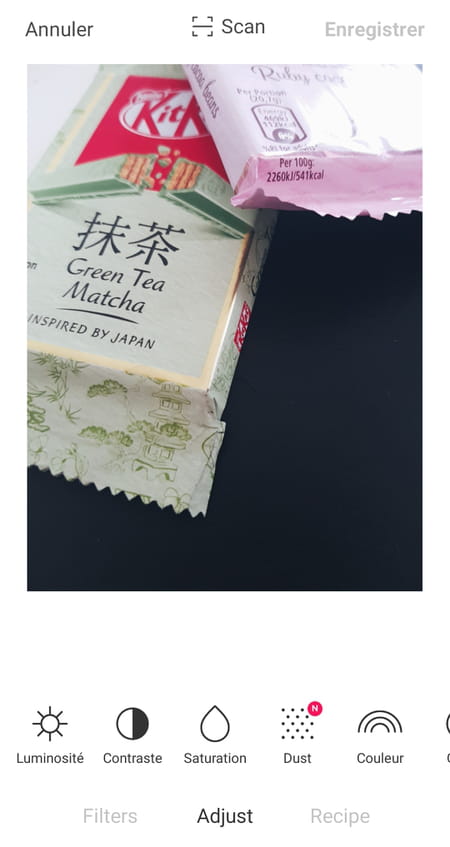
- Click on Record to take your changes into account. The photo is added to the app’s default storage folder.