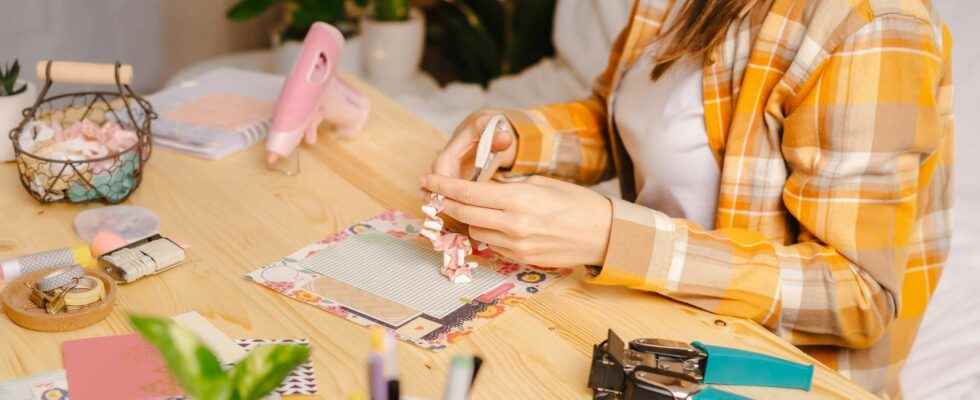
Who said that it was absolutely necessary to renew school supplies at each start of the school year? For the sake of not wasting, for the pleasure of investing in a creative project or because it is more economical, there are many reasons to adopt DIY, do it yourself or, in French, the “do it yourself”. Discover some easy-to-do tips to start the new school year on the right foot!
You will also be interested
[EN VIDÉO] Nao, the robot that helps children at school Researchers at the Polytechnic School of Lausanne, Switzerland, came up with the idea of using the Nao robot to help children in schools. The android accompanies the toddlers not by becoming their teacher but their pupil. Discover in video the amazing use of this robot.
Back to school is synonymous with renewal: new equipment, new clothes, etc. And if the Back to School announced this year under the sign of DIY and recovery? Do not hesitate to sort to reuse and follow some ideas allowing you to start the new school year with new, but “homemade”!
pencil pots
The jars at pencils are always very useful on a desk and rather simple to make!
So, to create one, you will need:
- small cans of paint well washed or coated with paint;
- patterned paper such as gift wrap, pages from an old book, magazine advertising, etc.;
- strong glue or tape double sided thin;
- scissors;
- a seamstress meter;
- a ruler and a set square.
Start by taking the measurements of each can of paint (diameter and height), then transfer them to the piece of paper of your choice using the ruler and square. Cut out the rectangle you have just traced, following the outlines well.
Glue the piece of paper to the paint pot, taking care to make it adhere well. Your pencil holder is ready to be filled for the start of the school year !
Variation: keep glass jars such as spreads, jam jars, etc., coat the inside with paint, taking care to make it adhere well. Let dry and draw a face on the outside of the pot or the design of your choice with a permanent marker.
A storage box
Really useful for filing papers, putting aside bills waiting or simply storing documents, the storage boxes will bring a certain order to your desk !
To make a storage box, you will need:
- a box of cereals ;
- a fall of a pretty wallpaper;
- scissors;
- a glue varnish;
- quick setting glue.
Start by undoing the box cereals and cut out the flaps from the top of the pack. Cut each side equally and diagonally to about the middle of the packet. Drop the shape onto the drop of wallpaper and refer it twice: once for the inside of the box, another time for the outside.
However, beware of the different meanings! A margin should be left for the outer template. Brush glue varnish on the inside of the cardboard then adhere the paper, repeat the operation for the outside, taking care to smooth well to avoid bubbles. You can fold the margins of the paper towards the inside of the box. Finally, rebuild it by gluing it with a glue fast setting. When it’s dry, your storage box can be filled and your desk tidy!
A recycled notebook
The remains of school notebooks can be reused to create a notebook (or several!).
To do this you will need:
- pages of small notebooks of the same size;
- scissors;
- a needle;
- cotton thread;
- of a cardboard sheet of color as a cover.
First adjust the cover to the notebook sheets. The pages must be assembled on top of each other like a classic school notebook. To be able to sew them, avoid too much thickness. Make evenly spaced holes in the center of the notebook with a large needle or the tip of a chisel. Pass the thread through theneedle without forgetting to tie it at the end and assemble the notebook by alternating the seam inside and outside. You can repeat the operation for greater solidity and tie to stop the thread.
All you have to do is decorate the cover, giving free rein to your creativity!
Interested in what you just read?