The renovation of a varnished piece of furniture cannot be envisaged without providing some effort. It is necessary to follow certain steps to give your furniture a more modern and new look. If the operation remains complicated and time-consuming, it is not impossible!
You will also be interested
Varnish is a substance liquid which, applied with a brush, forms a transparent layer on the furniture in drink. After a drying time, the varnish hardens into a protective film that will prevent moisture, scratches, stains and wear on the furniture. But when tastes change or the style of decoration is no longer current, how to remove this rigid film in favor of a painted coating?
How to clean varnished furniture?
Before painting varnished furniture, the cleaning step is important to rid it of dust and other dirt that has accumulated over the years. The goal ? Keep it clean so it can be sanded more easily. Thus, the work of renovation start by washing the furniture in warm soapy water (Marseille’s soap or black soap) using used brushes, sponges and toothbrushes, the latter being used to access difficult areas such as any moldings or corners. When cleaning with soap is complete, the furniture in varnished wood must be rinsed to remove excess soap and then dried properly with a dry cloth.
How to sand the furniture to be restored?
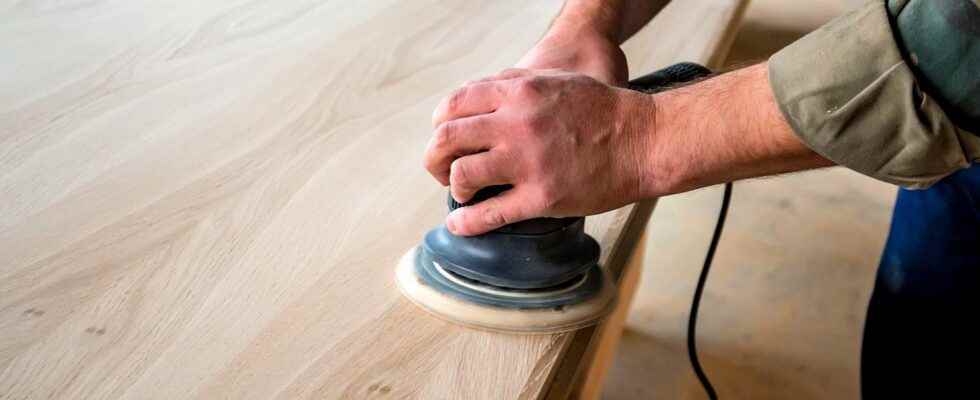
This second step is perhaps the most meticulous, but it is also essential for painting varnished furniture. Sanding will erase the roughness present on the piece of furniture, will remove the varnish to reveal a smoother surface, which can then be painted. The use of a sander for general stripping and large surfaces will facilitate this operation and save time. Moldings and less accessible parts of furniture can be abraded by hand. It is also advisable to respect the fiber of the wood and to sand in the direction of his dark circles!
Sand furniture also requires some tricks. Thus, it is advisable to start the step with coarse sandpaper (between 40 and 60) to remove the layers of varnish. A second sanding with a medium grit sandpaper (80 to 120) is necessary to allow the paint to stick. After these two sessions, it is recommended to vacuum and clean the dust formed by the different sanding operations. To paint a piece of furniture containing residues can hinder the adhesion of the paint and create small bumps on the final rendering.
Be careful, do not overuse fine sandpaper. If the furniture is “too well” sanded, the paint may not adhere properly and will not hold up over time.
How to paint varnished furniture?
Before the actual stage of the painting,I’application of an undercoat is highly recommended. It will allow the color to adhere more, especially if the varnish was thick. You should know that a paint without an undercoat or primer is likely to peel off over time.
The product can be applied using a roller and brushes to access the most worked parts of the furniture. After respecting the drying time indicated on the instructions for the undercoat, the operation of painting a varnished piece of furniture can begin.
The chosen paint must be suitable for the furniture. It is a question of opting for a paint for wood and interior. Some are designed to achieve a smooth, shiny or matte finish, others are washable or stain resistant. You should know that a acrylic paint will also be more environmentally friendly.
The choice of color is also essential to avoid getting bored too quickly. Two thin layers of paint are necessary to cover the furniture, knowing that the second must be applied after the first has dried properly. Roller and brush application should be crossed from top to bottom and left to right to avoid streaking and promote greater adhesion. Thus, the renovation of a varnished piece of furniture will prove to be successful.
Interested in what you just read?
