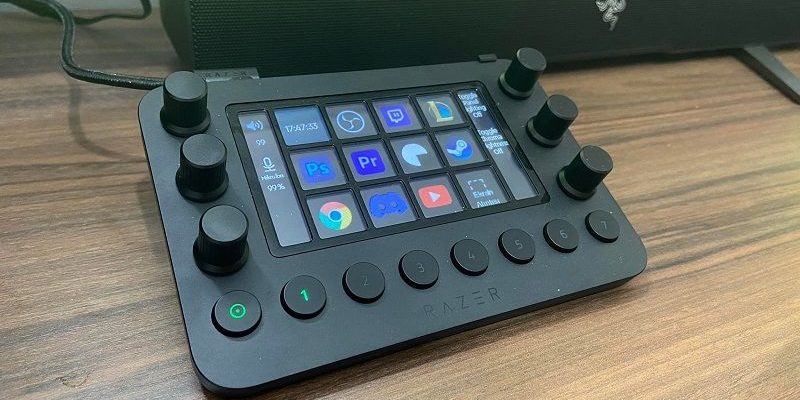
In our Razer Stream Controller review content, we take a closer look at this device, which offers a practical solution for both broadcasting, video and photography applications.
Razer Stream Controller review: I am here with a product review that I have enjoyed using recently. As you know, Razer is very well known in terms of player accessories, but the company has started to give importance to broadcast accessories besides computers. As a matter of fact, they released a publisher control device after the light called Razer KeyLight Chroma, which we will examine in the coming weeks.
Now, let me tell you about the features of this device, but more importantly, why I enjoy using it in our Razer Stream Controller review content.
Razer Stream Controller review
Razer Stream Controller is a model that the company collaborates with Loupdeck. In fact, it has the same features as the previously released Loupdeck Live model. You are already using the Loupdeck software, which I will talk about in detail about many issues such as software and application market.
This device can be briefly defined as a device that you can use in photography, video programs and of course, on the broadcast side, where you can access shortcuts. Although its name is Broadcast Controller, it offers much more to you. I can say that it is extremely useful for you, especially if you use applications such as Premier and Photoshop very often like me. But before all this, let’s take a look at its design and general structure.
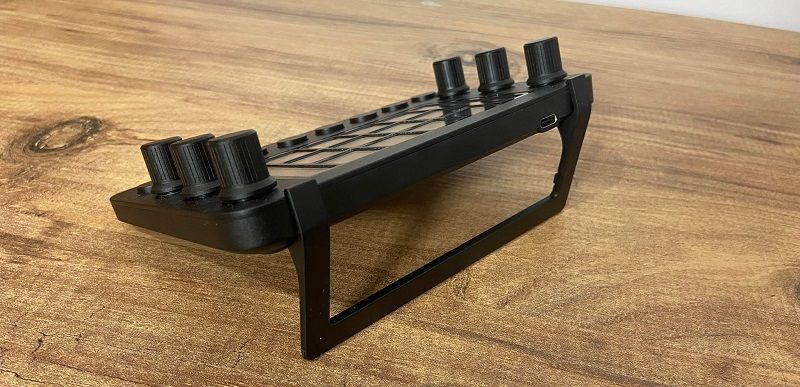
There are 8 physical keys on the Razer Stream Controller, one of which is the home page. You can think of each of these keys as a transition to a different page. As with all other parts, it is fully customizable and designed to be used as you wish. In other words, you can list the applications you use most on the home page. or it is possible to assign keys to the inner pages and use them accordingly.
Each of these keys opens different pages with two scrolling screens on the side and 12 small screens. As with the physical keys, you can customize these parts as you wish. For example, on my homepage, there are details such as the sales indicator as well as the applications I use the most. Here I have assigned shortcut keys for programs such as OBS, Twitch, Photoshop, Premiere, Steam, Youtube. As soon as I press it, the program I want opens with a crack. Likewise, it is possible to assign shortcuts to your games here.
Practical solution to scene transitions
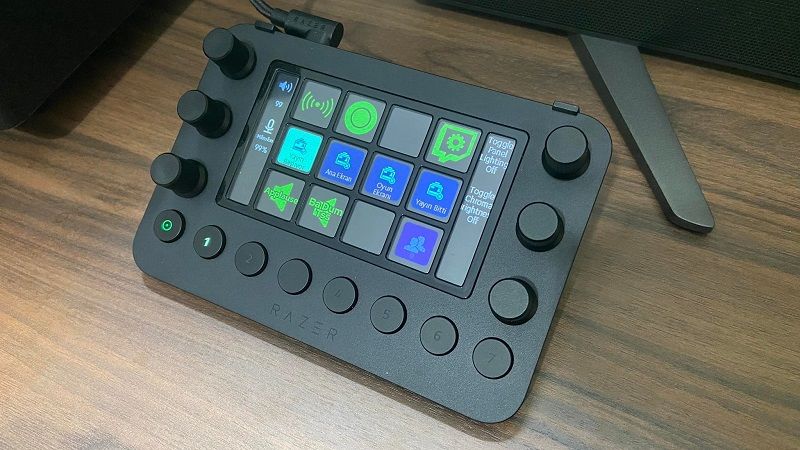
In the subpages, I have customized the pages such as OBS broadcasting tools for my own use. For example, in the live broadcast section, my customizations such as going live with one click, recording video on your computer, and scene transitions during the broadcast are on this subpage. You can also assign sounds that will add color to broadcasts, such as applause and laughing effects. For example, I assigned a “ba dum hiss” effect to one of the keys and I press this key when something funny happens 🙂 It is possible to add different features like this according to your needs. Or, you can access dozens of commands such as clear the chat, just put it in subscriber mode, with a single button.
These keys also have a haptic feedback. In other words, as soon as you press it, the program opens and offers you a vibration feedback. In this way, the impression is provided as if you are pressing a key, not a screen.
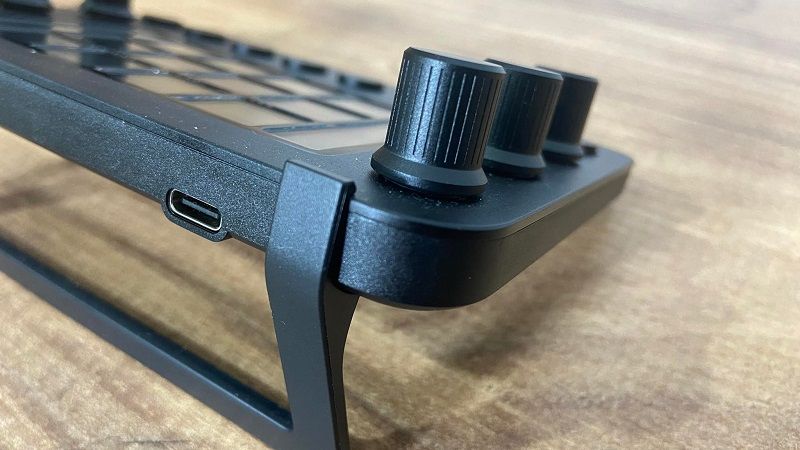
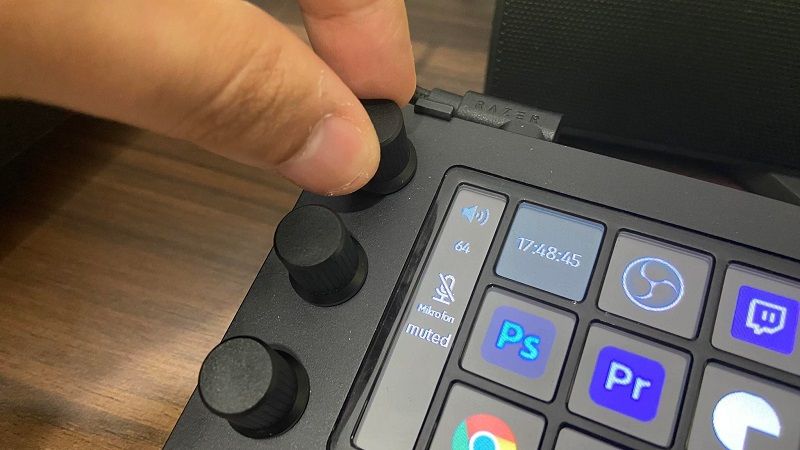
On the count and left part of these 12 screen keys, there are vertical small screens with scrolling feature. The purpose of these screens is to present the indicators of the three rotary keys (6 in total) located on the right and left of the device. These keys can be rotated as well as have a physical key structure that is pressed on. For example, I assigned the Windows volume on/off feature to one of these keys.
When I turn the wheel, I decrease or increase the volume, and when I press the wheel, I completely mute the sound. Likewise, it is also possible to assign keys such as adjusting the microphone volume and on/off here. Or, for media applications such as spotify, you can assign commands such as previous song, next song, stop, continue to this wheel structure as well as to the screen keys. It is really good that the device leaves you in control in every sense.
Shortcut advantage in video and graphics applications
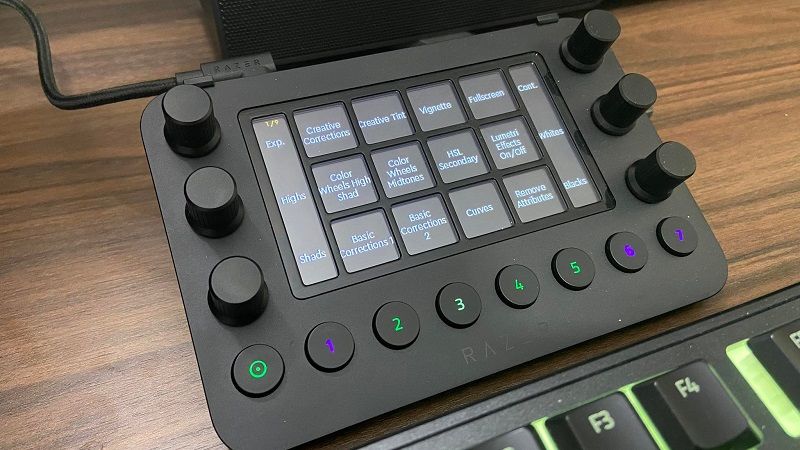
On the usage side, it is not only possible to open applications or broadcast tools, but also to reach many different options according to your wishes. For example, one of the points I enjoy using the most is Adobe Premiere tools. You can access Premiere tools with a single click, thanks to the application interface that comes installed or that you can customize according to your wishes.
For example, I use the Paste Attributes command very often. I assigned it to a key and provided a one-click solution. Of course, you can also make this setting on the keyboard, but accessing all the tools from one place offers a much more practical use. As soon as you open the program, the interface of the device automatically switches to that application interface. In fact, when you alt-tab, you return to the main page, and when you bring the application back to the front, you see that the page has changed.
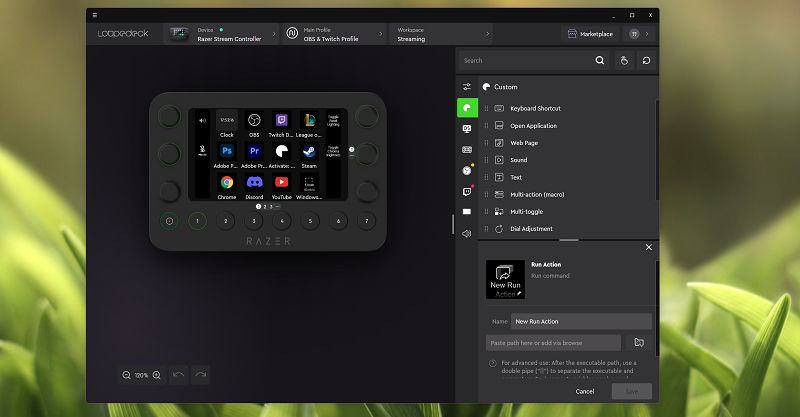
Especially if you get used to this usage, you can understand more clearly how effective these devices can be in such graphics and video applications. Likewise, it is possible to give commands such as color adjustments or zooming the Sequence field in the project to the wheel keys. For example, you can make adjustments such as contrast, brightness and white balance on the wheel keys.
Normally, while making these settings with the scroll bar in the effect section, it is possible to make fine adjustments on the Stream Controller by turning the wheel keys. The best part is that you can apply these settings in full screen. In other words, you can make the project full screen and play on the colors to look at the video in more detail.
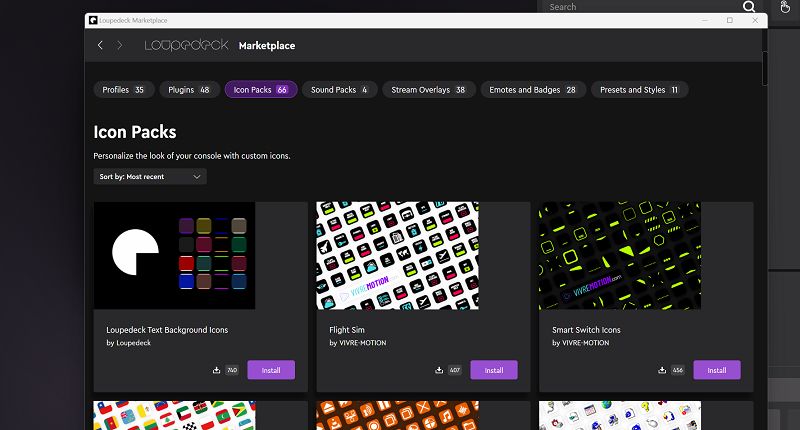
As I mentioned at the beginning, we make all the settings through the loupedeck application. The page, key settings or sounds, profiles or icon designs that you can download from the market are all kept together. For example, there are ready-made profiles for Photoshop, Premiere or DaVinci Resolve users. So someone customized it and added it to the app market. In this way, you can find much more effective usage styles.
For example, one of the first plugins I downloaded from the market was for Razer Light Chroma. I can now do all the commands such as the setting, colors and on/off of the broadcaster light that I connect to the computer via Wi-Fi via the Stream Controller. Making these adjustments with the wheel keys is really effective. Likewise, there are add-ons in the application for lighting solutions such as Elgato models or Philips Hue.
As a result, the Razer Stream Controller has been a very enjoyable device to use. It offers a very practical solution because it works with the logic of macro in a kind of keyboards, but offers all usage together with the logic of customization. I have to say that it has a structure that distinguishes it from classical stream devices, especially with its wheel keys. If you are using broadcasting tools heavily or looking for an effective solution for shortcuts in photo and video applications, you should definitely take a look at the Razer Stream Controller if your budget is also suitable.
Razer Stream Controller Specifications
- System requirements: macOS X 10.14 (and higher), Windows 10 and higher, Loupedeck software
- Size: 151 x 101.5 x 30.2mm
- Weight: 210g (Main body only), 216g with Angle Stand
- Interface: 12 LCD Touch Buttons, 2 Side LCD Displays, 6 Multi-Function Dials, 8 Multi-Function Buttons
- Connection: 2 meters USB-A to USB-C cable
- Box/Package Contents: Razer Stream Controller, 2 meters USB-A to USB-C cable, Detachable Stand
