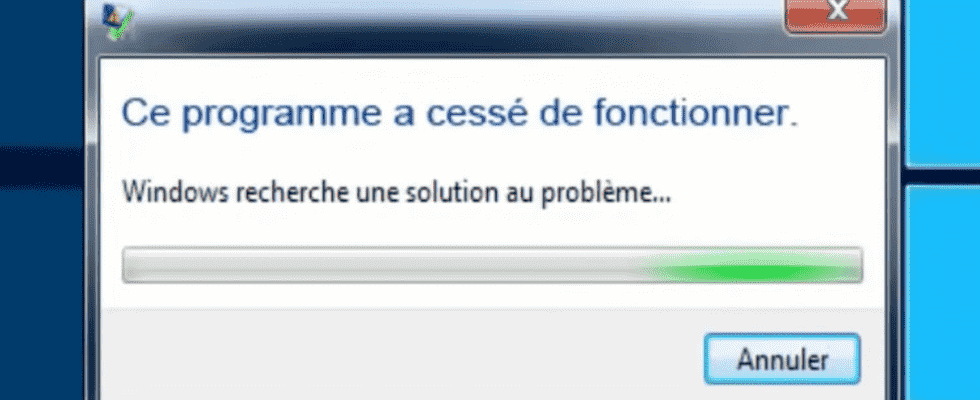
One of the applications on your PC has trouble launching or crashes systematically? Before uninstalling it, try to repair or reset it with the options offered by Windows 10 and Windows 11.
Sometimes it doesn’t take much for an application you use regularly in Windows to suddenly malfunction. A corrupt file, an update that went wrong and now your program refuses to launch or crashes shortly after opening.
The usual technique to fix this glitch is to uninstall the program and then reinstall it “cleanly”. Nevertheless, there is a chance of losing, in passing, the many settings made before this failure. So might as well ask Windows if it can fix the problem itself. Both Windows 10 and Windows 11 can fix some application errors. You can thus try to repair or reset the culprit application in order to restore it. Certainly, in the latter case, unfortunately, the data it contains will be deleted in passing. But you will skip the step of uninstalling and reinstalling. Be careful though: not all the applications installed on your PC are suitable for the exercise. If no option is offered to you, you will have no choice but to delete the app and reinstall it manually!
One of your apps is getting really unstable? Ask Windows to attempt a repair. Please note that this option is not available for all programs installed on your PC.
With Windows 11
► Access Windows settings by pressing the hotkey Win + I. In the window that appears, click Apps in the left column then on Apps installed in the main pane.
► Search the list that is displayed for the application that is causing you problems. Then click on the three points of suspension at the end of the line. From the pop-up menu, choose Advanced options.
► A detailed file on the application is displayed. Scroll down the contents of the window to the section Reset. Then click on the button To fix.
► Windows then tries to repair the application (by checking the files that correspond to it). Try launching your app again to check that everything is back to normal.
With Windows 10
► Access Windows settings by pressing the hotkey Win + I. In the window that appears, click Apps. The list of applications installed on the PC is displayed. Find the one you are having trouble with and click on it. Click on the link Advanced options placed under his name.
► Scroll the content of the window down to the section Reset. Then click on the button To fix.
► Windows then tries to repair the application (by checking the files that correspond to it). Try launching your app again to check that everything is back to normal.
Repairing the app didn’t change anything? You can reset it. Windows 10 and Windows 11 can thus try to put it back on its feet.
With Windows 11
► Access Windows settings by pressing the hotkey Win + I. In the window that appears, click Apps in the left column then on Installed apps in the main pane.
► Search the list that is displayed for the application that is causing you problems. Then click on the three points of suspension at the end of the line. From the pop-up menu, choose Advanced options.
► A detailed file on the application is displayed. Scroll down the contents of the window to the section Reset. Then click on the button Reset. Windows warns you that application data will be deleted during the operation. Validate.
With Windows 10
► Access Windows settings by pressing the hotkey Win + I. In the window that appears, click Apps. The list of applications installed on the PC is displayed. Find the one you are having trouble with and click on it. Click on the link Advanced options placed under his name.
► Scroll the content of the window down to the section Reset. Then click on the button Reset.
► Windows warns you that application data will be deleted during the operation. Validate.


