While Google Maps helps us navigate our vast cities, Google Earth takes things a few steps higher (literally). It gives us an immersive virtual experience of viewing our planet from far above. And with Google Earth’s seamless zooms and 3D buildings, you could spend hours watching these stunning tours.
Even more impressive are the historical images. You can go back in time to see how a place has changed over several decades. It’s a great tool for academic research and just for fun. It’s available to everyone and it’s free! You also don’t need a powerful device. Any of the most affordable Notebooks will do the trick.
Here’s everything you need to know about historical imagery and going back in time in Google Earth.
How to go back in time in Google Earth for desktop?
Google Earth’s historical image tool combines data from multiple sources to show a particular area looked at. You can go back to the 1930s. However, you can only use the feature in the desktop app, which may look a bit old, but it has everything you need and then some.
- for your computer Google Earth Proto download this link visit.
- Download Earth Pro on DesktopClick .
- Accept Google’s terms. The appropriate application for your operating system is downloaded to your computer.
- When done, install the app.
- Open the Google Earth Pro app and look for the search bar in the left pane.
- Enter the location where you want to see older pictures and select Search.
- The application takes you to that place with a beautiful animation.
- In the top toolbar, select the clock icon that says Show historical images. Alternatively, use the app menu on Mac to find the Historical Images option under View.
- A scrollable date picker appears in the upper left corner above the map.
- Move through time and watch the map view change according to the selected year.
If the Google Earth website does not open in a desktop browser or does not work as designed for you, use Google Chrome, which works best with Google Earth.
In the sample screenshots above, aerial photographs of Dubai’s dramatically changing coastline date back to 1984. For some places it can go as far as the 70s, others into the 30s. These ancient images may not be as sharp and clear as modern satellite images. Also, archive footage that requires you to zoom in more for a better view is likely to be only available for a small part of a town.
How to use Timelapse in Google Earth for the web
Timelapse in Google Earth is a dramatized version of the historical image tool with specially selected high-quality satellite images for specific locations. Google Earth collects them under themes such as declining glaciers and growing urban sprawl to give you a tour through these stories.
Timelapse is more intuitive with animation, automatic time slider and accompanying contextual information. And you don’t need to download an app to use it.
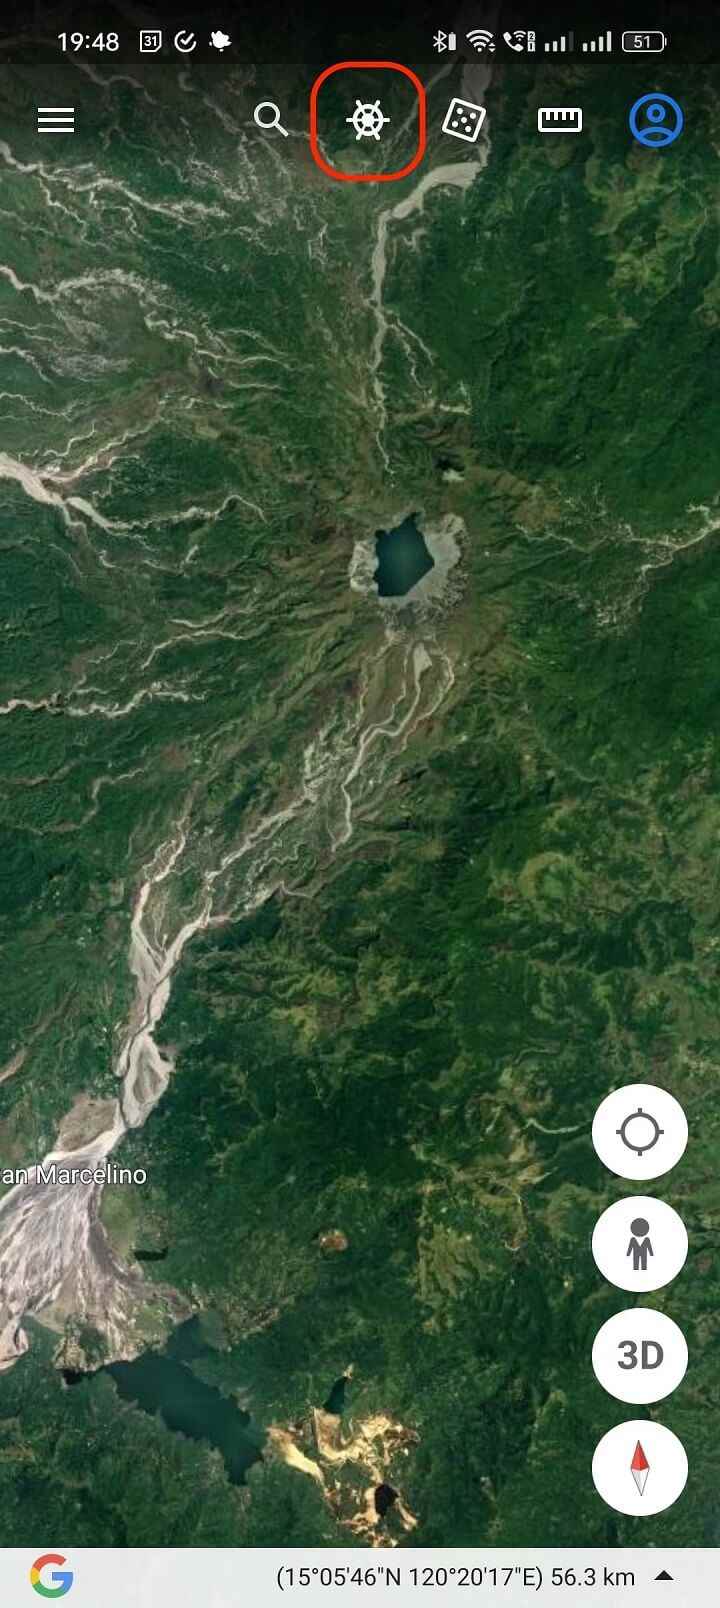
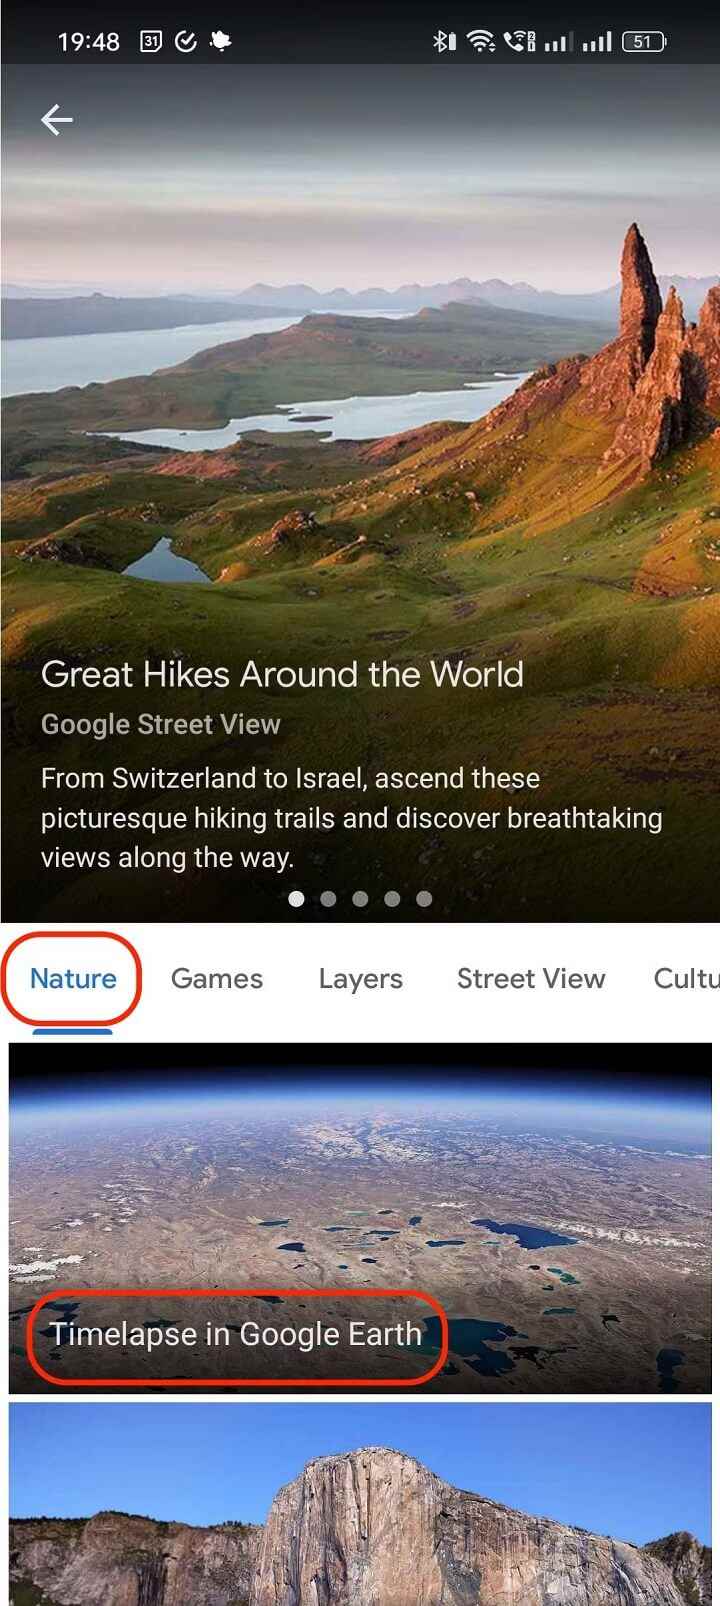
- Open the Google Earth website and use the rudder icon in the left sidebar. Voyagergo to
- NatureSelect .
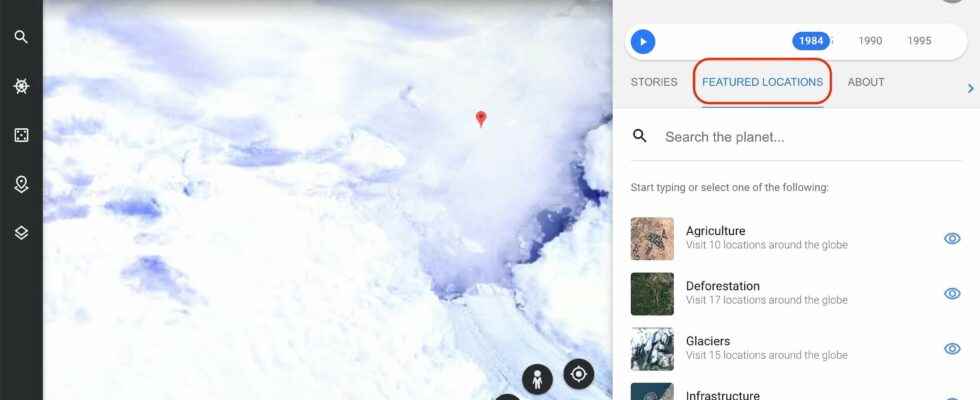
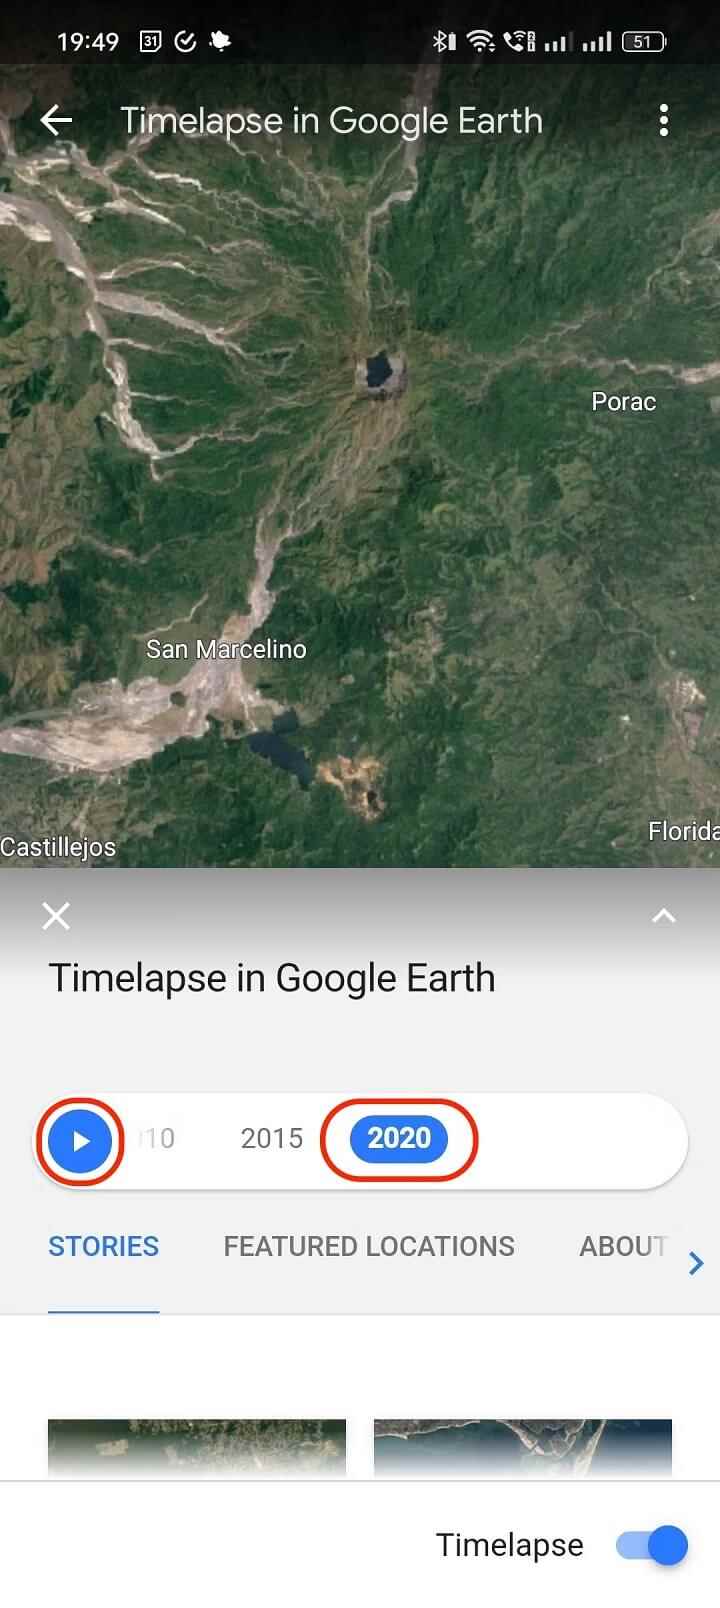
- Scroll down and select Time-lapse in Google Earth. It takes you to one of the preset locations and starts the animated timelapse mode.
- To pause the time lapse animation, go to the right pane. Use the year selector to switch between times manually.
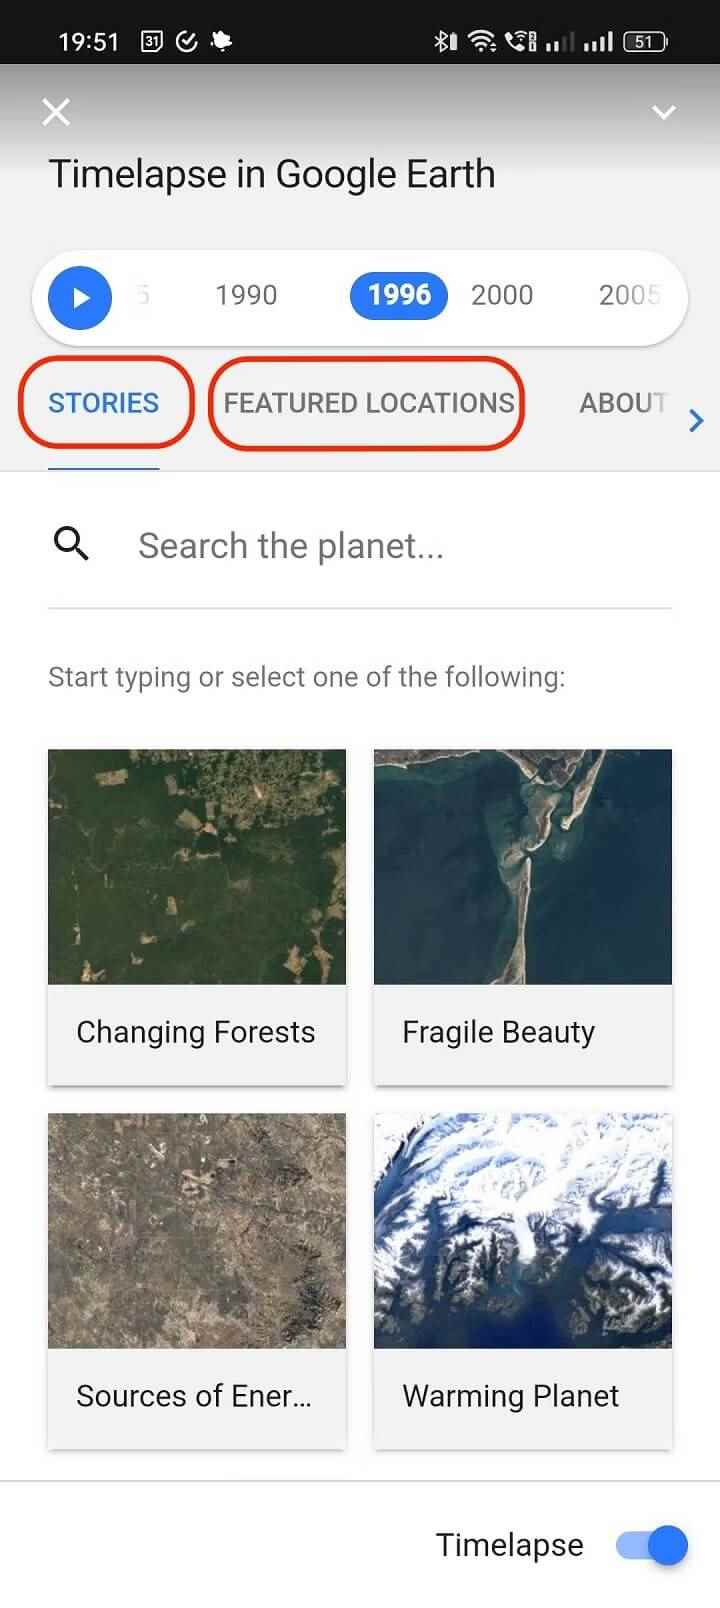
- Below the time bar, you’ll see a section listing Stories with five themes, each with more than half a dozen places you can virtually visit. Choose one of them to get started.
- On the next screen, use the arrows in the right pane to scroll through individual stories.
Not all places have time lapse enabled and can only give you a simple photo and some information about geography.
You can also use the Featured Locations section next to Stories to access a larger collection of Timelapses dating back to 1984. This choice ranges from deforestation and mining to natural disasters and infrastructure.
Timelapse of Google Earth in mobile app
Timelapse is also available in Google Earth’s Android app. Tap the helm icon on the homepage to enter Voyager mode. From here, the process is almost the same as what you do on the website.
The only way to dive into archival footage is Timelapse, as the mobile app lacks the historical image tool. Google made Timelapse a fun experience to take a guided tour of the places where the most notable changes were seen. And given that it’s a curated trip, the images are always of the highest quality without any inconsistency.
How to go back in time on Google Maps for the web?
While the historical image tool in Google Earth is capable, Google Maps has a few tricks up its sleeve. Google has been recording our streets for over a decade, providing us with enough data to show us how a place has changed. This is how it is accessed.
- Drop the yellow Street View guy (Pegman) onto a road with a street view.
- Click on the clock icon in the upper left corner where the street name is displayed.
- This shows a small preview of the same location from the year selected in the scrollbar. Select the year you want to compare with the current view.
- Use the zoom button to view the image on the home screen for a better view.
How to go back in time in Google Maps for Android?
As on desktop, the Google Maps app on Android comes with a timeline feature that lets you go back in time as long as street view images of that location are available. Since this feature is accessible from your phone, it becomes easier to go back in time using Google Maps. Here’s how to find the street view timeline.
- Open Google Maps. Tap on Layers and enable Street View if it isn’t already.
- Go to the previous screen and zoom in on the past images where you want to see them. Then tap the road on which street view is enabled.
- You will see a split screen with the street view at the top and the corresponding map view at the bottom.
- Look under the street name at the bottom to see when the most recent street view footage was taken. On the right, tap See more dates.
- You will see a date-stamped timeline of old pictures of this location. Swipe right to find the oldest.
- Tap a date stamp to see the street view footage for that year. Similarly, you can jump to other months and years.
- Use the close button to return to the previous screen showing the current view.
Explore the planet with a bird’s eye view
Google Earth is the corner of the internet that surprises us with breathtaking, lifelike images of our planet. It gives us the ability to go back in time and gives us a glimpse into our past. This information can make you feel nostalgic about how your hometown has changed over the years, or it can help you understand the geographical aspect of a historic place. Either way, it’s fun and enlightening.
With Voyager, you will discover a wealth of beautifully curated guided tours and talk about natural wonders as well as different cultures and communities. And when you want to venture beyond this planet, use the Google Maps spacecraft to memorize the names of hundreds of lunar craters or look for little-known dwarf planets not far from Earth.
And here you go back to using Google Maps to get directions on the ground, which is as impressive as Maps’ moons of Jupiter. some hidden features try.