To never miss an appointment, invite friends, relatives or colleagues to an event or a meeting, rely on Google Calendar, a simple, practical and free service.
Do you have a Gmail address? Then you automatically benefit from Google Calendar. This service, which was added to the American giant’s range of tools more than twelve years ago, has continued to evolve over time to now offer simple yet powerful calendar management. A few clicks are enough to create personalized diaries with, for example, professional appointments on one side, family events on the other, unmissable birthdays, etc. And, of course, you can easily share these calendars with colleagues or relatives. Advantage: everyone can see the appointments indicated and even add their own. Convenient for scheduling one-off or recurring meetings or taking stock of employee unavailability periods. Also note that some online services, such as Doctolib for example, allow you to add your medical appointments directly to your Google calendar. Finally, even people who prefer to use Microsoft Outlook or iCloud calendars on macOS or iOS, will be able to access Google’s shared calendars (follow the advice of our practical sheet to synchronize Google and Outlook calendars).
All you need is a Gmail account to access a calendar accessible online and associated with this account. Then you can only use your computer to create a new personalized calendar. The operation is not possible with the Agenda application on a smartphone or tablet.
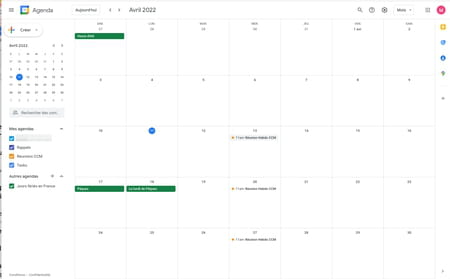
► With your usual Web browser, go to the page of Google Calendar. If you are not yet logged in with your Google account, enter your username and password. Your personal calendar is displayed.
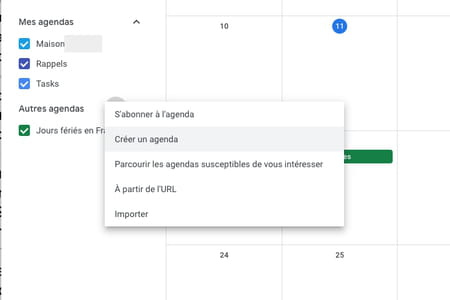
► In the left column is the name of your personal calendar. Click on the sign + from the menu Other diaries. From the menu that appears, choose Create a calendar.
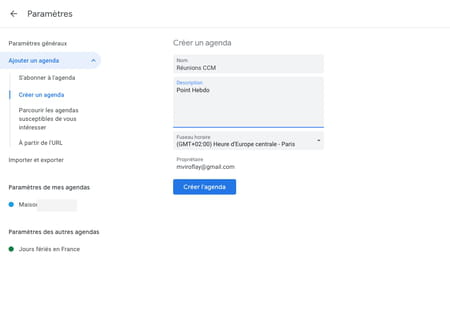
► Indicate the name of this new calendar and possibly a description. Validate with a click on Create the calendar. Then return to the previous page by clicking on arrow pointing left top left next to the menu Settings.
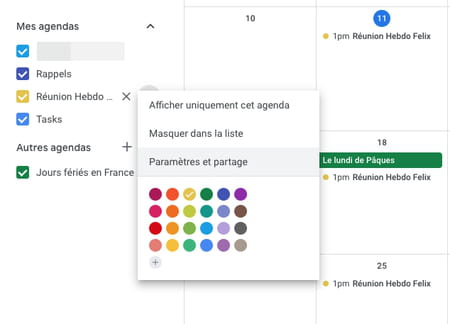
► Your new agenda is created. Hover the mouse pointer over its name and click the three vertical points.
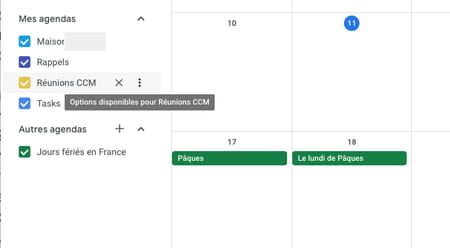
► Here you can choose a color for your calendar in order to easily distinguish the events attached to it from other calendars that you have.

Your new calendar (which supplements your calendar provided by default by Google) is ready to accommodate your appointments. The operation can this time be carried out with a computer, a smartphone or a tablet.
With a computer
► Click in the box representing the day you want to add an appointment. An input window appears.
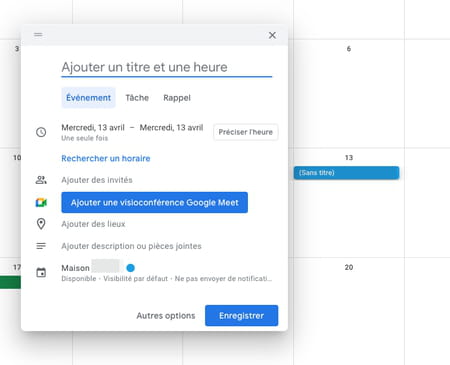
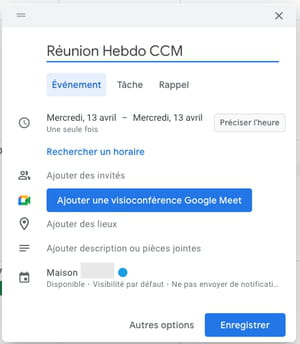
► Indicate the name of the event then click on the button Specify time.
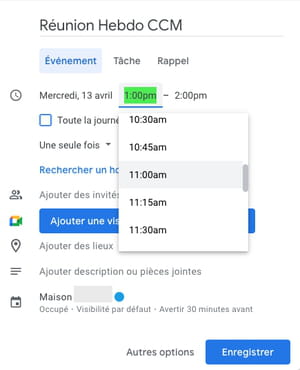
► Specify the start and end time of the event using the drop-down menus.
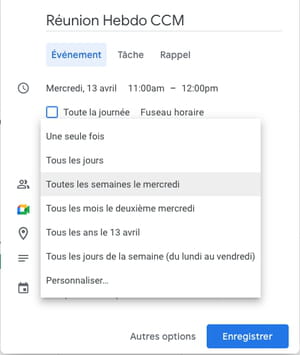
► You can then specify a recurrence using the drop-down menu once to schedule the event weekly, monthly, etc.
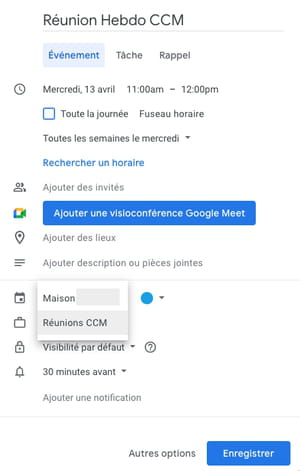
► At the bottom of the window, click on the name of your account. The personal calendar (the one supplied with your Google account) is always selected by default. Choose the name of your new calendar.
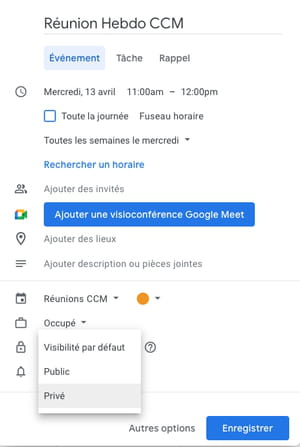
► In the drop-down menu Default visibilitychoose Private.
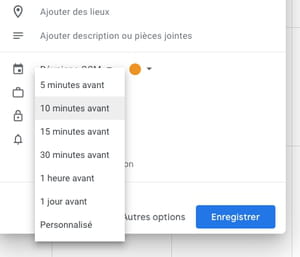
► Pull down the menu Notifications. Here you can choose to receive a notification on your computer and your smartphone to warn you of the imminence of the event. Set the delay you want.
► Finally, click on To register.
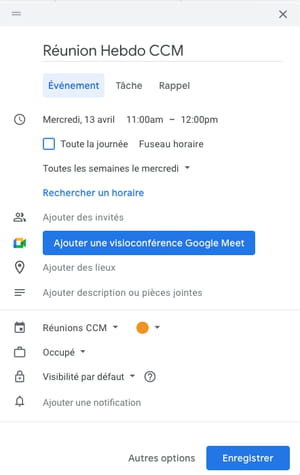
► Your appointment is entered in the calendar.
On smartphones
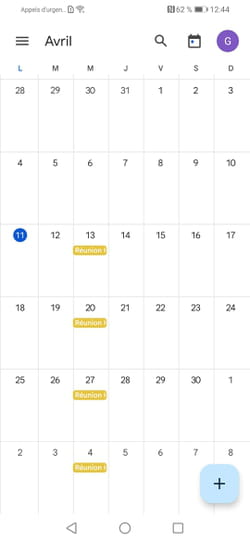
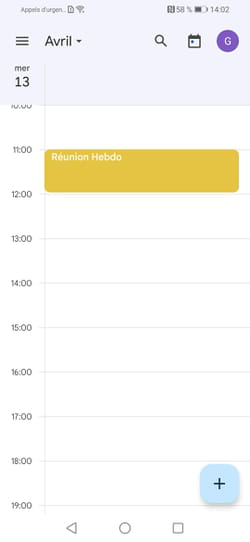
► Open the Google Calendar app on your Android or iOS smartphone. Your calendar is displayed. Push the button + at the bottom right of the screen.
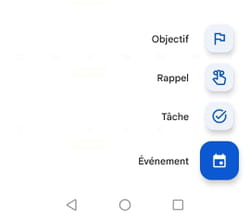
► In the menu that appears, choose Event.
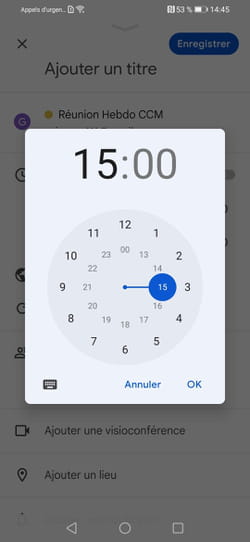
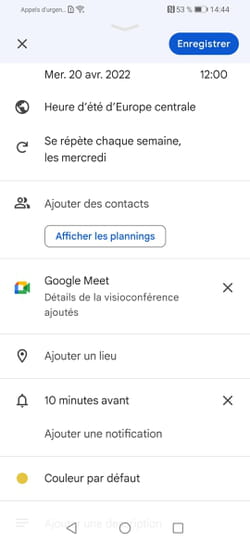
► Indicate the name of the event then press the time indicated in order to specify the start and end time of the event.
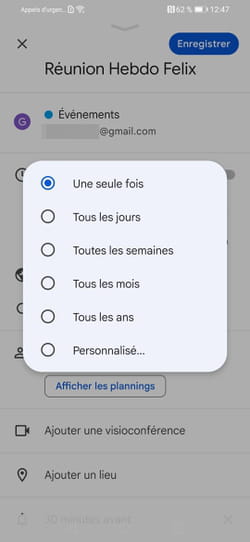
► You can then specify a recurrence using the drop-down menu once to schedule the event weekly, monthly, etc.
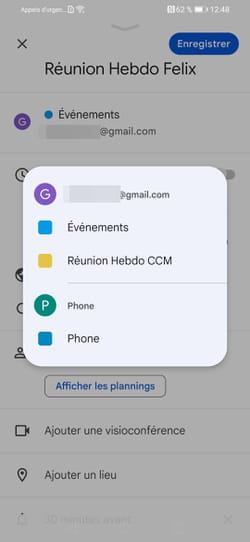
► At the top of the window, tap your account name. The personal calendar (the one supplied with your Google account) is always selected by default. Choose the name of your new calendar.
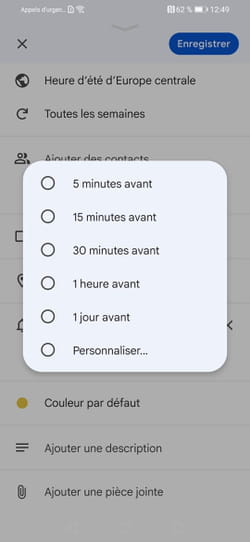
► Tap the menu Notifications. Here you can choose to receive a notification on your computer and your smartphone to warn you of the imminence of the event. Set the delay you want. When everything is ready, press the button To register at the top right of the screen.
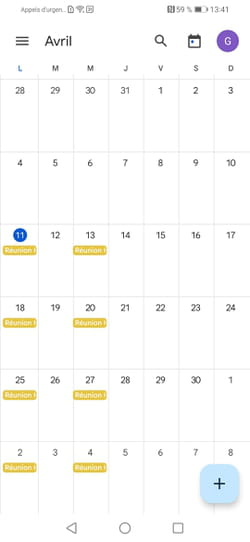
► Your appointments are displayed in the calendar.
Do you want to share an agenda with family members, friends or colleagues? The operation can be carried out from a computer or a smartphone. Note that you can share your calendar when creating it.
From a computer
► Display your calendar then pass the mouse pointer over its name in the left column. Click on the three vertical points and choose Sharing settings.
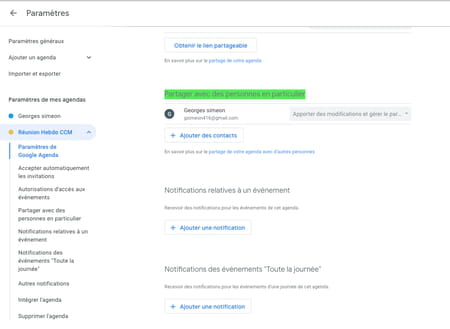
► The calendar settings window appears. Scroll down its contents to the section Share with specific people. Click on the button + Add Contacts.
► Indicate the email addresses of the contacts with whom you wish to share your calendar.
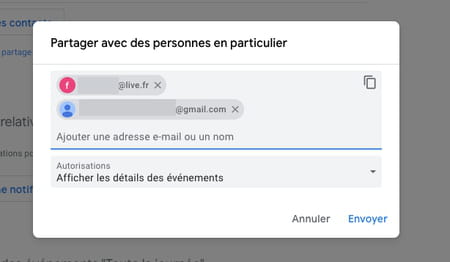
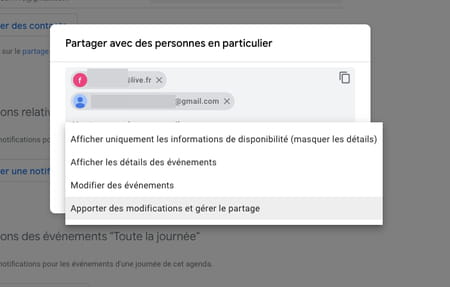
► Then click on the drop-down menu Permissions. Set permissions for contacts. You can allow them to edit the calendar (the events you have listed) and allow them to add events and fully manage the calendar (like yourself). When everything is ready, click Send.
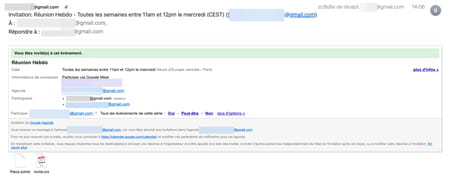
► Your correspondents will then receive an email inviting them to add this calendar to their agenda.

From a smartphone
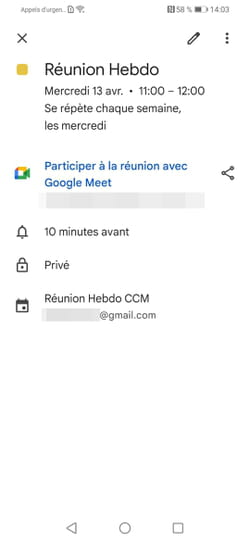
► Open the Google Calendar app on your mobile. Tap one of your calendar events for which you want to invite contacts.
► In the window that appears, tap the icon in the shape of a pencil at the top of the screen to make the change.
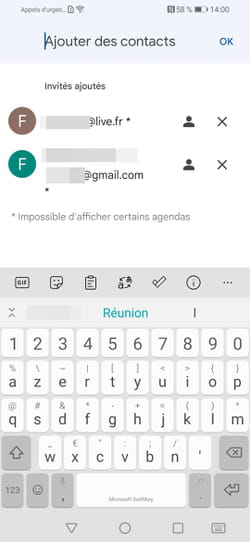
► Touch the section Add Contacts.
► Enter the email addresses of the contacts with whom you want to share your calendar. When your list is ready, tap OK at the top right of the screen.
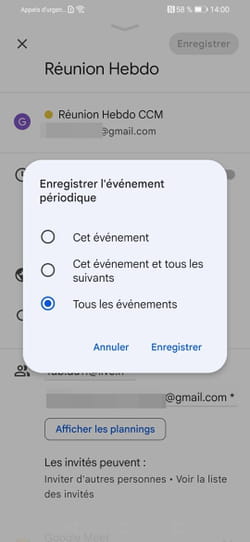
► Press To register. In the window that appears, choose whether you want to invite them for this single event or for all of them. Validate by To register.
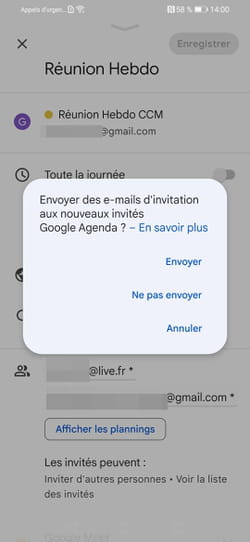
► Finally press Send to send them an invitation to join your calendar.
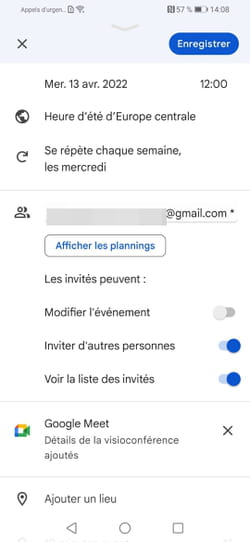
► You can finally modify the rights of your guests. Press Section Guests can and select the rights to grant (edit the event, invite others, and view the guest list).
► Your correspondents will then receive an email inviting them to add this calendar to their agenda.