Does your Wi-Fi connection seem slow, web pages load poorly and downloads are endless? The problem may be due to a lack of power in your wireless network. Here’s how to check it.
As you know, the closer you get to a Wi-Fi router (ie your Internet box in most cases), the better the quality of your wireless connection. But sometimes signal strength is not a matter of range. Your environment also comes into play. Thick walls, obstructions, or interference from electrical appliances (especially microwave ovens) are all potential sources for poor signal transmission.
To find out for sure, here’s how to check the quality of your Wi-Fi connection. And once the check has been carried out, you can, if necessary, apply the advice in our practical sheet to optimize your Wi-Fi network.
Before installing any software on your computer or smartphone, the operating system may already give you an idea of your connection status.
► The easiest way to gauge your Wi-Fi signal strength is to simply count the number of bars on your wireless network indicator. Whether you have an Android smartphone, an iPhone, a Mac or a Windows PC, all connected devices show the same type of Wi-Fi connection indicator, in the form of a wave symbol.
On Windows 10 or 11
► Click on the Wi-Fi symbol at the right end of the taskbar. Locate the name of the wireless network you are connected to, and count the number of bars.
On macOS
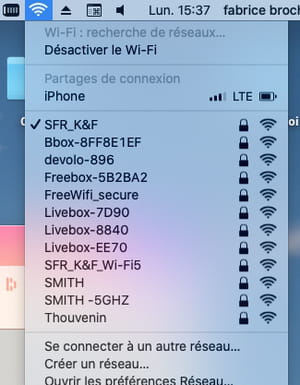
► Click in the menu bar on the Wi-Fi symbol. Locate the name of the wireless network you are connected to, and count the number of bars.
On Android
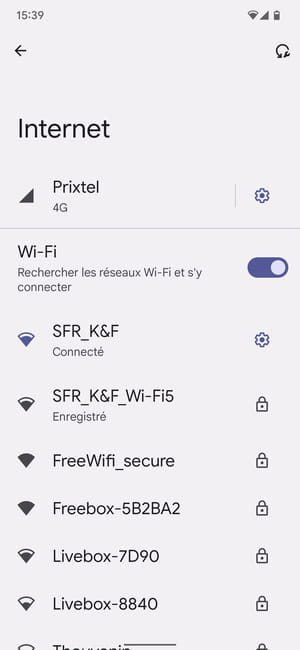
► Pull down the notification panel then press and hold the Wi-Fi symbol (with Android 12 you long press the button Internet). Locate the name of the wireless network you are connected to, and count the number of bars or observe the fill rate of the Wi-Fi symbol.
On iOS
► Access the Control center with a finger swipe down from the upper right edge of the screen. Long press the Wi-Fi symbol then, again for a long time the network name you are connected to. Count the number of bars in the Wi-Fi symbol.
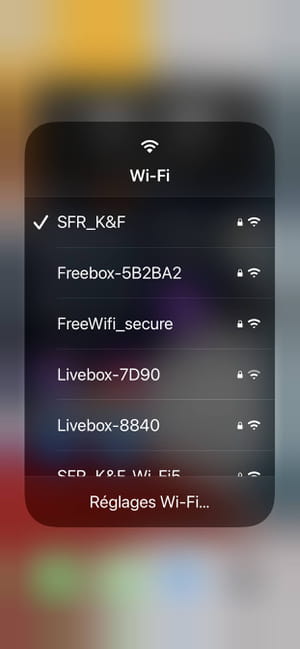
► Generally, the maximum quality is obtained when the icon displays four bars (some devices display a maximum of five bars). If you get closer to the router, or if you change rooms, the displayed power will increase. It’s up to you to do the test: as you move around, you should be able to see the number of bars change after only a few seconds. This first method is very simple. In many cases, it is enough to recover more Wi-Fi power. But it remains too rudimentary if you want to measure the real quality of your wireless network.
With Windows 10 and Windows 11, you can use the Command Prompt to check the strength of the Wi-Fi signal you’re connected to.
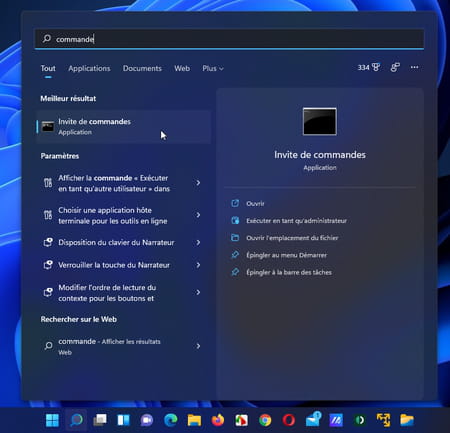
► Type Ordered in the Windows search field and click on Command Prompt.
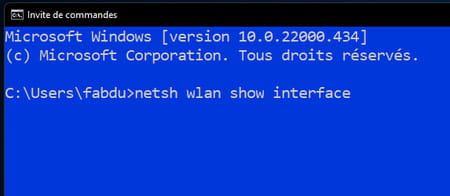
► In the window that appears, enter the following command: netsh wlan show interface then press the key Entrance to validate.
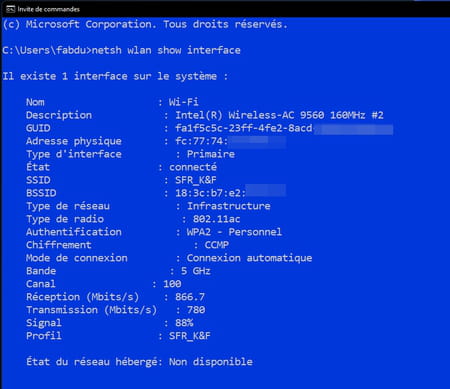
► You get a detailed status of your Wi-Fi connection. Your signal strength is shown in the last three lines, along with the Reception and the Transmission expressed in Mbits/s, and the relative power of your Signal expressed as a percentage (88% in the screenshot).
The number of bars that make up the Wi-Fi symbol or the information provided by Windows already gives a good indication of the quality of the Wi-Fi network but remains rather vague with no point of comparison. Here’s how to take a more accurate measurement and rate it on a simple scale.
► To precisely check the strength of a Wi-Fi signal, you must use a unit of measurement that is both applicable to all router models and easily measured on a computer or smartphone: the dBm (for relative decibels per milliwatt) . We find this characteristic on the data sheets of network devices, but we still have to interpret it. The scale is between -30 and -90 dBm.
- AT -30dBm, the Wi-Fi signal strength is excellent. Downloads go smoothly, as does streaming video playback (if the connection speed is sufficient).
- Between -50 and -60dBm, the quality of the wireless network is good and sufficient for surfing the Web or checking emails, for example.
- AT -90dBm, your connection is really bad. It is likely that you will not be able to log in.
► To check the exact strength of your Wi-Fi connection, you must equip your computer or smartphone with an appropriate app.
Measure Wi-Fi signal strength on Windows
With a PC, the free Acrylic Wi-Fi Home software will take care of providing you with an accurate assessment of the quality of the connection to your Wi-Fi network.
Download Acrylic Wi-Fi Home for Windows
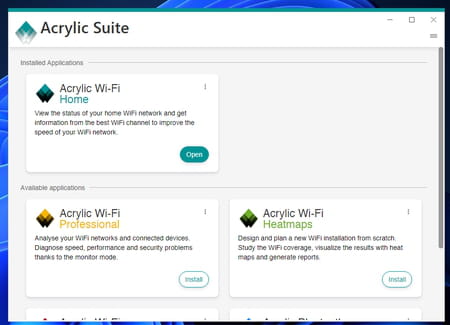
► Install the software then launch it. In the window that appears, click the button open section Acrylic Wi-Fi Home.
► After a few seconds, a new window opens. Wait a few more seconds while Acrylic analyzes the surrounding Wi-Fi networks and then performs its tests. The verdict then falls. The Wi-Fi network your PC is connected to is highlighted in the list of nearby networks. Its quality expressed in dBm is indicated in the column CISO.
Measure Wi-Fi signal strength on macOS
On Mac, NetSpot is the best free utility to deliver an accurate measurement of Wi-Fi signal strength.
► Install the software and launch it. In the window that appears, click To continue.

► The software then analyzes all the surrounding Wi-Fi networks and gives the signal strength for each one. Locate the network you are connected to in the list and refer to the column Signal placed behind the column Level (SNR) to know the result.
Measure Wi-Fi Signal Strength on Android
NetSpot (used on macOS) is also available as a free version for Android.
► Launch the application then in the page that is displayed, press Discover.

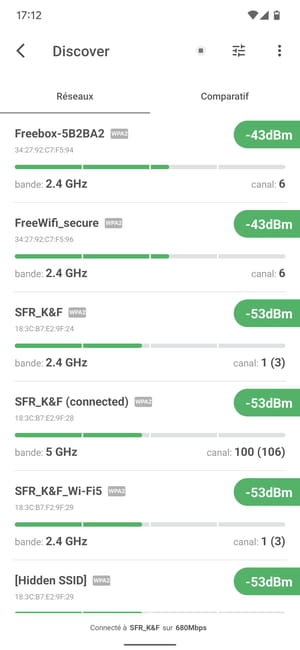
► The scan for nearby Wi-Fi networks starts immediately. Under the tab Networks, all detected Wi-Fi networks are displayed. Find yours. The signal strength is indicated in a green pellet to the right.
Measure Wi-Fi Signal Strength on iPhone
There are plenty of apps on iOS that can provide you with a lot of data about your Wi-Fi network. However, few of them provide an accurate measurement of signal strength. To achieve this, we opted for AirPort Utility (whose name is taken from the old Apple Wi-Fi routers named AirPort).
Download AirPort Utility for iPhone
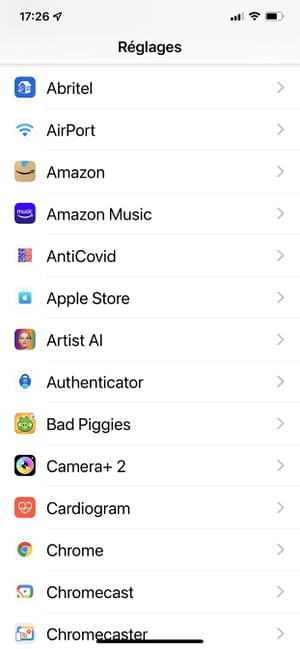
► Install the application on your iPhone then open the Settings of the device. Scroll down the page and choose AirPort.
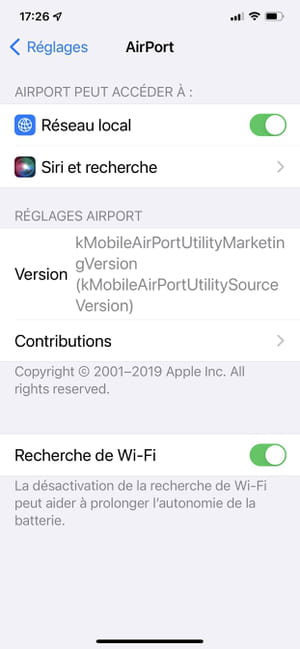
► Then activate the switch Wi-Fi search. Otherwise, the app will simply search for nearby AirPort (Apple) terminals.
► Launch the application then press Wi-Fi search top right.
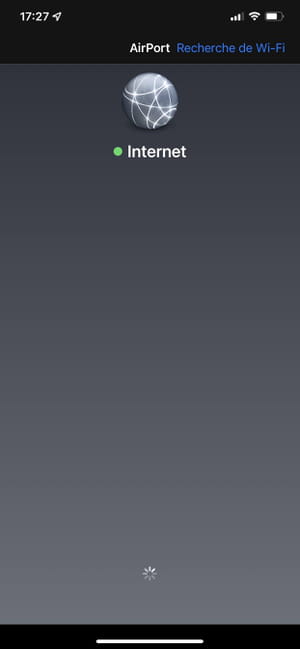
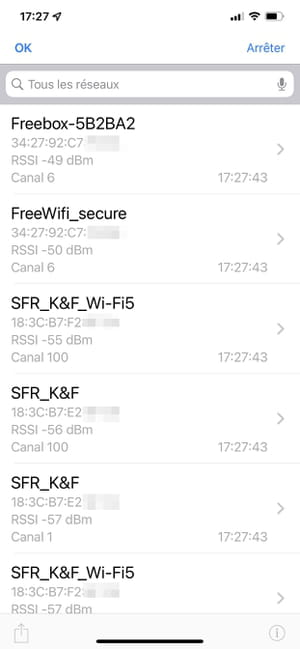
► The list of nearby Wi-Fi networks is displayed. Find yours. Line CISO indicates the strength of the Wi-Fi signal.
